00191025-01.pdf - 第517页
10 SI PLACE G SIPLACE 80S/F/G User’s Manual 10.7 Single Functions Edition 07/97 f rom Software Version SR.010.xx 10 - 50 ● Display filling level ● In the men u "Glue ing unit" mo ve the cu rsor bar by mea ns of…
SIPLACE 80S/F/G User’s Manual 10 SIPLACE G
Edition 07/97 from Software Version SR.010.xx 10.7 Single Functions
10 - 49
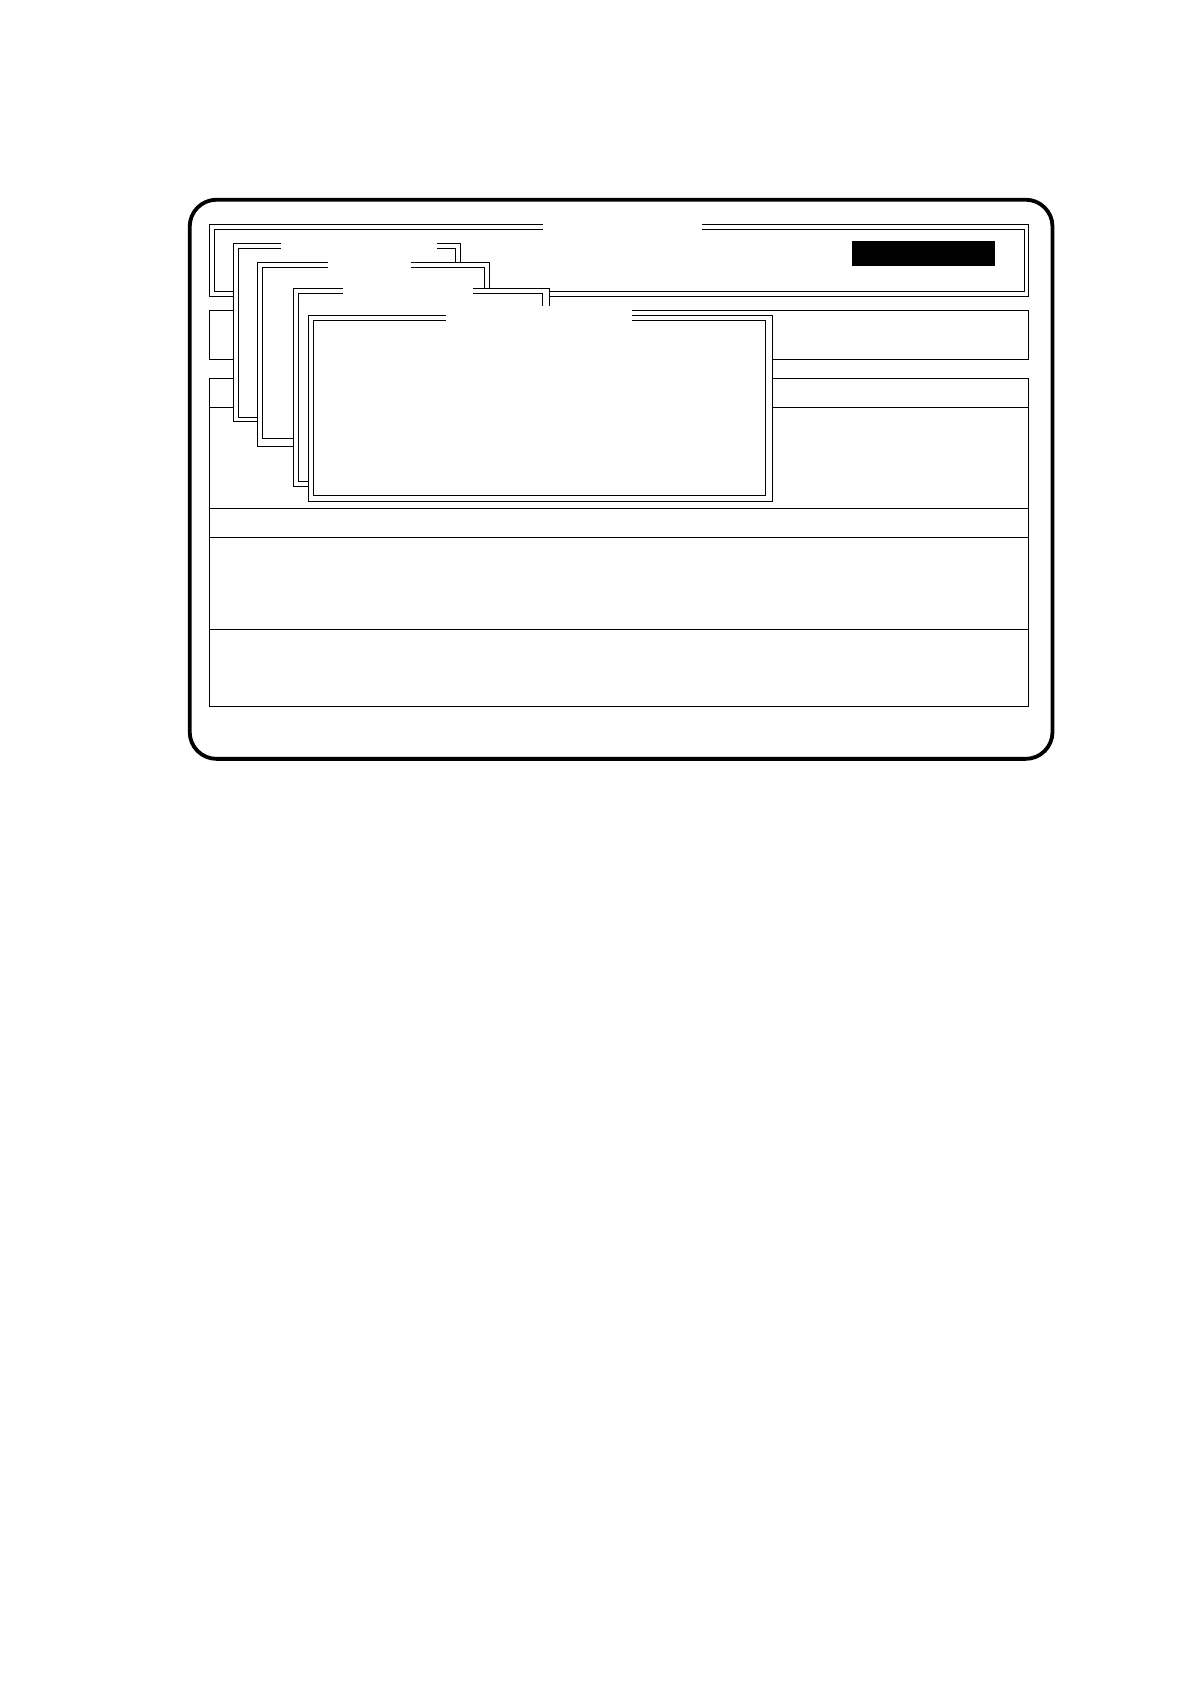
Fig. 10.7.7
●
If you press the space bar, continuous glueing will be activated. Press it again and continuous glueing
will be stopped.
●
Use the Esc key to quit the menu "Continuous glueing". If continuous glueing was activated it will now
be switched off.
SI 80G V 10.x
Cluster:
Display errors
Confirm errors
Machine options
Software options
Vision system
Error
State
Action
:
:
:
Single functions
Single functions
Gantry
Glueing unit 1
Continuous glueing
Press space bar ON/OFF
Esc.: abort
Blank: Continuous glueing
10 SIPLACE G SIPLACE 80S/F/G User’s Manual
10.7 Single Functions Edition 07/97 from Software Version SR.010.xx
10 - 50
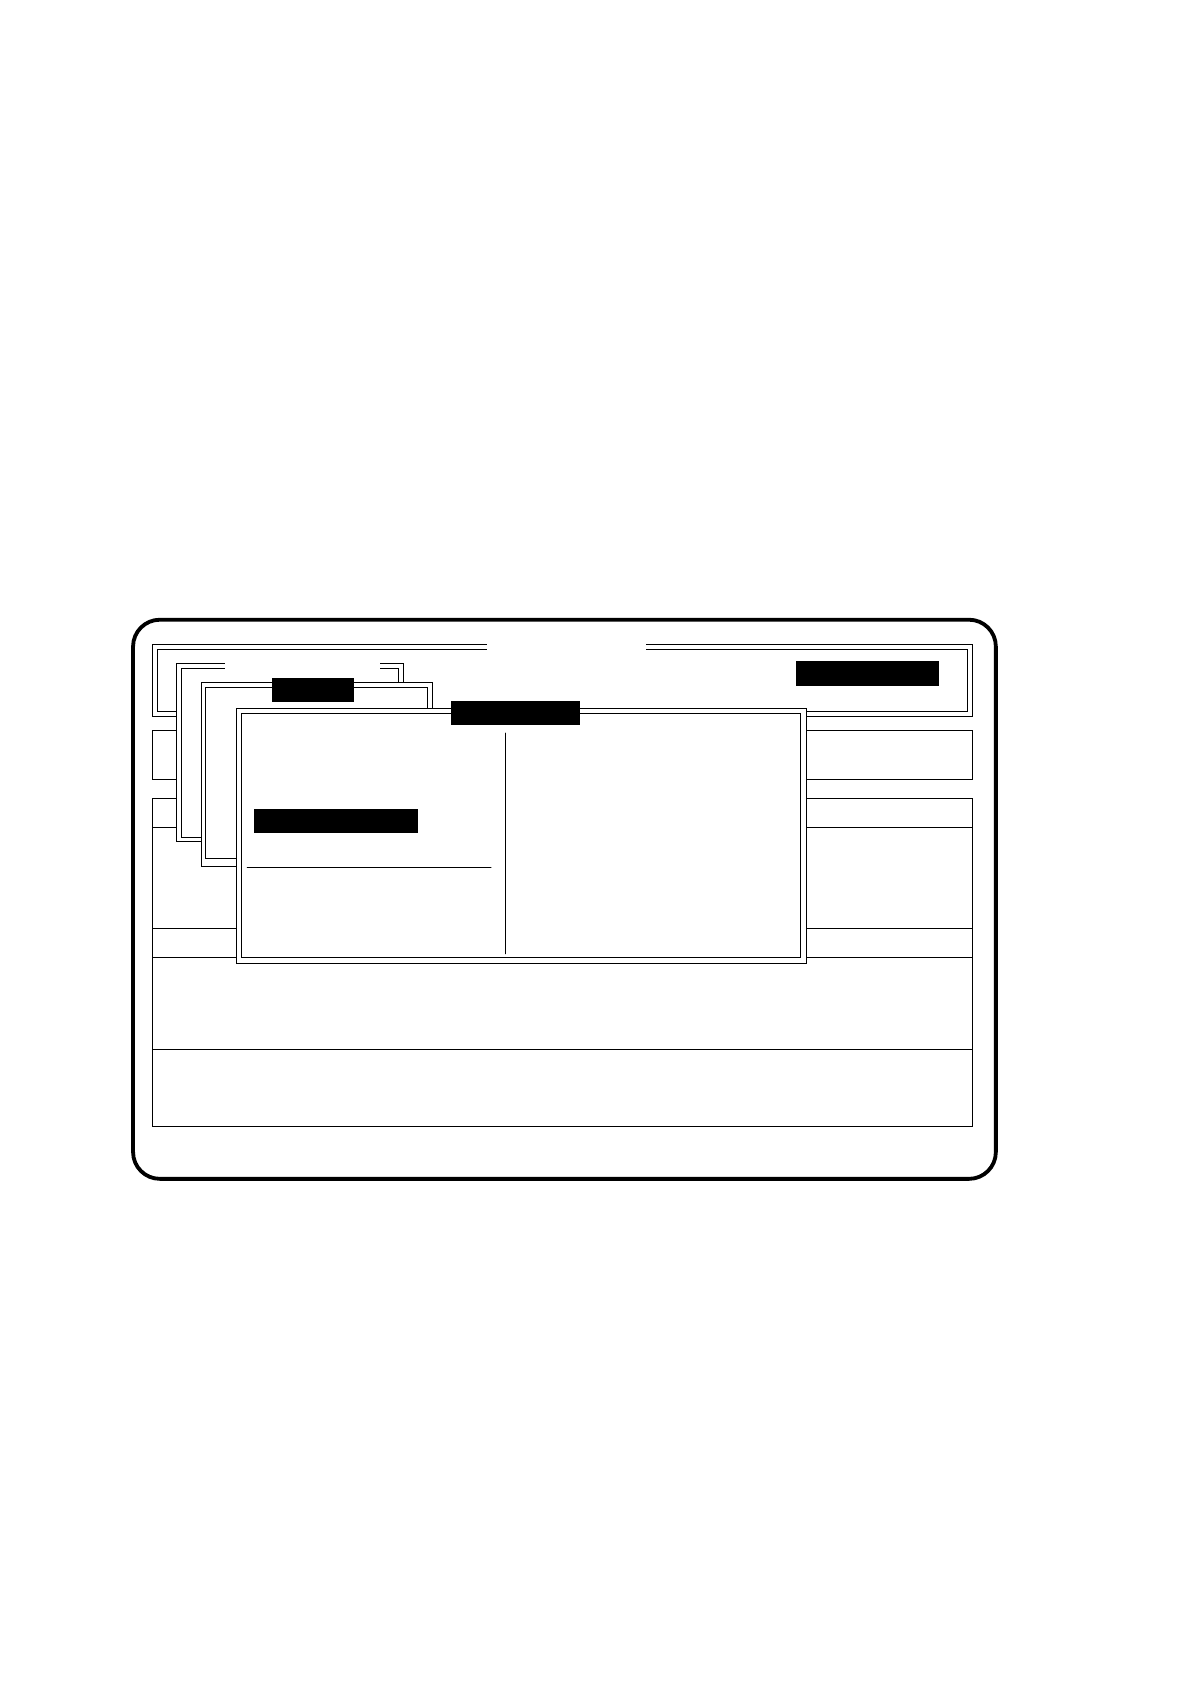
●
Display filling level
●
In the menu "Glueing unit" move the cursor bar by means of the
cursor keys
onto the menu item
"Display filling level".
●
Press the
Return key
.
The display field of the menu window will show the current filling level (see following menu window).
1 = glue cartridge full
0 = glue cartridge empty
●
Display actual temperature
●
In the menu "Glueing unit" move the cursor bar by means of the
cursor keys
onto the menu item
"Display actual temperature".
●
Press the
Return key
.
In the display field of the menu window the current temperature ( in °C ) of the cartridge will be displayed (see
following menu window).
Fig. 10.7.8
SI 80G V 10.x
Display errors Machine options
Software options
Vision system
Error
State
Action
:
:
:
Single functions
Single functions
Gantry
Glueing unit 1
New cartridge
Continuous glueing
Set glueing point
Display actual temp.
Display filling level
Set glueing point
Glue spot check
Filling level OK 1
Temperature [°C] 35.8
SIPLACE 80S/F/G User’s Manual 10 SIPLACE G
Edition 07/97 from Software Version SR.010.xx 10.7 Single Functions
10 - 51
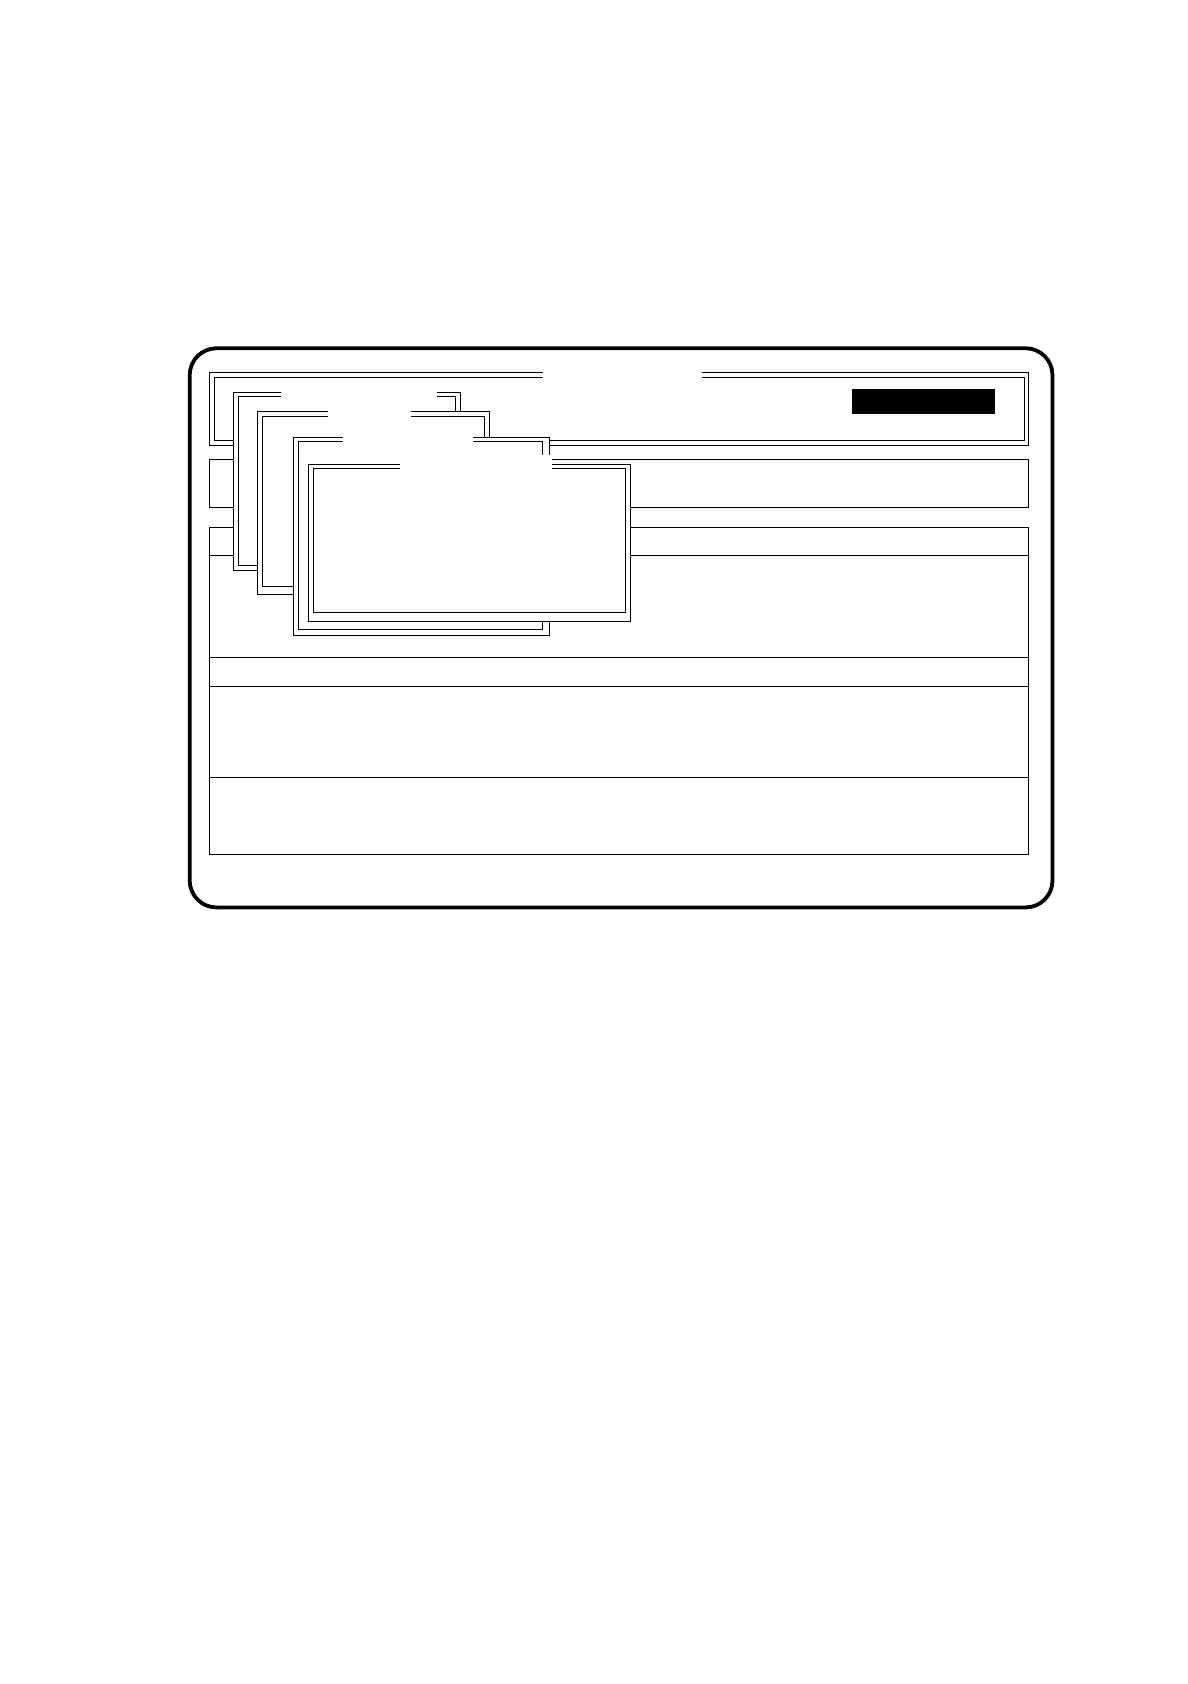
●
Set glueing point
●
In the menu "Glueing unit" move the cursor bar by means of the
cursor keys
onto the menu item "Set
glueing point".
●
Press the
Return key
.
The menu "Set glueing point" will then be opened.
Fig. 10.7.9
●
Type in a glueing size and press the
Return key
. The minimum and maximum limits of the glueing unit
to be set up will be checked.
●
Use the Esc key to quit the menu "Set glueing point".
●
Glue Spot Check
●
In the "Dosing unit" menu bring the cursor bar over the menu item "Glue spot check" with the aid of the
cursor keys.
●
Press the
Return key
.
●
Glue spots will be placed on the wiper roll. The component camera will check the glue spots and
determine a correction value for the vacuum adaptation. This value is displayed and saved under
"Adapt glue spot volume" and the previous value overwritten.
●
Use Esc to quit the "Set glue spot" menu.
10.7.4.5 Glueing Parameters
The menu "Glueing parameters" is described in Section 10.4.1.
SI 80G V 10.x
Cluster:
Display errors
Confirm errors
Machine options
Software options
Vision system
Error
State
Action
:
:
:
Single functions
Single functions
Gantry
Glueing unit 1
Set glueing point
Glueing size: XX
Esc.: abort