00198505-01_SM_SIPLACE_SmartFeeder_EN.pdf - 第173页
8 Repairs to SmartFeeder 2x8 mm X 8.11 Stripper Service Manual SIPLACE SmartFeeder 4 - 104 mm X 11/2017 173 8.10.4 Fitting the knurled tamp wheel right ► Clean the shaft and circlip with Polyhub Gly 801. ► Replace the sm…
8 Repairs to SmartFeeder 2x8 mm X
8.10 Knurled Tamp Wheel
172 Service Manual SIPLACE SmartFeeder 4 - 104 mm X 11/2017
8.10.2 Fitting the knurled tamp wheel left
► Grease the shaft and the circlip with Polyhub Gly
801.
► Replace the large washer. (1)
► Fit the new knurled tamp wheel.(2)
► Replace the circlip.(3,4)
► Refit the toothed wheel 4 tape. (See Fitting the
Gear Wheel 4 Foil left)
► Reinsert the stripping device (see 8.11.2 "Fitting
the wiper" [}173]).
► Reinsert the rocker (see 8.8.1.2 "Fitting the Foil
Rocker Cpl." [}165]).
► Fit the covers (see 8.3.2 "Fitting the Left Side
Cover" [}136], 8.3.4 "Fitting the Right Side
Cover" [}137]).
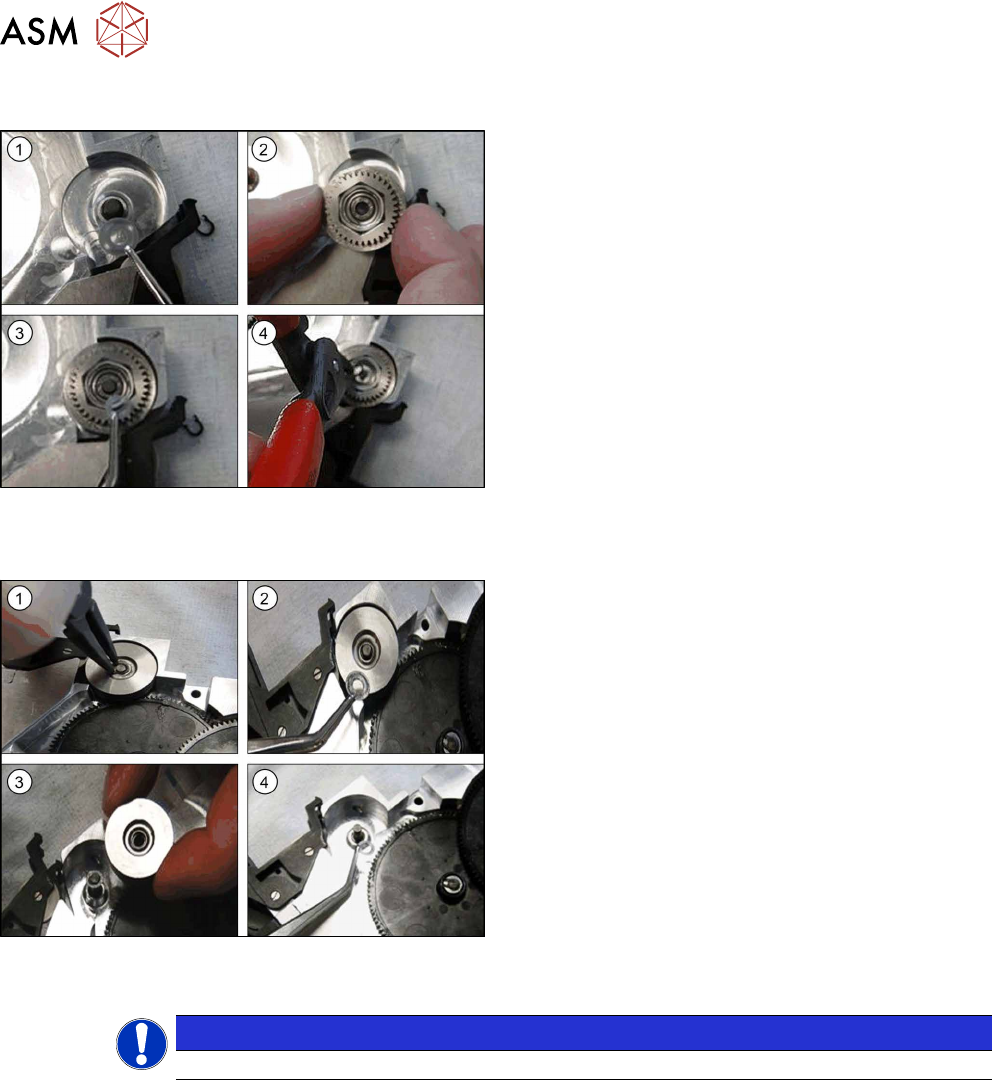
8.10.3 Removing the knurled tamp wheel right
► Place the feeder on a stable, level and clean sur-
face.
► Remove the left and right side cover (see 8.3.1
"Removing the Left Side Cover" [}135], 8.3.3
"Removing the Right Side Cover" [}136]).
► Remove the rocker (see 8.8.1.1 "Removing the
Foil Rocker Cpl." [}165]).
► Remove the stripping device (see 8.11.1 "Remov-
ing the wiper" [}173]).
► Remove the toothed wheel 4 tape (see Removing
the Gear Wheel 4 Foil right).
► Remove the circlip.(1)
► Remove the washer.(2)
► Remove knurled tamp wheel. (3)
► Remove the washer.(4)
NOTICE
Ensure that the smaller spacer is below and the larger spacer on top of the tamp wheel.
8 Repairs to SmartFeeder 2x8 mm X
8.11 Stripper
Service Manual SIPLACE SmartFeeder 4 - 104 mm X 11/2017 173
8.10.4 Fitting the knurled tamp wheel right
► Clean the shaft and circlip with Polyhub Gly 801.
► Replace the small spacer.(1)
► Fit the knurled tamp wheel. (2)
► Replace the circlip.(3)
► Replace the washer.(4)
► Remove the toothed wheel 4 tape (see Fitting the
Gear Wheel 4 Foil right).
► Reinsert the stripping device (see 8.11.2 "Fitting
the wiper" [}173]).
► Reinsert the rocker (see 8.8.1.2 "Fitting the Foil
Rocker Cpl." [}165]).
► Refit the left and right side covers (see 8.3.2 "Fit-
ting the Left Side Cover" [}136], 8.3.4 "Fitting the
Right Side Cover" [}137]).
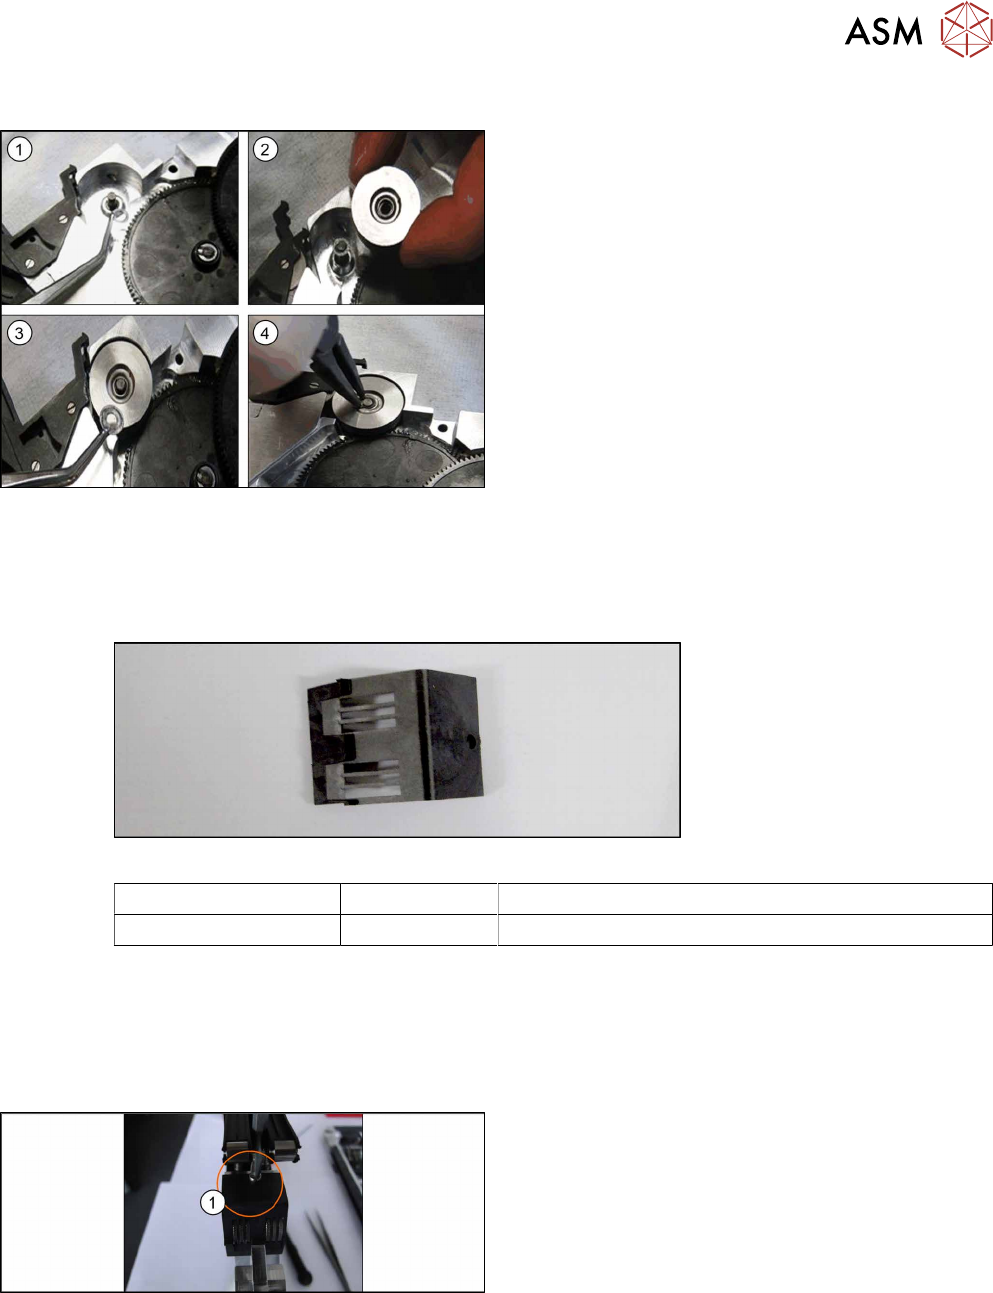
8.11 Stripper
Required spare part
Fig.58: Wiper
Feeder module Item no. Designation
SmartFeeder 2x8mmX 03059930Sxx Wiper
Required tools
●
Phillips screwdriver
●
Flat-bladed screwdriver
8.11.1 Removing the wiper
► Place the feeder on a stable, level and clean sur-
face.
► Remove the right side cover (see 8.3.3 "Remov-
ing the Right Side Cover" [}136]).
► Remove the foil rocker (see 8.8.1.1 "Removing
the Foil Rocker Cpl." [}165]).
► Loosen and remove the marked screw. (1)
► Remove the stripping device.
8.11.2 Fitting the wiper
► Fit the new stripping device. Ensure the knurled tamp wheel does not touch the stripping
device and fasten the screw.
► Refit the foil rocker (see 8.8.1.2 "Fitting the Foil Rocker Cpl." [}165]).
► Fit the right side cover (see 8.3.4 "Fitting the Right Side Cover" [}137]).
8 Repairs to SmartFeeder 2x8 mm X
8.12 Flap Tape Disposal
174 Service Manual SIPLACE SmartFeeder 4 - 104 mm X 11/2017
8.12 Flap Tape Disposal
Required spare part
Fig.59: Foil disposal flap
Feeder module Item no. Designation
SmartFeeder 2x8mmX 03072467-xx Foil disposal flap /X2x8
03067306-xx Bearing bolt left flap /X2x8
03067320-xx Bearing bolt right flap /X2x8
Required tools
●
Hexagon socket-head wrench
●
TORX screwdriver size T8
●
Phillips screwdriver
8.12.1 Removing the Flap Tape Disposal
► Place the feeder on a stable, level and clean sur-
face.
► Open the flap.
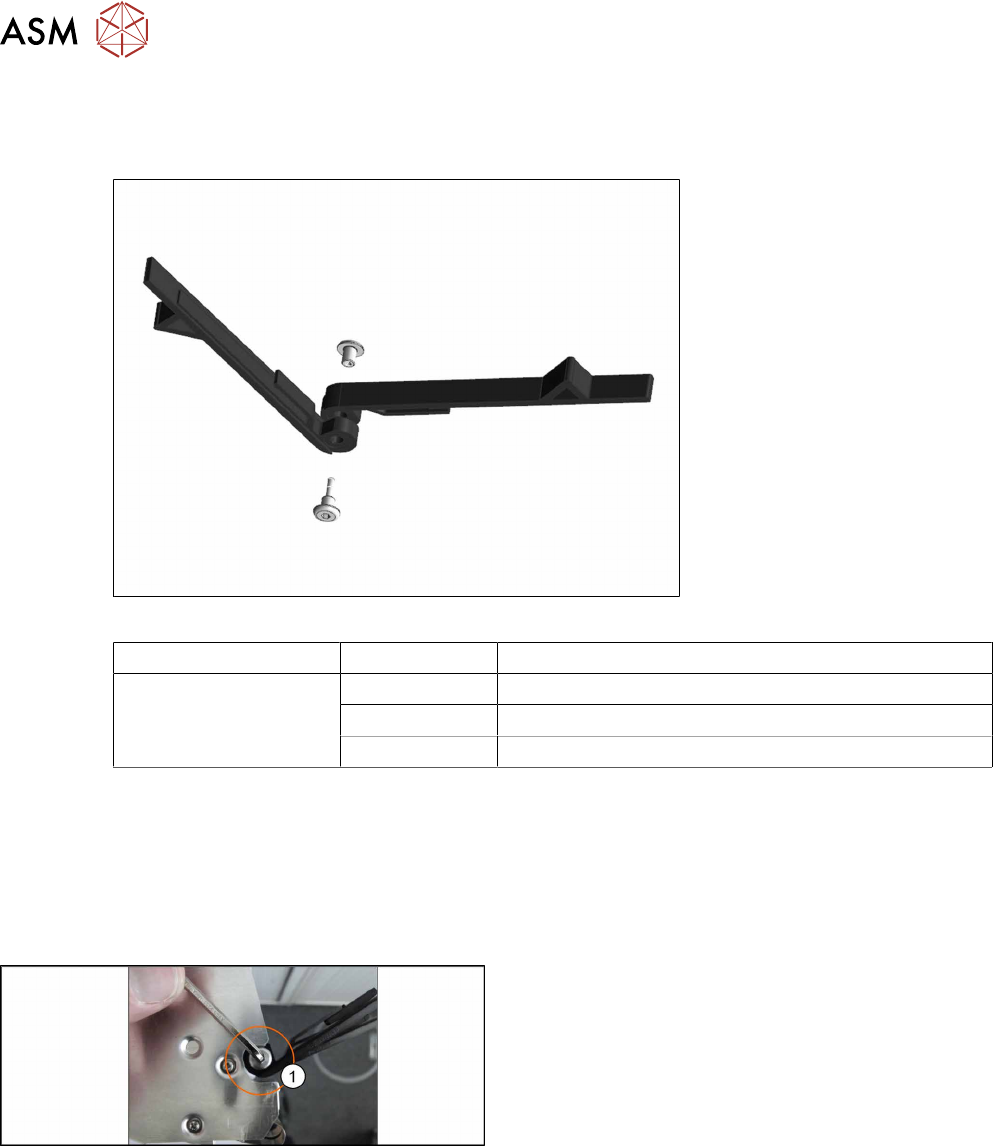
► Remove the marked screwed axle. Hold the
screw on the other side tight while doing so.(1)
► Carefully remove the flap from the feeder mod-
ule.
8.12.2 Fitting the Flap Tape Disposal
► Carefully insert the flap, from the side, into the foil container.
► Tighten the screwed axle.(1)
► Close the flap.