Service Manual SIPLACE SmartFeeder.pdf - 第66页
6 Repairs to SmartFeeder 4 mm X / Xi 6.10 Tamp wheel / spiral gear 66 Service Manual SIPLACE SmartFeeder 4 - 8 mm X / Xi SIPLACE SmartFeeder 2 x 8 mm X / Xi 11/2020 ► Remove the tamp wheel. ► If the bottom washer is stil…
6 Repairs to SmartFeeder 4 mm X / Xi
6.10 Tamp wheel / spiral gear
Service Manual SIPLACE SmartFeeder 4 - 8 mm X / Xi SIPLACE SmartFeeder 2 x 8 mm X / Xi 11/2020 65
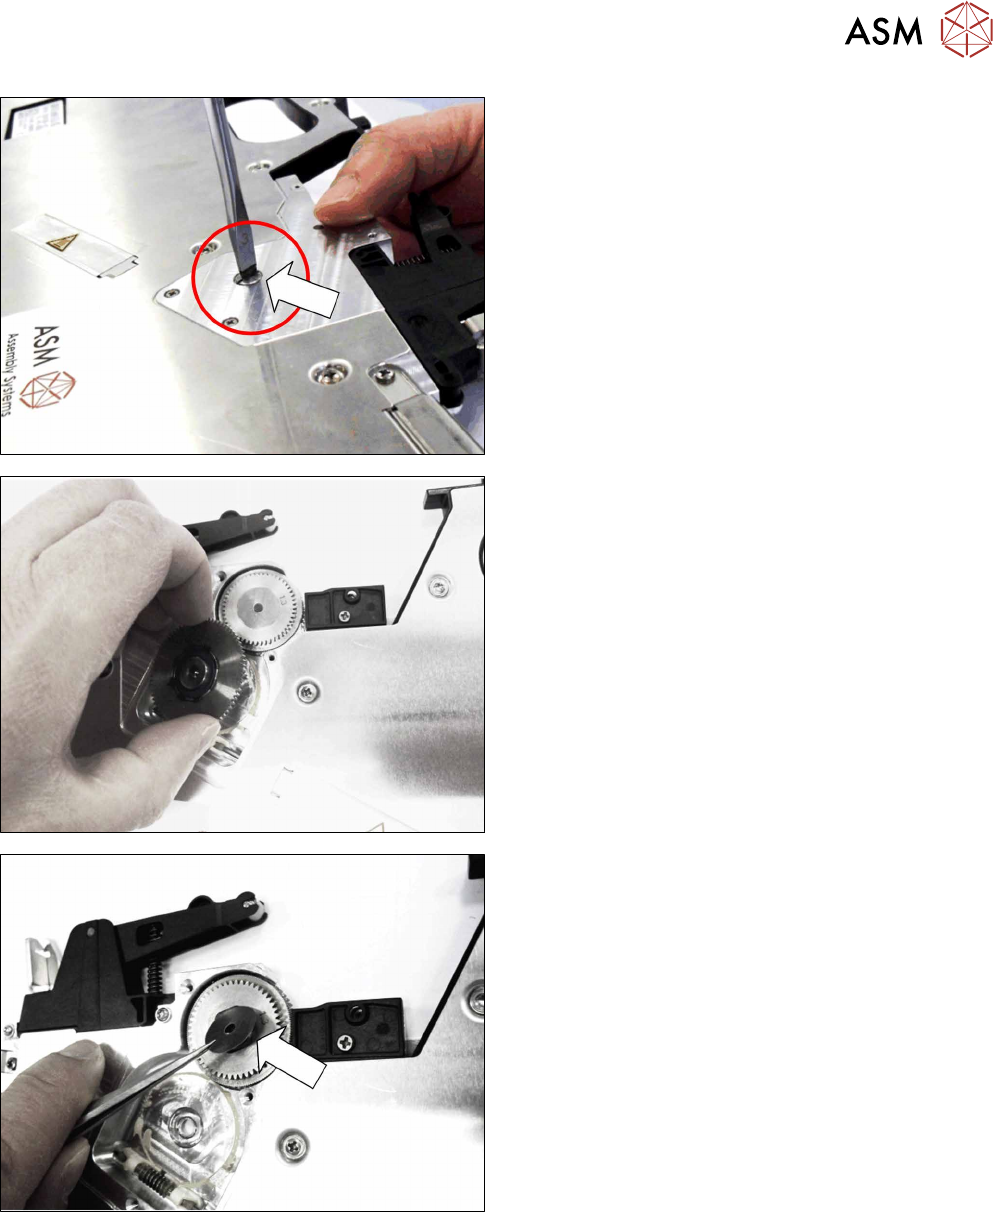
► Tilt the feeder module to the right and hold the
Allen screw on the spiral gear with one finger.
► Remove the slotted screw.
► Remove the spiral gear.
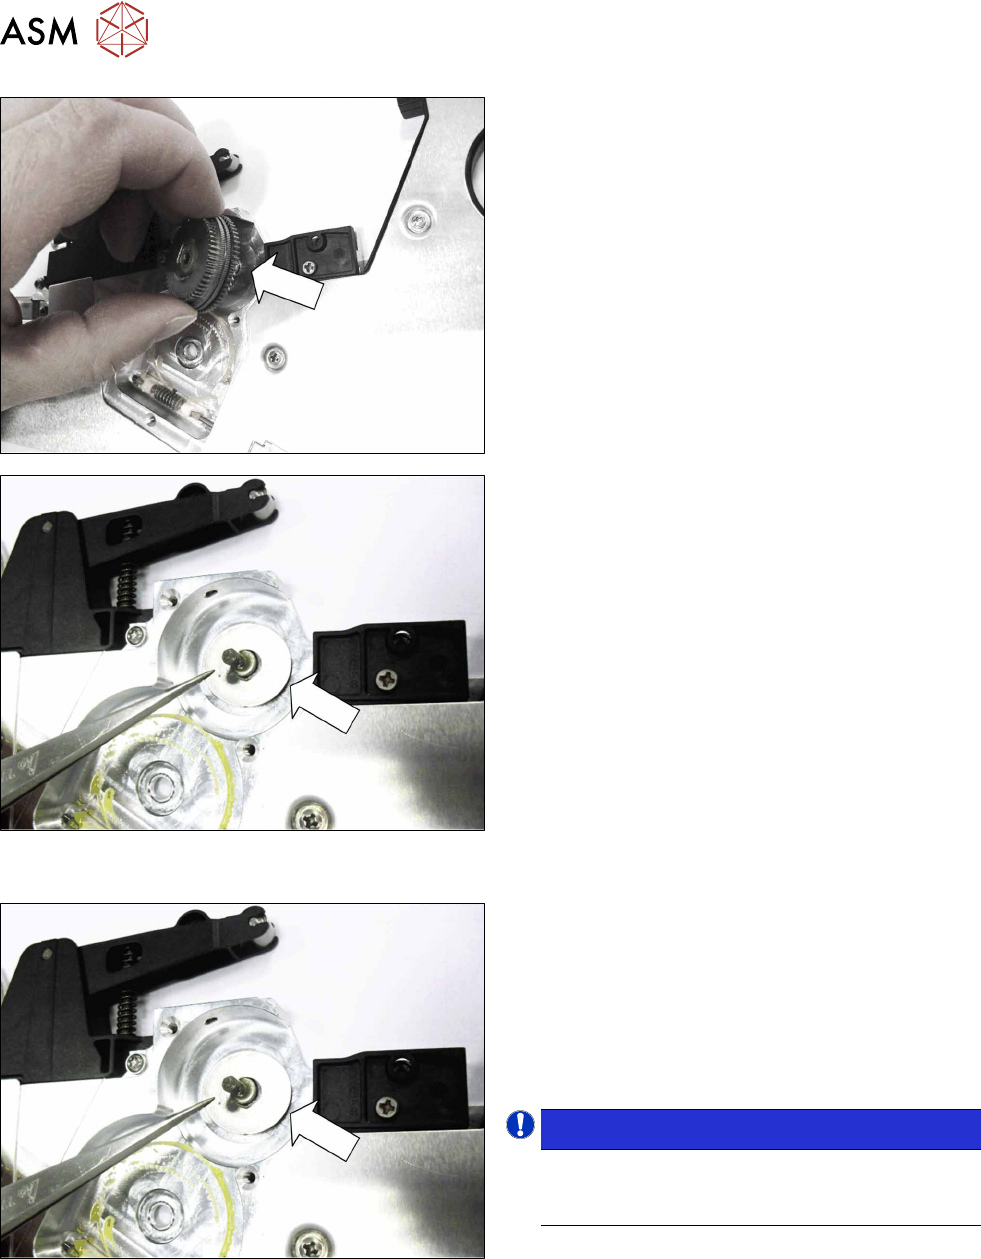
► Remove the top washer (03043774-xx compens-
ating disk /d3.1 D15 t0.1) from the tamp wheel.
6 Repairs to SmartFeeder 4 mm X / Xi
6.10 Tamp wheel / spiral gear
66 Service Manual SIPLACE SmartFeeder 4 - 8 mm X / Xi SIPLACE SmartFeeder 2 x 8 mm X / Xi 11/2020
► Remove the tamp wheel.
► If the bottom washer is still stuck to the spiral
gear, take it and place it back on the axis.
6.10.2 Fitting the tamp wheel
► Carefully place the feeder module with the right
side down on a stable, level and clean surface.
► Coat the axis base/ motor mount with a little
grease (Klüber-Synth GE-14-151) and fit the
washer (adjusting shim-6x18x0.1 2 pieces K 50
a.DIN 988, 03135899-xx) onto the axis. If the
washer is already on the axis, take it off the axis
before lubricating.
NOTICE!
Make sure that there is a washer on the axis
(adjusting shim 6x18x0.1 2 pieces K 50 a.DIN
988, 03135899-xx).
.
6 Repairs to SmartFeeder 4 mm X / Xi
6.10 Tamp wheel / spiral gear
Service Manual SIPLACE SmartFeeder 4 - 8 mm X / Xi SIPLACE SmartFeeder 2 x 8 mm X / Xi 11/2020 67
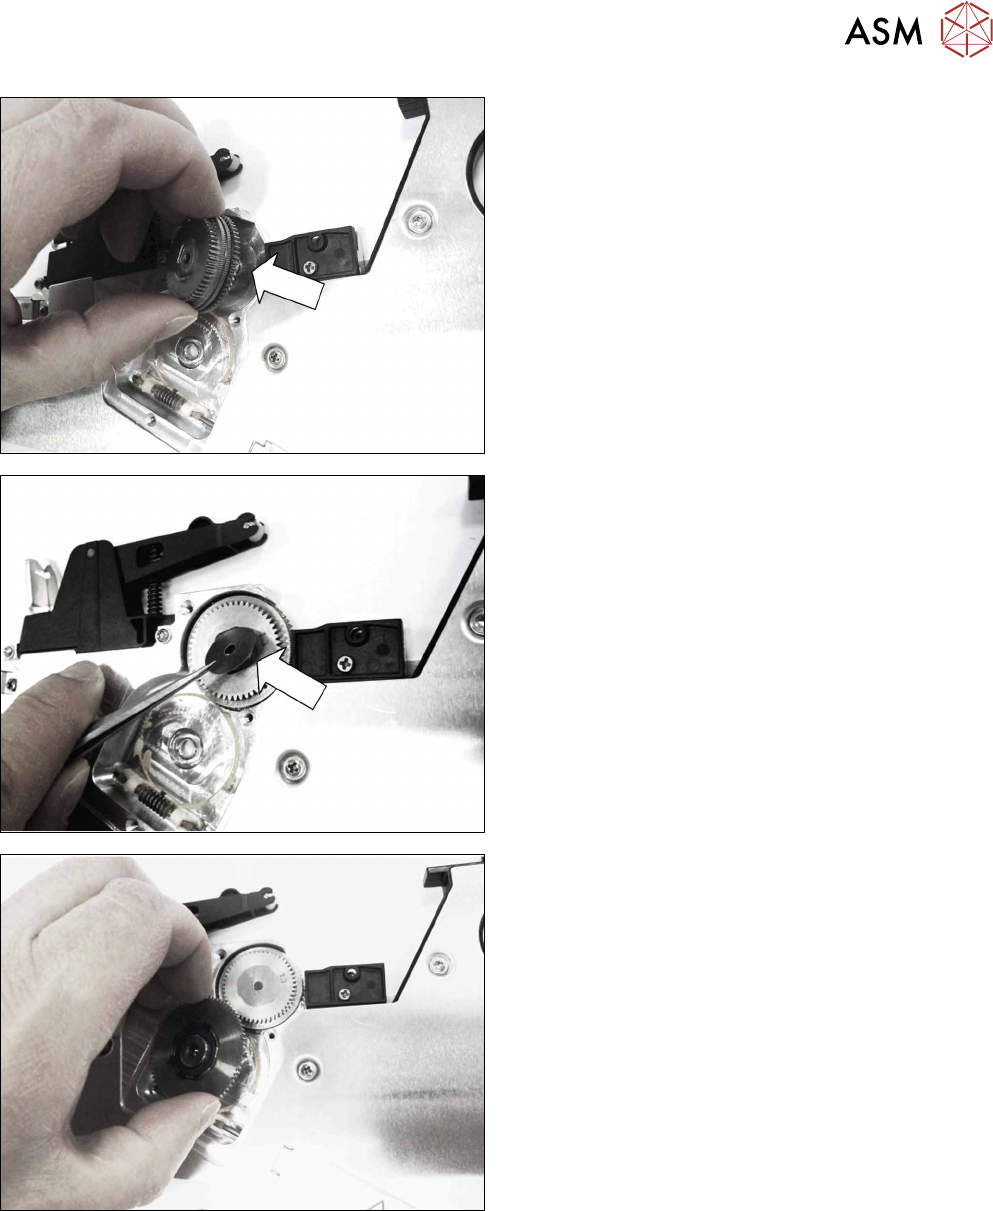
Coat the axis with a little grease.
► Fit the tamp wheel on the axis, as shown in the
diagram.
Coat the axis with a drop of grease.
► Place the top washer (compensating disk /d3.1
D15 t0.1, 03043774-xx) onto the tamp wheel.
► Insert the spiral gear as shown in the diagram.