00197001-04_UM_Smart_Pin_Support_X-Series-S_SX12V2_DE_EN.pdf - 第82页
3 Configuring Smart Pin Support in SIPLACE Pro 3.2 Defining Support Pin Positions in the Board Editor 82 User Manual / Bedienungsanleitung SIPLACE X-Series S, SX1/SX2 V2 Smart Pin Support Operation and Configura- tion 05…

3 Configuring Smart Pin Support in SIPLACE Pro
3.2 Defining Support Pin Positions in the Board Editor
User Manual / Bedienungsanleitung SIPLACE X-Series S, SX1/SX2 V2 Smart Pin Support Operation and Configura-
tion 05/2019
81
3.2.2.2 Defining X-/Y-Positions
Fig.22: Defining X-/Y-positions
► Define the X- and Y-positions of the support pins on the selected board.
3 Configuring Smart Pin Support in SIPLACE Pro
3.2 Defining Support Pin Positions in the Board Editor
82 User Manual / Bedienungsanleitung SIPLACE X-Series S, SX1/SX2 V2 Smart Pin Support Operation and Configura-
tion 05/2019
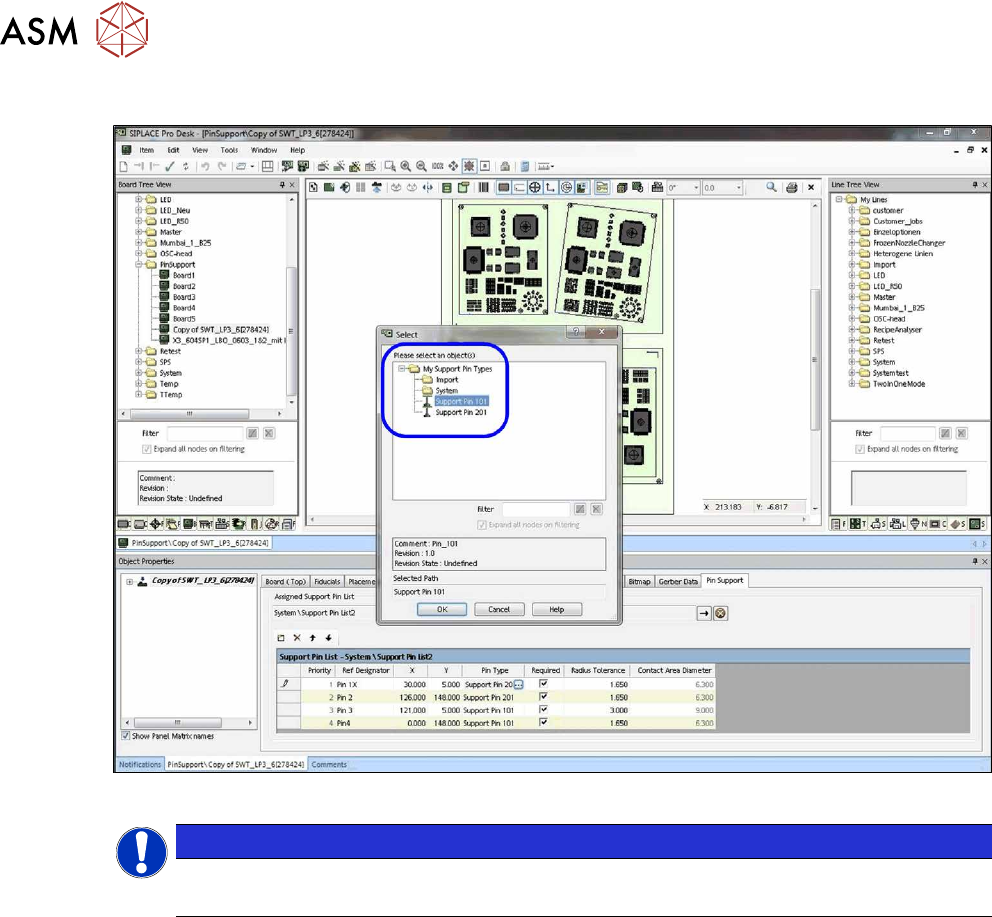
3.2.2.3 Defining Support Pin Type
Fig.23: Defining support pin type
NOTICE
Supported support pins
The current version only supports support pins of type Support Pin 101.
3 Configuring Smart Pin Support in SIPLACE Pro
3.2 Defining Support Pin Positions in the Board Editor
User Manual / Bedienungsanleitung SIPLACE X-Series S, SX1/SX2 V2 Smart Pin Support Operation and Configura-
tion 05/2019
83
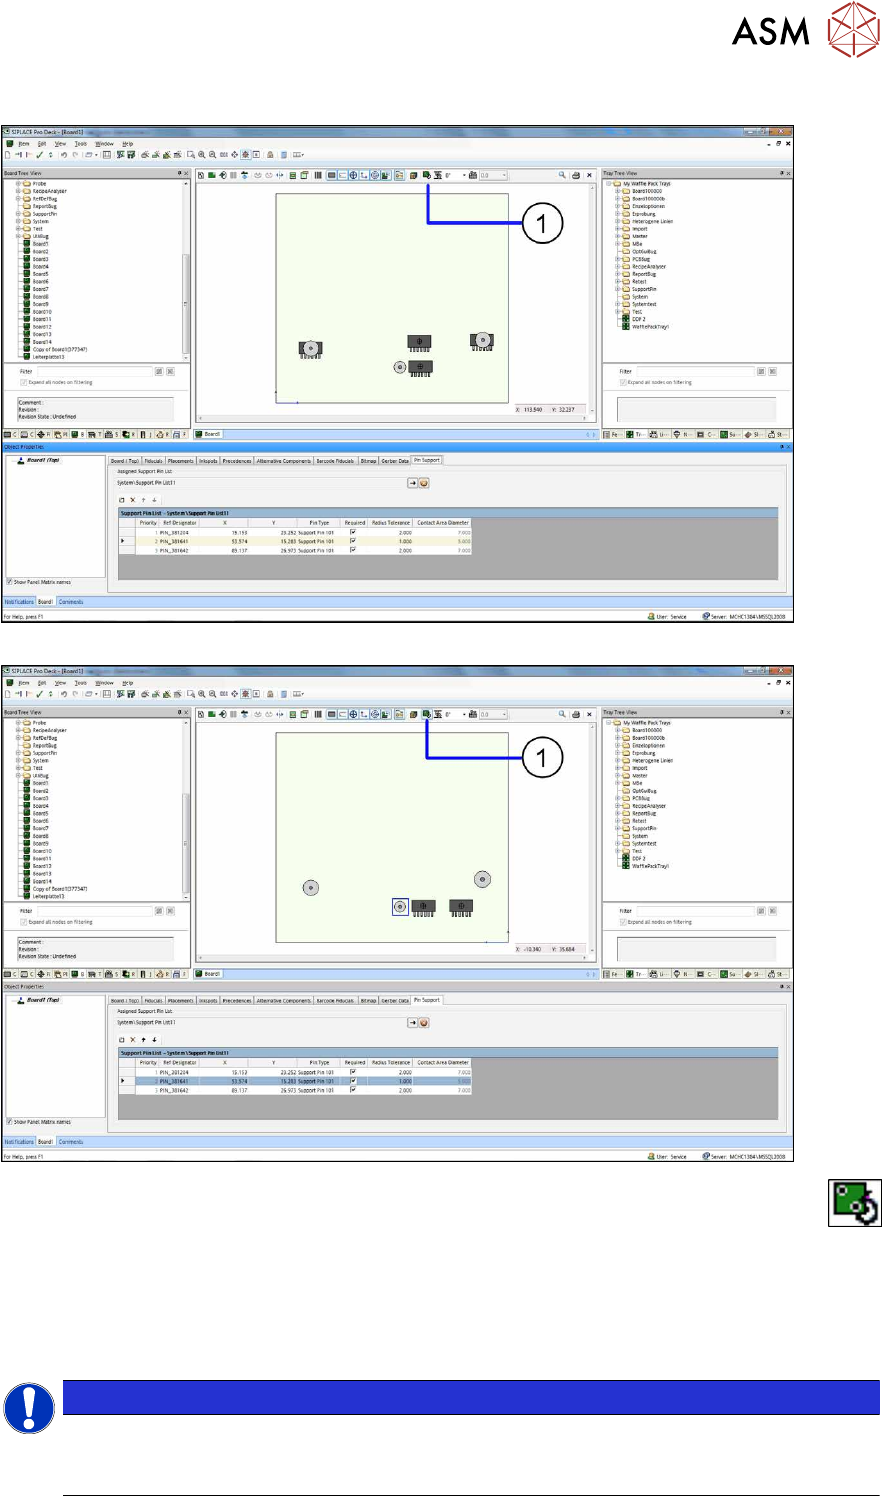
3.2.2.4 Displaying Underside in 2D
Fig.24: Support pins 2D view top side
Fig.25: Support pins 2D view underside
The positions of the components and the support pins are visible in this view. By clicking on the
button (1) you switch the view of the board sides (top side / underside respectively).
► Check the positions of the single support pins. For this, also switch the view from top side to
underside and vice versa to detect potential conflicts.
► If you want to change the position of a support pin, click on the support pin and drag it to the
desired position.
NOTICE
Activating Drag & Drop
If Drag & Drop does not work for the support pins, activate the Drag & Drop for Support
Pins option in the Tools – Settings – Options menu.