DECAN_S2_Admin(Eng_Ver4.5).pdf - 第155页
6-42 Advanced Chip Shooter DECAN S2 Admi nistra t or’s Guide <Ar ray> Com b o Box Displays the number of the array selected currently . <X/Y/Z> Edit Box Refer to the corresponding description in the <B…
6-41
Board Definition
<Board> Area
Teaches the 2D barcode position attached to a board using the fiducial camera
selected from the <3. Teach> area or performs setup for 2D barcode attachment to
a board.
<X/Y> Edit Box
Sets the X/Y coordinate of a 2D barcode.
<Z> Edit Box
When attaching a 2D barcode to a board, sets the Z-axis coordinate in order to
press and attach a 2D barcode to a board with a head spindle.
<Inspection> Check Box
Selecting this check box will recognize the 2D barcode attached to a board.
<Placing> Check Box
Selecting this check box will attach a 2D barcode to a board using the
machine.
Part
Enabled when the <Placing> check box is selected. Displays the part supplied
by the feeder selected from the <Feeder> combo box.
<Feeder> Combo Box
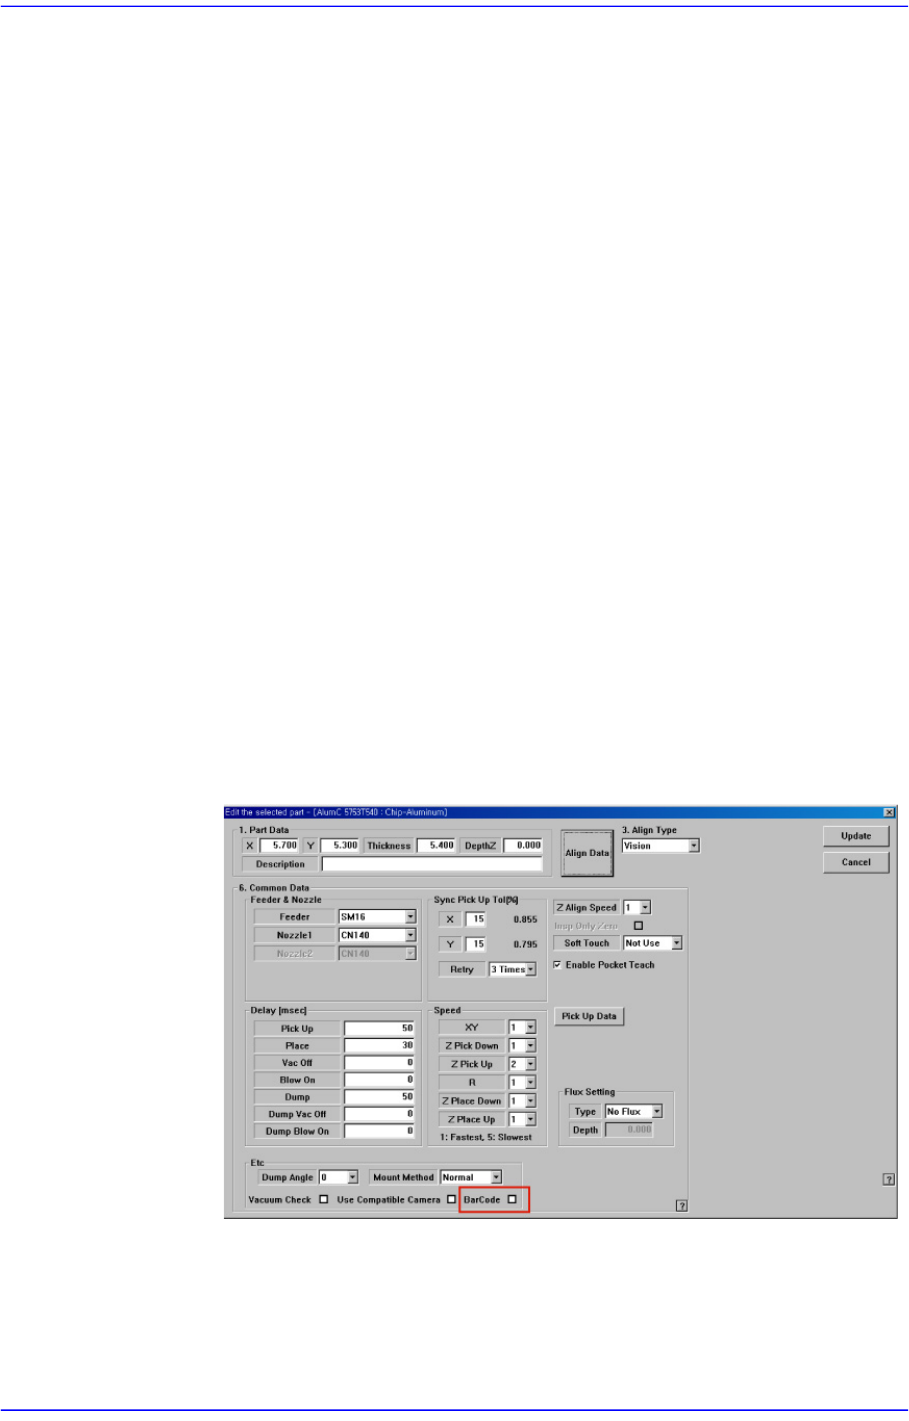
Enabled when <Placing> check box is selected. The feeder supplying the part
registered by selecting the <BarCode> check box from the Common Data
setup screen appears in the list as shown in the following figure:
<Array> Area
Teaches the 2D barcode position attached to an array of a board using the fiducial
camera selected from the <3. Teach> area or performs setup for 2D barcode
attachment to the array of the board.

6-42
Advanced Chip Shooter DECAN S2 Administrator’s Guide
<Array> Combo Box
Displays the number of the array selected currently.
<X/Y/Z> Edit Box
Refer to the corresponding description in the <Board> area.
<Inspection> Check Box
Refer to the corresponding description in the <Board> area.
<Placing> Check Box
Refer to the corresponding description in the <Board> area.
Part
Refer to the corresponding description in the <Board> area.
<Feeder> Combo Box
Refer to the corresponding description in the <Board> area.
<3. Teach> group
Used to move the teaching camera on the barcode to recognize the 2D barcode on the
PCB.
<4. Bar Code Type> group
Sets the type of the 2D barcode.
<Data Matrix> option button
Refers to the barcode with the rectangular module of fixed size containing
information.
<QR Code> option button
Refers to the barcode containing the information in two directions: vertically and
horizontally.
<5. Search Area> group
Sets the size of the area in which the existence of the 2D barcode is checked from the
image obtained from the camera.
<width> edit box
Sets the checking range in the X axis direction. Generally, it is set to 8mm.
<Height> edit box
Sets the checking range in the Y axis direction. Generally, it is set to 8mm.
<6. Data Matrix Parameter> group
<Size> group
<Width> edit box
Sets the 2D barcode size in the X axis. Generally, it is set to 4mm.
6-43
Board Definition
<Height> edit box
Sets the 2D barcode size in the Y axis. Generally, it is set to 4mm.
<Shape> group
<SQUARE> option button
Sets the square type barcode.
<Rectangle> option button
Sets the bar type rectangular barcode.
<7. Bar Code Color> group
<White > option button
The barcode looks brighter than its surrounding.
<Black > option button
The barcode looks darker than its surrounding.
<8. Parameter > group
<Score > edit box
Sets the basis by which it is determined whether the 2D barcode exists when
analyzing the image. The recommended value is 600.
<Light > group
Sets the light value when checking the barcode. Generally, it is set to 5. However,
adjust it appropriately according to the state of the barcode.
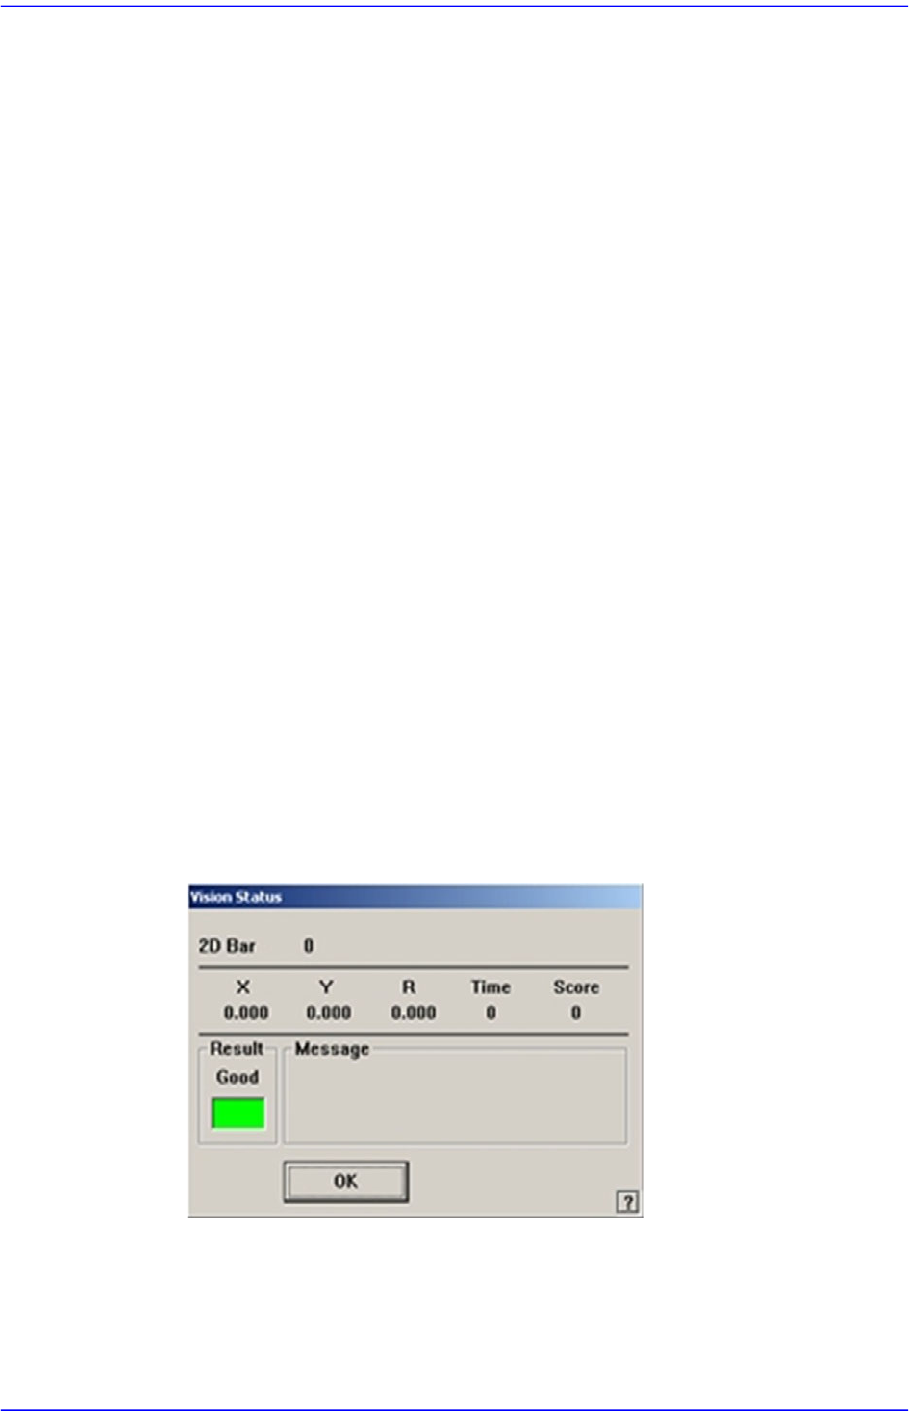
<Test> button
Checks if the read barcode data can be used. If the test is successfully performed,
the following window is displayed.
If the test fails, the following window is displayed.