OM-1012-001.pdf - 第182页
0305-001 Chapter 3 2-21 Tg0869-PM-OM 4. T roubleshooting after Error Message 12 01 07 TV2-AXIS ORIGIN TRA VERSE #2 MIDDLE ORIGIN [BPH262] NOT DE- TECTED. 12 01 08 TV2-AXIS ORIGIN CHUTE P ALLET CHECK #4 [BPH269, 273] SENS…
0305-001 Chapter 3 2-20 Tg0869-PM-OM
4. Troubleshooting after Error Message
12 01 04 TV2-AXIS ORIGIN EXCITATION-MONITOR SIGNAL FROM STEPPING
MOTOR DRIVER WAS NOT DETECTED.
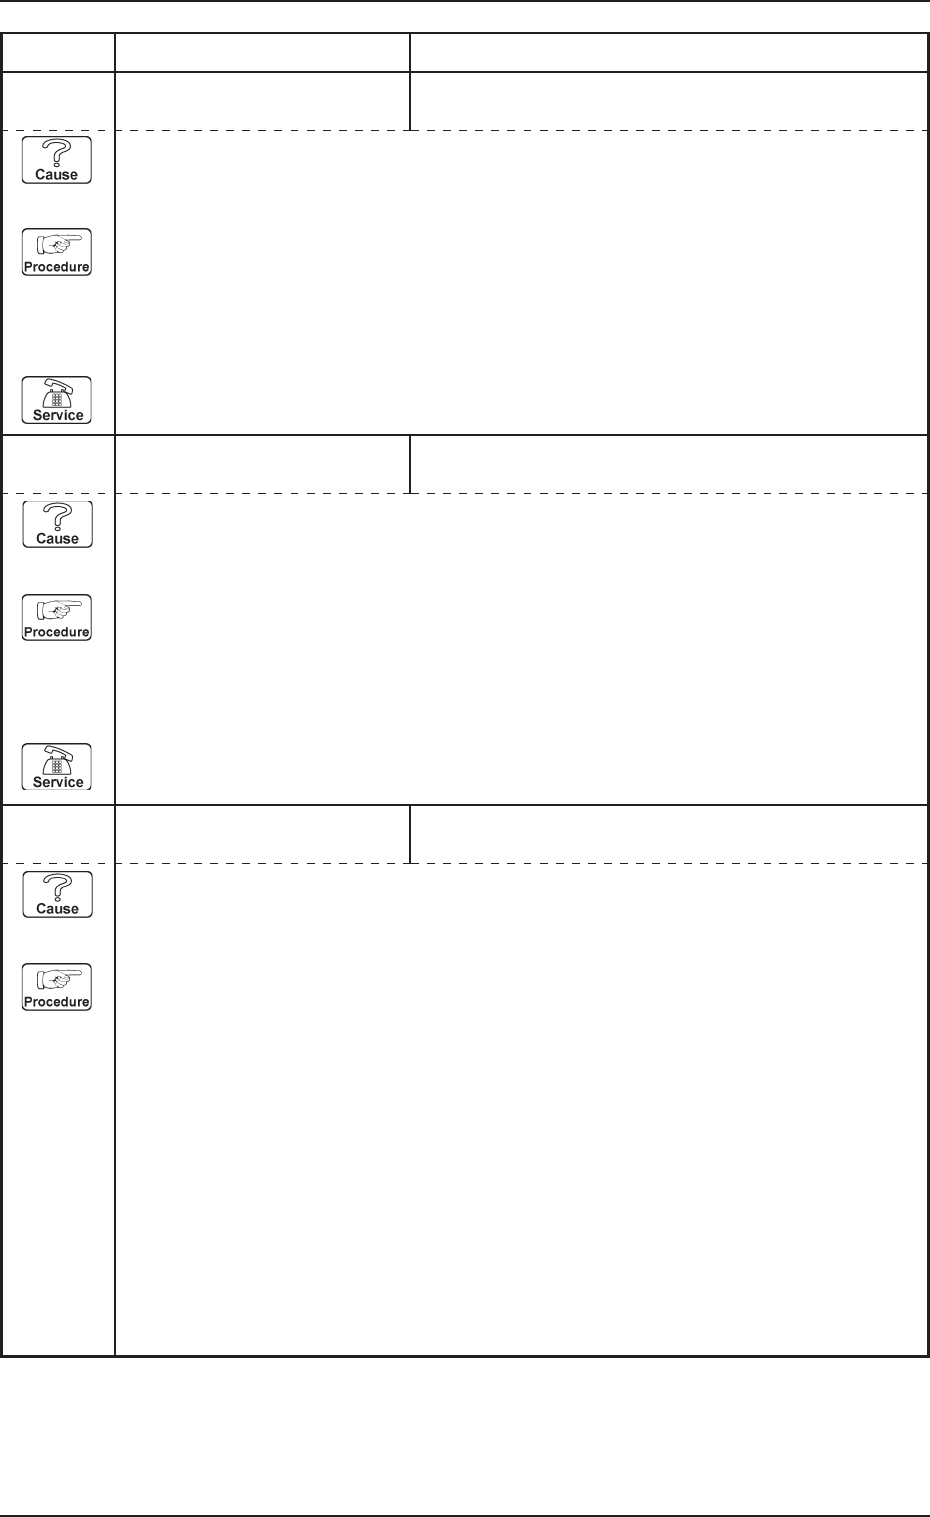
12 01 05 TV2-AXIS ORIGIN TRAVERSE #2 ORIGIN [BPH255] NOT DETECTED.
Error Code Display A Display B
(Cause 1) This is the device’s self-diagnostic message.
(Reset Procedure in the case of Cause 1)
Reset Procedure
(1) Press the [CLEAR ALARM] key to stop the buzzer sound.
(2) Press the [RESET] button to cancel the error mode.
(3) Press the [ZERO] button to return all axes to their original positions. Continue the produc-
tion according to the “WARM Start Operation Procedure”.
(4) If the device can’t be reset after the above procedure, contact our service personnel.
12 01 06 TV2-AXIS ORIGIN PALLET NOT STORED.
(Cause) Has the pallet to be housed been removed ?
(Reset Procedure in the case of Cause 1)
Reset Procedure
(1) Press the [CLEAR ALARM] key to stop the buzzer sound.
(2) Press the [RESET] button to cancel the error indication.
(3) Press the [READY] button on the operation panel on the beam A side to turn off the LED for
the [READY] button.
(4) Press the [EMERGENCY STOP] button to shut down the load power and open the supply
cover on the beam A side. Take the greatest care about safety.
(5) Return the pallet which caused the error to its correct position.
(6) Close the supply cover and press the [POWER] button to turn on the load power.
(7) Press the [READY] button on the side of the beam A to turn on the LED for the [READY]
button.
(8) Press the [ZERO] button to return all axes to their original positions. Continue the produc-
tion according to the “WARM Start Operation Procedure”.
0305-001 Chapter 3 2-21 Tg0869-PM-OM
4. Troubleshooting after Error Message
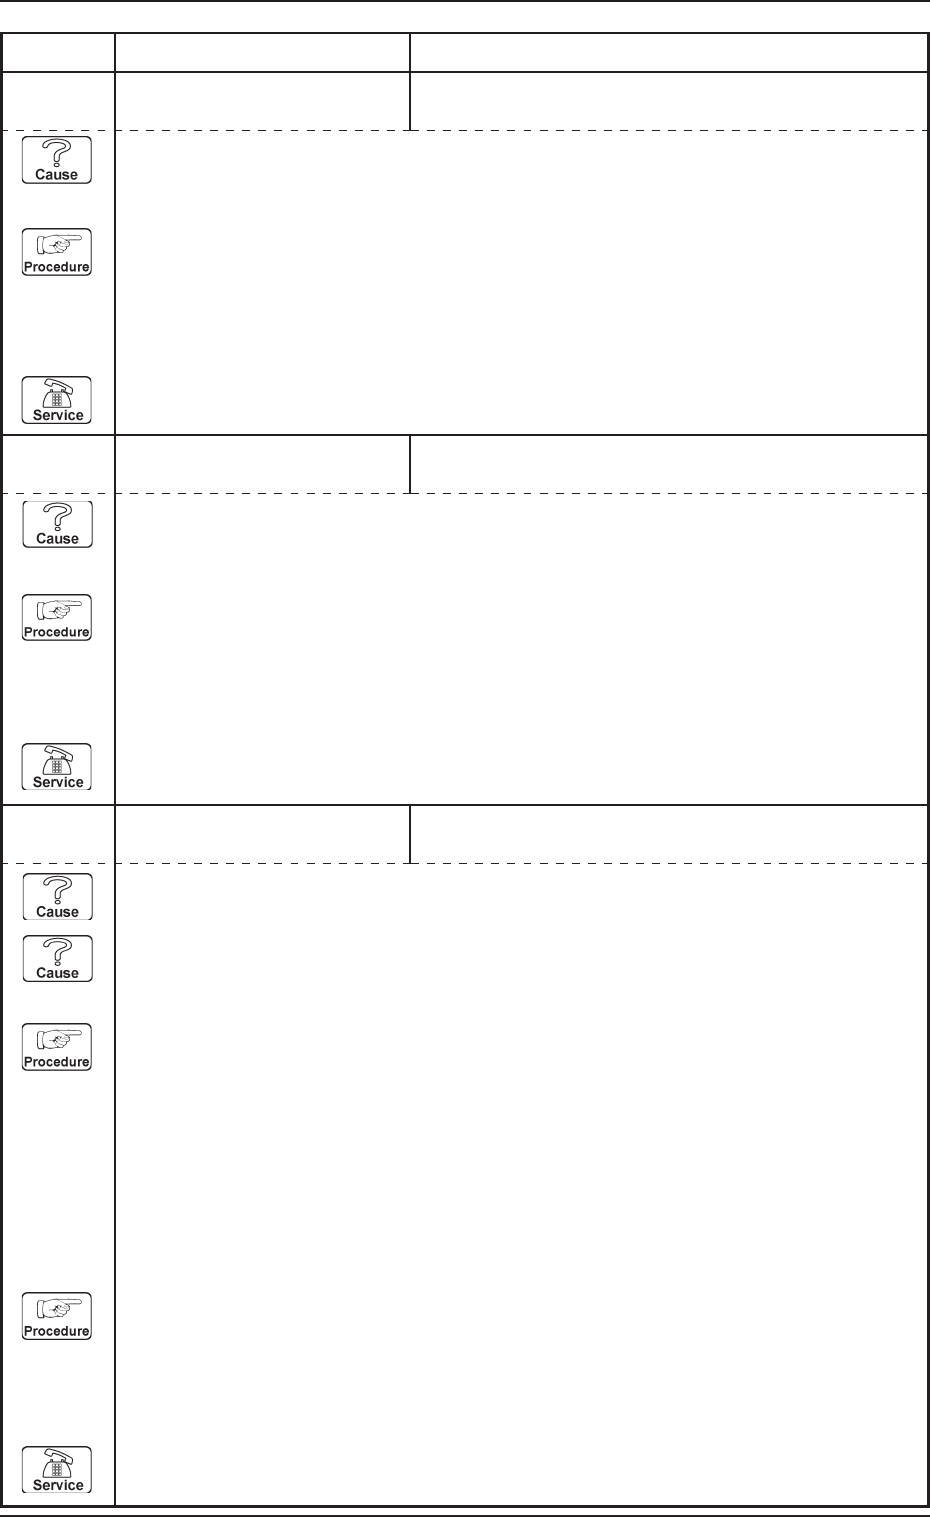
12 01 07 TV2-AXIS ORIGIN TRAVERSE #2 MIDDLE ORIGIN [BPH262] NOT DE-
TECTED.
12 01 08 TV2-AXIS ORIGIN CHUTE PALLET CHECK #4 [BPH269, 273] SENSORS
MAY BE DEFECTIVE.
Error Code Display A Display B
(Cause 1) This is the device’s self-diagnostic message.
(Reset Procedure in the case of Cause 1)
Reset Procedure
(1) Press the [CLEAR ALARM] key to stop the buzzer sound.
(2) Press the [RESET] button to cancel the error mode.
(3) Press the [ZERO] button to return all axes to their original positions. Continue the produc-
tion according to the “WARM Start Operation Procedure”.
(4) If the device can’t be reset after the above procedure, contact our service personnel.
(Cause 1) This is the device’s self-diagnostic message.
(Reset Procedure in the case of Cause 1)
Reset Procedure
(1) Press the [CLEAR ALARM] key to stop the buzzer sound.
(2) Press the [RESET] button to cancel the error mode.
(3) Press the [ZERO] button to return all axes to their original positions. Continue the produc-
tion according to the “WARM Start Operation Procedure”.
(4) If the device can’t be reset after the above procedure, contact our service personnel.
12 01 09 TV2-AXIS ORIGIN PALLET JERKED OUT OF MAGAZINE
DETECTED.;BPH586
(Cause 1) Is the pallet not properly in the magazine ?
(Cause 2) There might be a non-conformity in the pallet projection detection sensor [BPH586].
(Reset Procedure in the case of Cause 1)
Reset Procedure
(1) Press the [CLEAR ALARM] key to stop the buzzer sound.
(2) Press the [RESET] button to cancel the error mode.
(3) Press the [U Ready] or [L Ready] key to open the multi-tray feeder door.
(4) Open the magazine door and set the projecting pallet to its correct position.
(5) Press the [ZERO] button to return all axes to their original positions. Continue the produc-
tion according to the “WARM Start Operation Procedure”.
(Reset Procedure in the case of Cause 2)
Reset Procedure
(1) Press the [CLEAR ALARM] key to stop the buzzer sound.
(2) Press the [RESET] button to cancel the error mode.
(3) Press the [ZERO] button to return all axes to their original positions. Continue the produc-
tion according to the “WARM Start Operation Procedure”.
(4) If the device can’t be reset after the above procedure, contact our service personnel.
0305-001 Chapter 3 2-22 Tg0869-PM-OM
4. Troubleshooting after Error Message
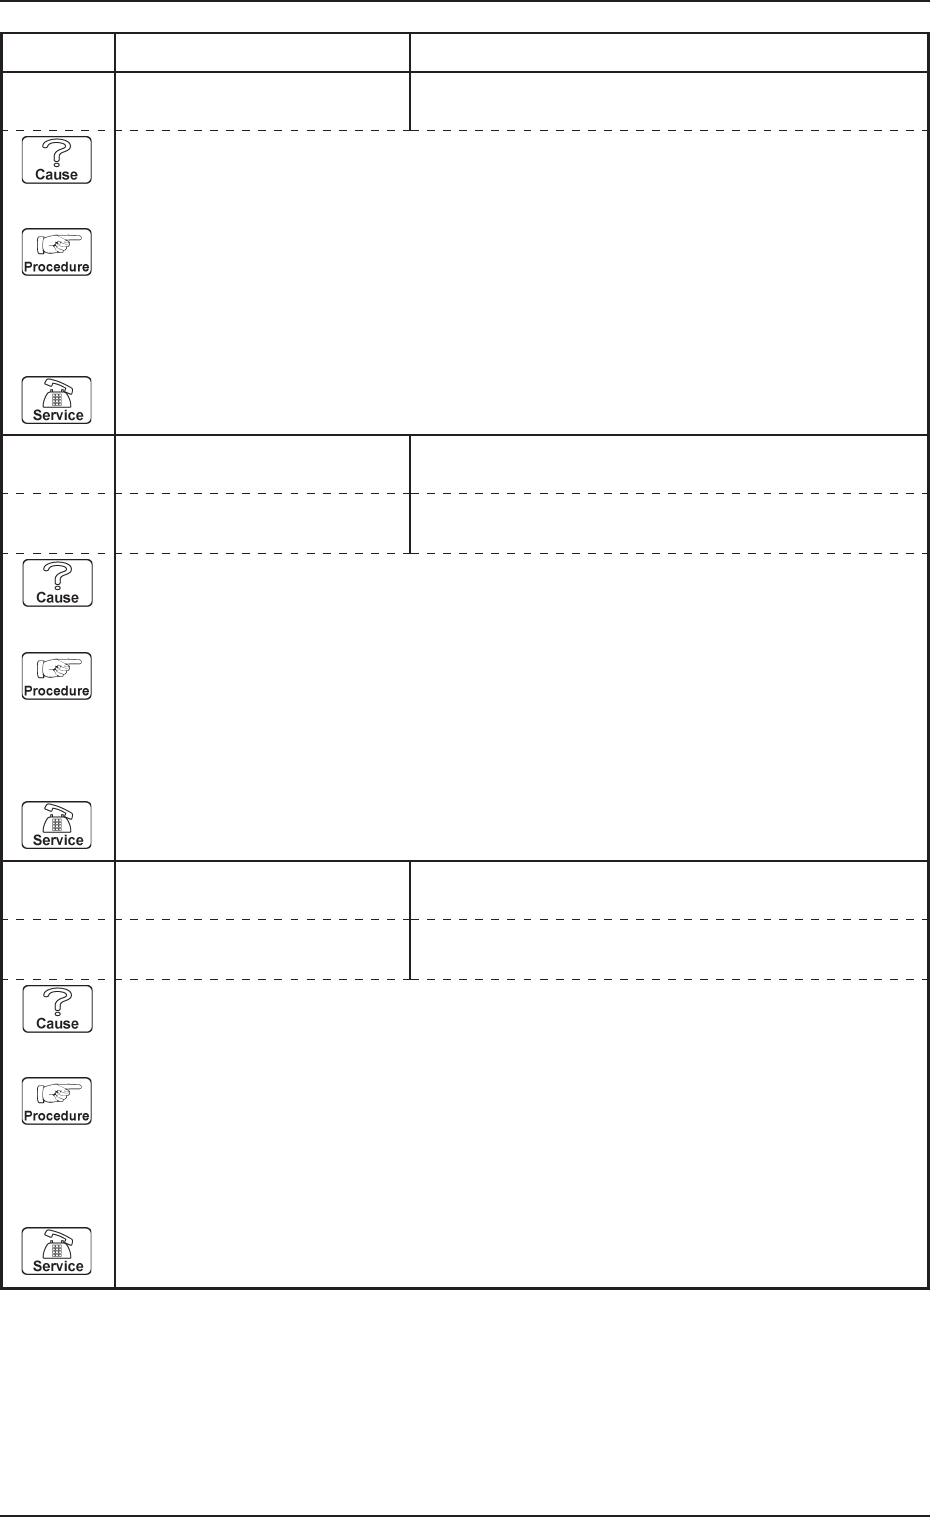
12 01 0A TV2-AXIS ORIGIN TRAVERSE AXIS (+) LIMIT [BPH256] SENSOR MAY
BE DEFECTIVE.
12 01 0B TV2-AXIS ORIGIN TRAVERSE 2 LEVER A ORIGIN [BPH264] NOT DE-
TECTED.
Error Code Display A Display B
(Cause 1) This is the device’s self-diagnostic message.
(Reset Procedure in the case of Cause 1)
Reset Procedure
(1) Press the [CLEAR ALARM] key to stop the buzzer sound.
(2) Press the [RESET] button to cancel the error mode.
(3) Press the [ZERO] button to return all axes to their original positions. Continue the produc-
tion according to the “WARM Start Operation Procedure”.
(4) If the device can’t be reset after the above procedure, contact our service personnel.
12 01 0C TV2-AXIS ORIGIN TRAVERSE 2 LEVER B ORIGIN [BPH265] NOT DE-
TECTED.
(Cause 1) This is the device’s self-diagnostic message.
(Reset Procedure in the case of Cause 1)
Reset Procedure
(1) Press the [CLEAR ALARM] key to stop the buzzer sound.
(2) Press the [RESET] button to cancel the error mode.
(3) Press the [ZERO] button to return all axes to their original positions. Continue the produc-
tion according to the “WARM Start Operation Procedure”.
(4) If the device can’t be reset after the above procedure, contact our service personnel.
12 01 0D TV2-AXIS ORIGIN TRAVERSE 2 CLAMP AREA CHECK A [BPH264] NOT
DETECTED.
12 01 0E TV2-AXIS ORIGIN TRAVERSE 2 CLAMP AREA CHECK B [BPH254] NOT
DETECTED.
(Cause 1) This is the device’s self-diagnostic message.
(Reset Procedure in the case of Cause 1)
Reset Procedure
(1) Press the [CLEAR ALARM] key to stop the buzzer sound.
(2) Press the [RESET] button to cancel the error mode.
(3) Press the [ZERO] button to return all axes to their original positions. Continue the produc-
tion according to the “WARM Start Operation Procedure”.
(4) If the device can’t be reset after the above procedure, contact our service personnel.