CP-842E-842ME System Reference-SYS-CP842-10E.pdf - 第213页
System Installation and Upgrade >> System Upgrades SYS-CP842-1.0E 7-7 7.2 System Upgrades Machine control software ve rsion upgra des are performed using the application CD- ROM. Be sure to follow th e procedure de…
System Installation
and Upgrade >> System Installation
7-6
SYS-CP842-1.0E
7.1.3 Installing the Machine Control Software
1 With the reboot dialog box displayed (from the previous section), replace the
System Software Recovery Media CD-ROM with the machine control software
CD-ROM. Now you can reboot the system (press [ENTER] on the keyboard).
After rebooting, Windows NT is started, and the system installation starts auto-
matically.
Note: If rebooting occurs without the CD-ROM inserted, Windows NT starts, and the follow-
ing message displays: Cant find shortcut link which starts Setup.EXE. If this occurs,
click [OK] and insert the application CD-ROM. The installation starts automatically.
2 When installation starts, the [Setup] screen displays together with a Yes/No
confirmation message asking whether to proceed with the installation. Select
[Yes] to proceed to the product ID input screen.
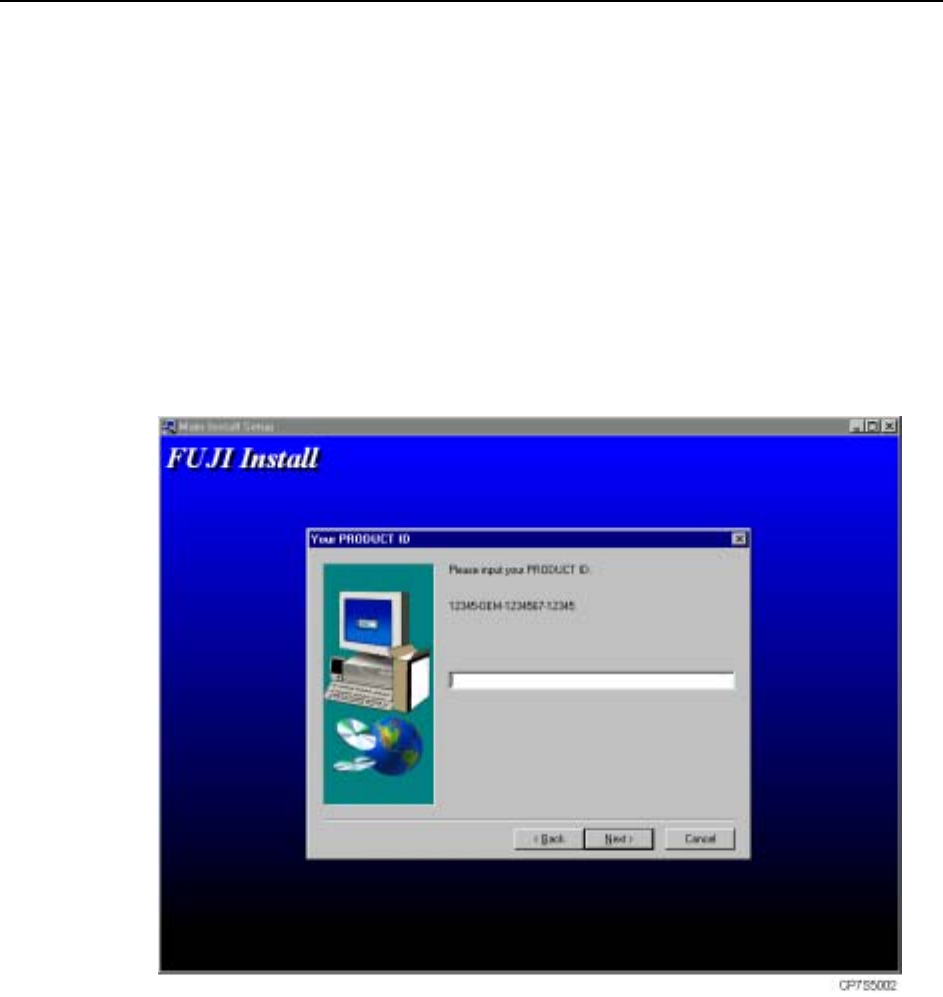
3 Enter the product ID and click [Next].
At the confirmation dialog box which then displays, verify that the ID is correct.
If the ID is incorrect, click [No] to return to the product ID input screen. If the
ID is correct, click [Yes] to continue with the installation. The remainder of the
application installation is performed automatically.
4 A message displays when installation is completed. Remove the CD-ROM and
click [OK].
5 After restarting, Windows NT will start up first, and then the application soft-
ware will start up (if correctly installed). If the installation has failed, repeat
the installation from the beginning.

System Installation
and Upgrade >> System Upgrades
SYS-CP842-1.0E 7-7
7.2 System Upgrades
Machine control software version upgrades are performed using the application CD-
ROM. Be sure to follow the procedure described below.
Note: This procedure is the same as that carried out in 1.3 Installing the Machine Control Software,
except that it does not continue on from the operating system installation.
1 With the machine power on, insert the application CD-ROM into the CD-ROM
drive, then turn the power off.
2 Turn the machine power on again. After Windows NT starts up, a Yes/No confir-
mation message displays asking whether a version upgrade is to occur. Click
[Yes] to automatically begin the version upgrade processing.
3 When the control software upgrade is complete, a message displays requesting
the removal of the CD-ROM from the drive. Remove the CD-ROM and [OK].
4 Following rebooting (restart), the machine starts up with the upgraded system.
System Installation
and Upgrade >> Installing the ID Tool License
7-8
SYS-CP842-1.0E
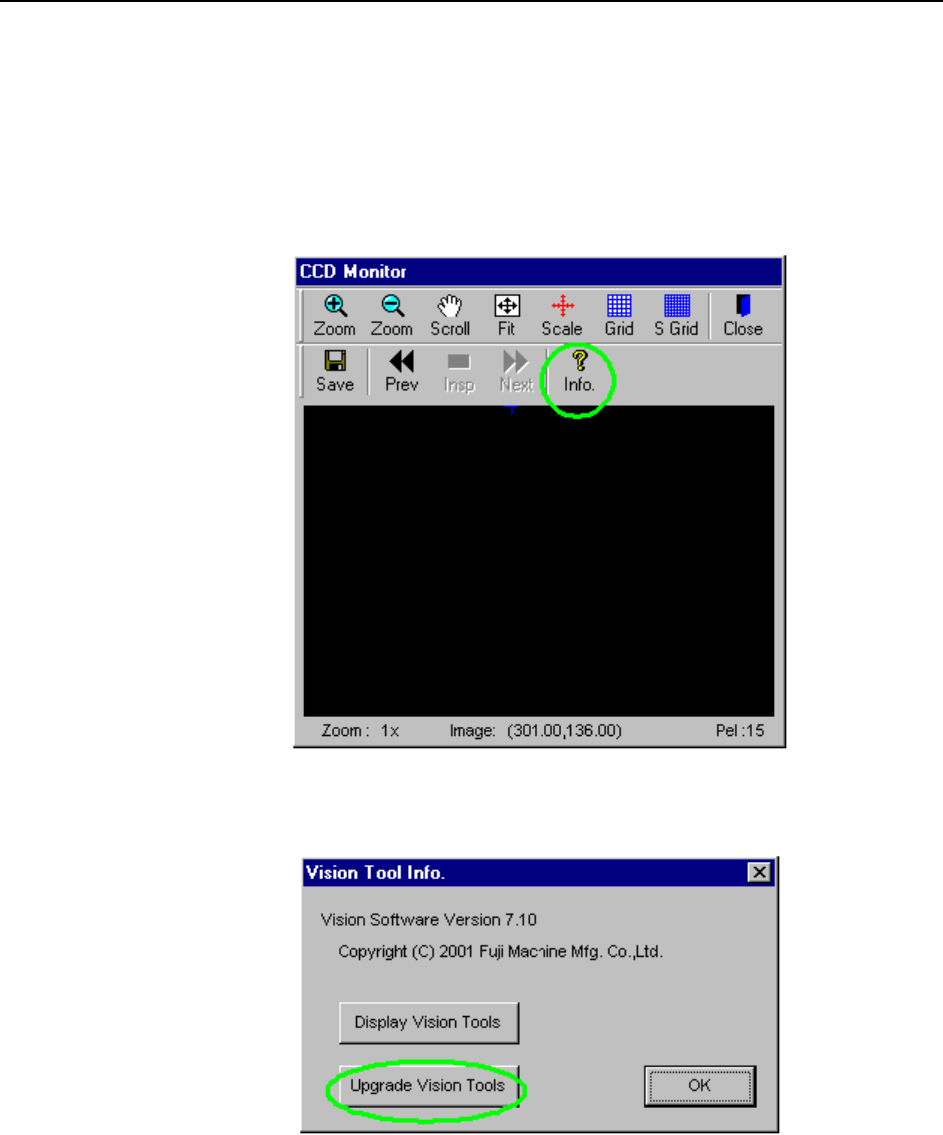
7.3 Installing the ID Tool License Upgrade CD
The procedure of upgrading Vision Tools is explained, which is necessary to perform
the panel ID reading.
1 Insert the license key upgrade CD-ROM into the CD-ROM drive.
2 Press the [Info.] button at the CCD monitor.
3 Press the [Upgrade Vision Tools] button at the [Vision Tool Info.] dialog box.