KE-750_MAINTE.pdf - 第144页
- 3 - 3. INPUT AND DISPLAY 3 . 1 Storing the setting values T he <O K> and <CA NCE L> but t ons ar e available on eac h s et t ing s c r een f or m ec hanis m c ont r ol par am et er s. Not e t hat s elec t i…
- 2 -
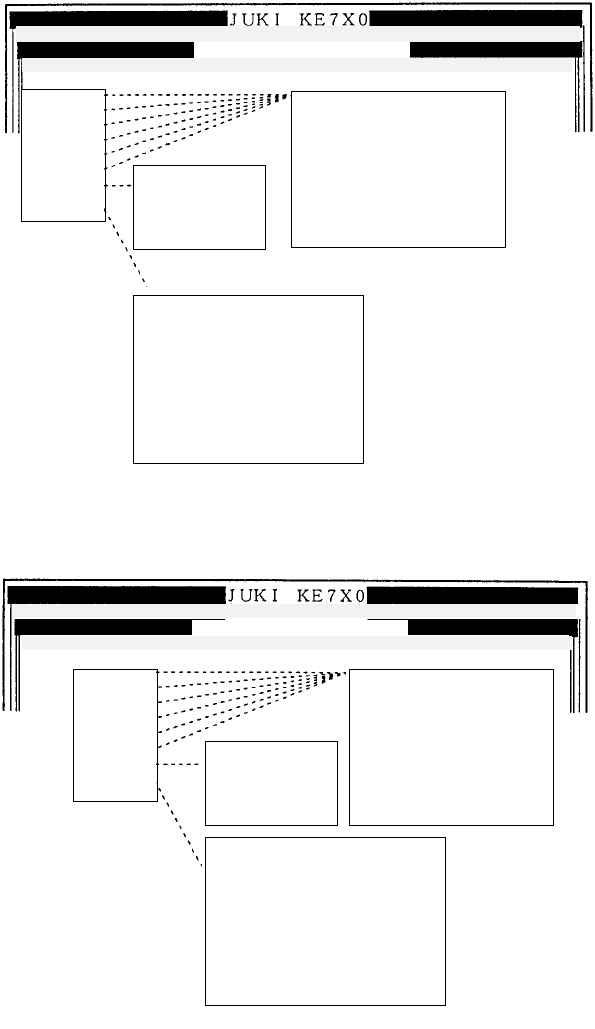
2. MENU CONFIGURATION
(1) INPUT
The display below shows the local menu of INPUT.
(2) DISPLAY
The display below shows the local menu of DISPLAY.
(3) PRINT
Selecting [1/Print] from [3/Print] on the menu bar displays the print screen.
(4) END
Selecting [9/End] from [9/End] on the menu bar finishes the mechanism
parameter setting.
Mechanical control parameter
1/In
p
ut 2/Dis
p
la
y
3/Print 9/Exit
1/Head 0
2/Head 1
3/Head 2
4/Head 3
5/Head 4
6/Head 5
7/XY
8/Others
1/High speed
2/Medium speed
3/Low speed
4/Others
5/Cover open
1/ZPTP Operation
2/ZPTP Exception
3/Z Others
4/TPTP Operation
5/TPTP Exception
6/T Others
7/L Computation waiting time
8/L Hold off count
9/L Pre-load angle
1/Nozzle
2/ATC
3/Read locator
4/Others
5/Version
6/Vacuum timer
7/Vacuum timer 2
8/Other timer
9/Others
a/Limit value of laser stain check
1/File 2/Data input 3/Prod. 4/Setup 5/Mainte. 6/Print 7/Others
Mechanical control parameter
1/File 2/Data in
p
ut 3/Prod. 4/Setu
p
5/Mainte. 6/Print 7/Others
1/In
p
ut 2/Dis
p
la
y
3/Print 9/Exit
1/Head 0
2/Head 1
3/Head 2
4/Head 3
5/Head 4
6/Head 5
7/XY
8/Others
1/High speed
2/Medium speed
3/Low speed
4/Others
5/Cover open
1/Nozzle
2/ATC
3/Read locator
4/Others
5/Version
6/Vacuum timer
7/Vacuum timer 2
8/Other timer
9/Others
a/Limit value of laser stain check
1/ZPTP Operation
2/ZPTP Exception
3/Z Others
4/TPTP Operation
5/TPTP Exception
6/T Others
7/L Computation waiting time
8/L Hold off count
9/L Pre-load angle
- 3 -
3. INPUT AND DISPLAY
3.1 Storing the setting values
The <OK> and <CANCEL> buttons are available on each setting screen for
mechanism control parameters. Note that selecting <OK> does not save the
setting in the EEPROM.
Selecting [9/END] from [9/END] on the menu bar displays the dialog whether to
save the setting value displayed.
Selecting <YES> saves the setting value to the EEPROM.
Selecting <NO> does not save the setting value to the EEPROM and finishes
the operation with the last setting value.
Selecting <CANCEL> displays the setting screen of mechanism control
parameters.
3.2 Setting the safe direction of each I/O
Selecting <YES> or <NO> at the save dialog of the setting value displays the
dialog to set the safe direction of each I/O.
Selecting <YES> sets the safe direction of each I/O, and finishes the setting of
mechanism control parameters.
Selecting <NO> does not set any values but finishes the setting of mechanism
control parameters.
3.3 Input and display
(1) INPUT
Selecting [1/Input] on the menu bar can edit the setting value.
1. Entering the setting value
Selecting <OK> button enters the setting value in the dialog, and then
finishes the dialog.
To enter the setting value, perform a focus movement with the TAB key
or the SHIFT+TAB keys, or press the ENTER key after entering the
value.
If the setting value is incorrect, the following errors appear when you try
to enter the value.
• Input value exceeds the input range.
• Incorrect characters are entered.
When the setting value you tried to enter is incorrect, the value is
automatically set the previously entered one.
When finishing the dialog with <CANCEL> button, the setting value in
the dialog is set invalid.
- 4 -
2. Scrolling the screen
"Pg Up": Scrolls up one line.
"Pg Dn": Scrolls down one line.
"Ctrl + Pg Up": Displays the first page.
"Ctrl + Pg Dn": Displays the last page.
(2) DISPLAY
Selecting [2/Display] on the menu bar displays the setting values
1. Scrolling the screen
"Pg Up": Scrolls up one line.
"Pg Dn": Scrolls down one line.
"Ctrl + Pg Up": Displays the first page.
"Ctrl + Pg Dn": Displays the last page.