Vermes MDS 358X user Manual.pdf - 第38页
Control Unit MDC VTK - TR -BA- 072e - 1 - User Manua l MDS 358X S eries 27 4.5 Menu S tructure The mai n me nu of the contro l unit MDC 3 50 0 contai ns 5 subm enus: “Pulse Para meter s” , “ Cooler/ Heat er” , “Sta tus ”…
Control Unit MDC
26
VTK-TR-BA-072e-1 - User Manual MDS 358X Series
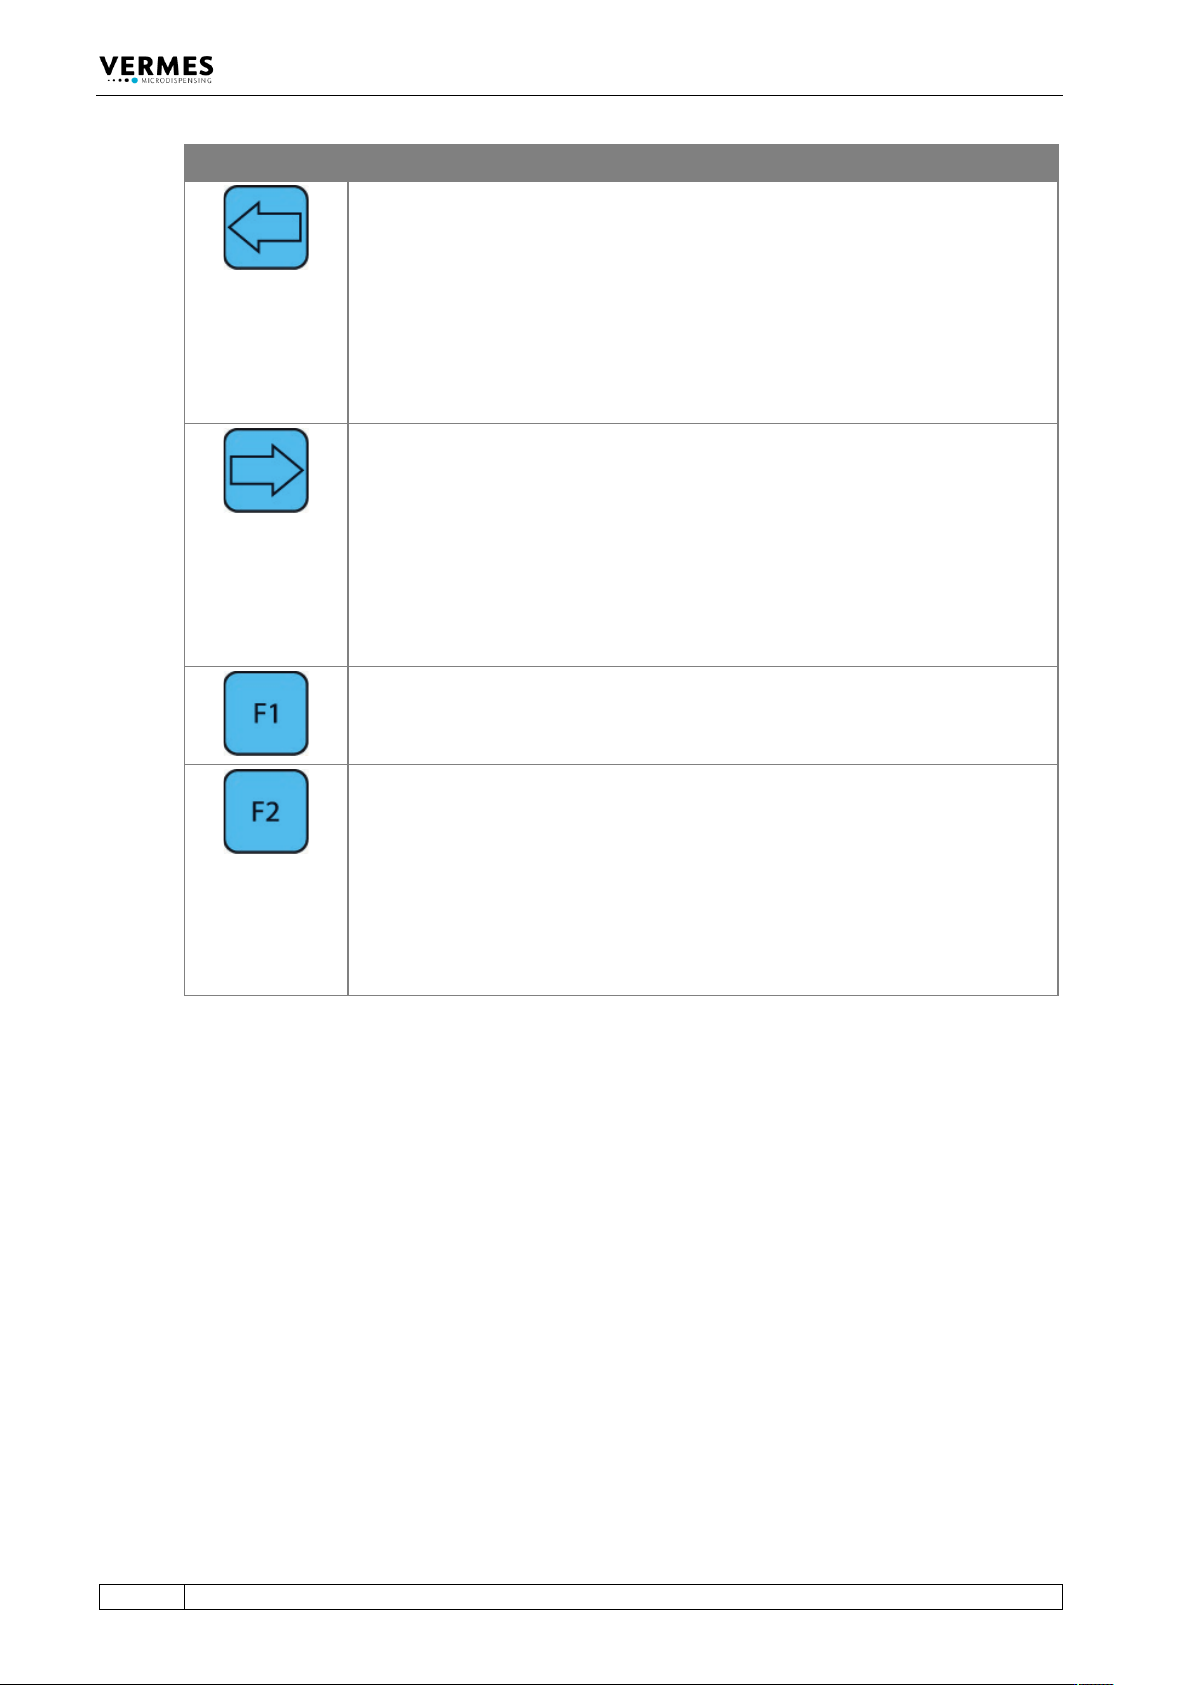
Function Key Function
[←]
-key
The screen moves one menu step back.
or
The cursor is shifted one position to the left.
or
A parameter is modified.
[→]-key
The screen moves one menu step ahead.
or
The cursor is shifted one position to the right.
or
A parameter is modified.
The [F1]-key opens the valve, taking into consideration the current values for
“Rising” and “Falling”. The Needle Lift used is capped at 80 %. The valve remains
opened until the key is released. Maximum length: 2 min. Then the valve closes
automatically in order to protect the actuator.
If you start the control unit, while holding the
[F2]
-key, you have the option to
format the EEPROM. With [enter] you agree, with [esc] you skip this point and
reach the main menu just as normal. This function will only be necessary in
exceptional cases.
Important Note!
Settings for Scenarios will not be reset back to the factory settings. That is only
possible with the options “Scenario” and “Reset ALL” after entering the service code
1000 (see paragraph 4.5.6 "Submenu “Service-Option”", page 37).
Control Unit MDC
VTK-TR-BA-072e-1 - User Manual MDS 358X Series
27
4.5 Menu Structure
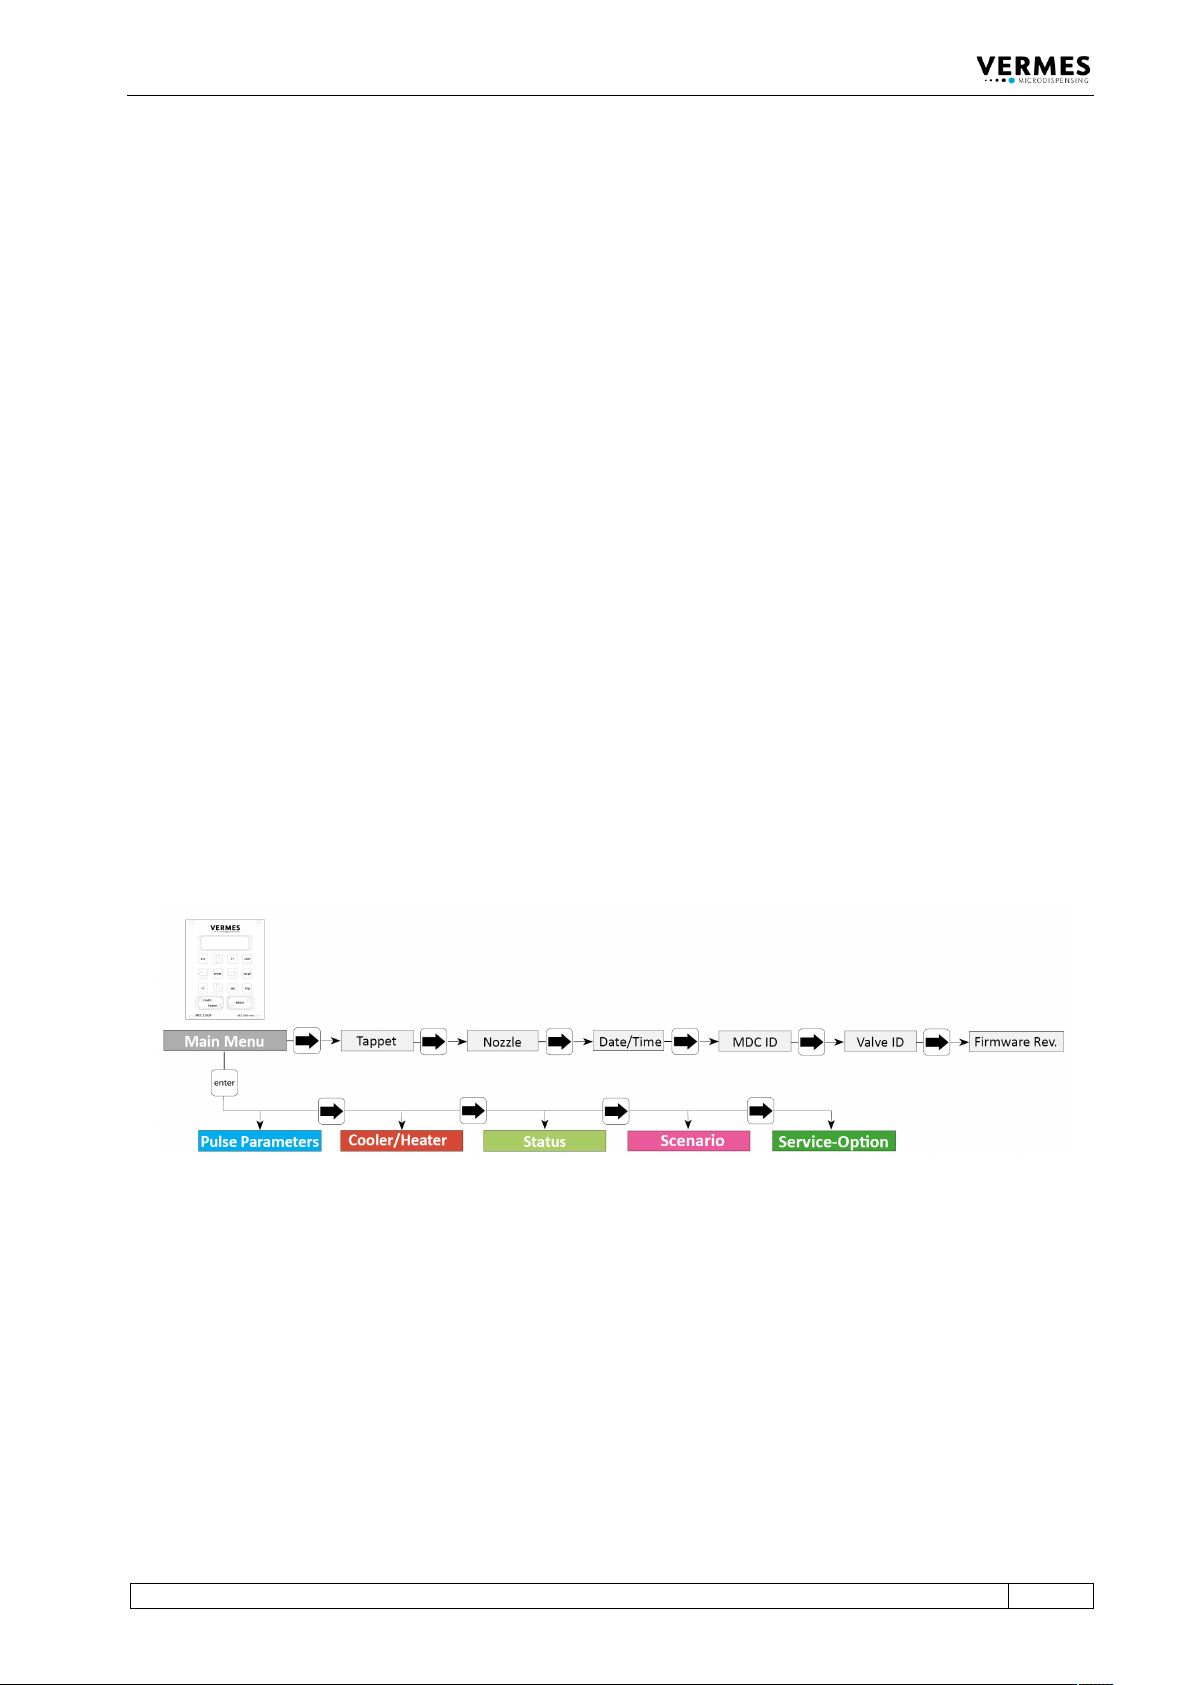
The main menu of the control unit MDC 3500 contains 5 submenus: “Pulse Parameters”,
“Cooler/Heater”, “Status”, “Scenario” and “Service-Option”. With the [enter]-key you can reach
the level of the submenus. There you can switch around with the keys [→] and [←]. Another
option from the main menu is to use [→] or [←], which allows you to gather some information
about the system, like maintenance situation or ID numbers. The items are “Tappet”, “Nozzle”,
“Date/Time”, “MDC ID”, “Valve ID” and “Firmware Rev.” “Firmware Rev.” will give you the current
revision of the firmware on your MDC. “Date” gives the current date and time (as UTC), as the
MDC has a real time clock (RTC). Menu levels are always “wrap-around”, i.e. you can move on
from the last item in a menu directly on to the first. With [esc] or [↑] you can change from a sub
menu into the next higher menu level.
The information shown in the display differs, depending on the menu level (see paragraph 4.5.1,
page 28).
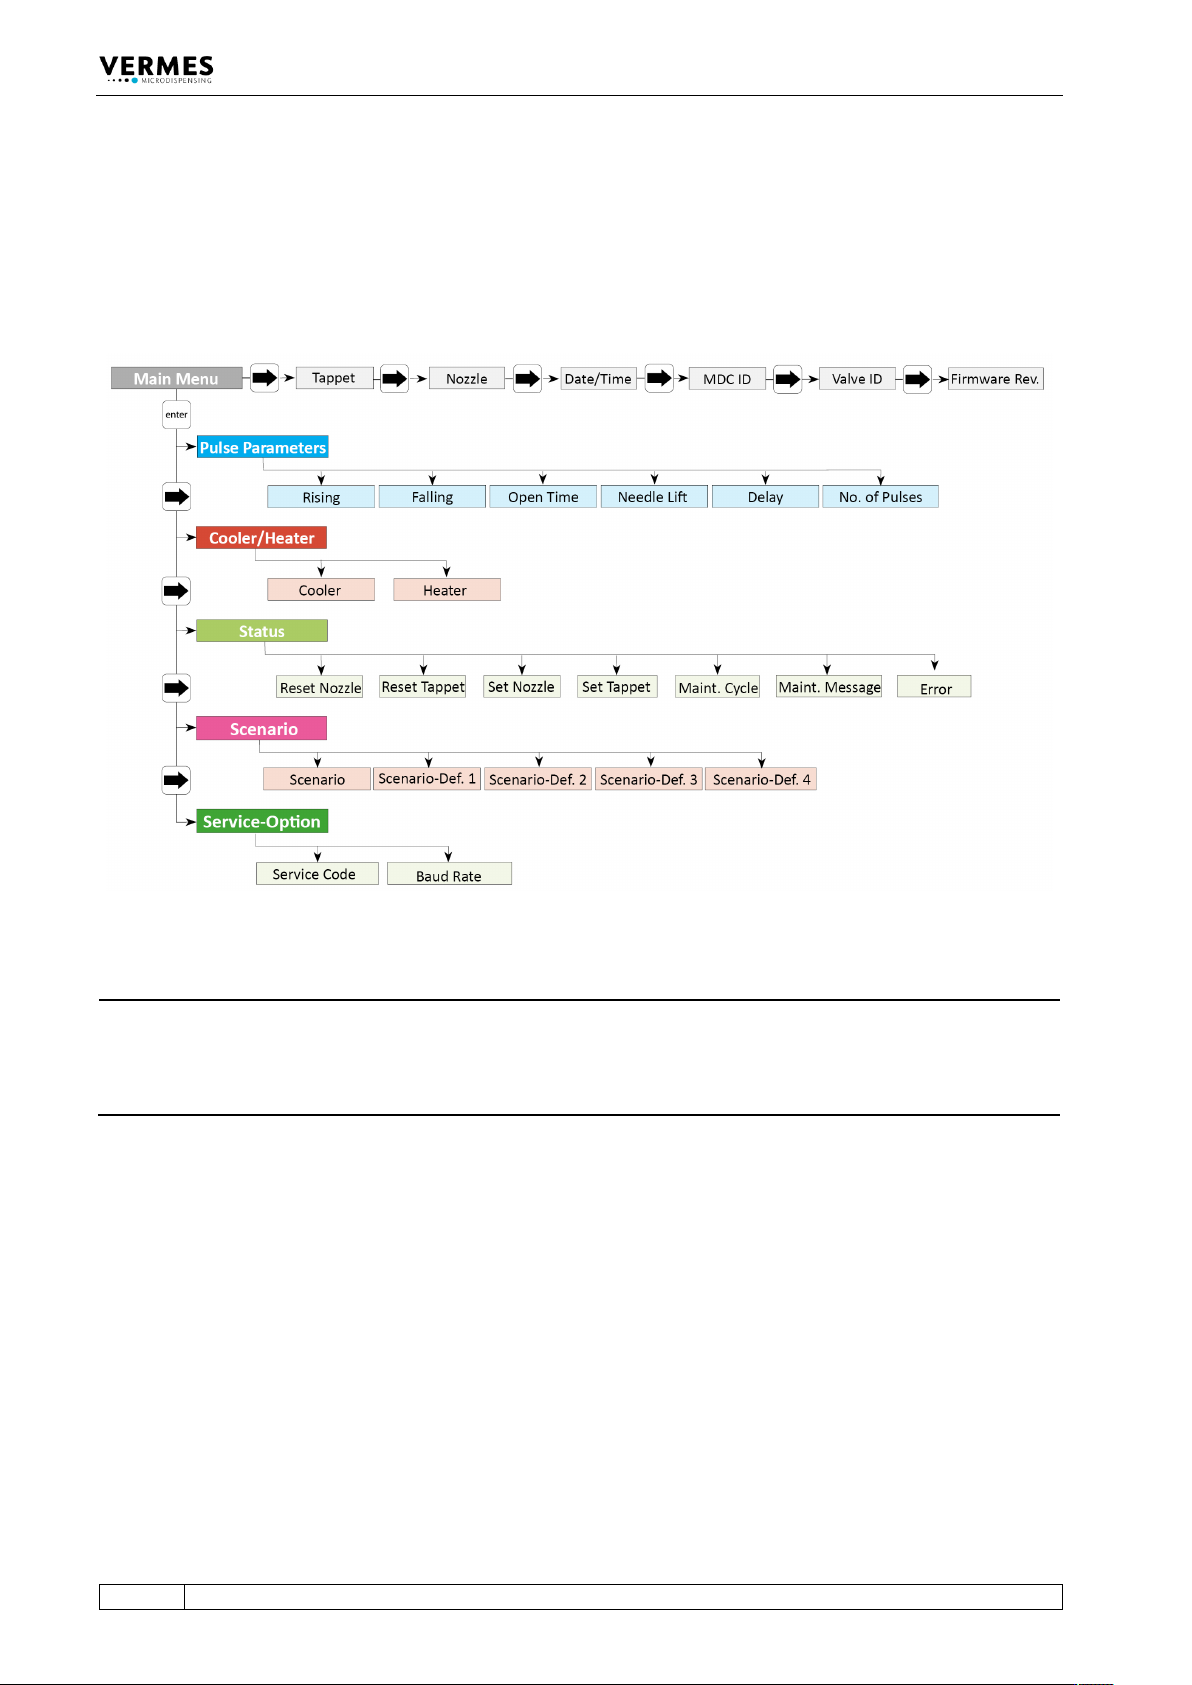
• Dispensing parameters for a particular process can be recalled and modified in the submenu
“Pulse Parameters”.
• “Cooler/Heater” – select the settings for the heating and the valve cooling, if set up.
• You can use the submenu “Status” to decide on individual cycles for the replacement of
tappet and nozzle insert (see paragraph 4.5.4 "Submenu “Status”", page 34). The current state
of the system with respect to the maintenance interval can be verified by the function “Maint.
Cycle” (see paragraph 10.1 "Maintenance Indicator", page 137). With “Maint. Message” you
can decide to show maintenance messages or not. Error messages concerning the system are
shown with the function “Error”.
• In the submenu “Scenario” you can enter values for pre-defined scenarios. Here you can also
set the option to work with these scenarios.
• The submenu “Service-Option” is used to enter service codes and to change the baud rate.
Fig. 4: Main menu
Control Unit MDC
28
VTK-TR-BA-072e-1 - User Manual MDS 358X Series
4.5.1 Main Menu
When you switch ON the MDC, you always start in the “Main Menu”. The display shows “Ready”
(position 1, see Fig. 6). With [enter] or [↓] you can reach the submenus. For the information on
the main level use [→] or [←]. All levels are “wrap-around”, i.e. you can circle around between
the items with both keys.
Fig. 5: Menu structure
INFORMATION
Automatic change back to the main menu
On this level, the display jumps automatically back to “Ready”, if you do not press any button for
longer than about 10 sec. From the submenus, the display will jump back as well, if no buttons
are pressed, but the wait is a bit longer.
In the upper right corner of the display a frequency is shown (position 2, see Fig. 6). This is the
dispensing frequency resulting from your current parameter settings. While “Scenario” is “ON”,
the word “Scenario” is shown instead (only while entering parameters in the submenu, the
frequency is always shown). Next to the frequency, on position 3, one or two letters show the
submenu you are in (PP = Pulse Parameters, CH = Cooler/Heater, S = Status, Sc = Scenario, SO =
Service-Option).