Vermes MDS 358X user Manual.pdf - 第69页
Initial Operation 58 VTK - TR -BA- 072e - 1 - User Manua l MDS 358X S eries Fig. 36 : Adjust – Press [ ADJ] The display shows t he following message: Fig. 37 : Message Adjust Scre w OUT – Screw op en the adjust screw com…
Initial Operation
VTK-TR-BA-072e-1 - User Manual MDS 358X Series
57
6.5 The Adjust Process
This chapter explains the adjust process, which is performed as a top adjust when using a valve
of the MDV 358X Series, thanks to the adjust screw. A thoroughly performed adjust is the basis
for clear and reproducible dispensing results.
The microdispensing system is unable to perform a regular repeatable process, if the nozzle
insert is not properly positioned relatively to the tappet prior to dispensing. Therefore, you have
to perform the adjust during initial operation and after each exchange of the nozzle fixation nut.
This is especially important to avoid any leakage during dispensing.
Here, the adjust via keypad is described. You can also control the adjust via the serial interface as
remote adjust (see paragraph 8.2.3 "Remote Adjust", page 117). For special applications you can
set an adjust offset with service code 33 (see paragraph 7.12 "Adjust Offset", page 75).
IMPORTANT NOTE
Cleaning before adjust
The system has to be cleaned thoroughly before the adjust. The presence of dirt particles
jammed between the tappet surface and the nozzle insert would compromise the results. For
information how to remove the dirt read the cleaning chapter (see chapter 9, page 120).
INFORMATION
Adjust deactivates heater and cooling
In case heater or cooling are still ON, they will be automatically deactivated by an adjust. After
you have performed the adjust, the cooling will be automatically switched back to the ON/OFF
status before the adjust. But the heater needs to be turned ON again manually, if you need it for
your application.
INFORMATION
Time limit for the adjust
If you do not reach step 3 of the adjust after approx. two minutes, the adjust is cancelled. You
have to start the adjust from the beginning.
Preparation for the adjust:
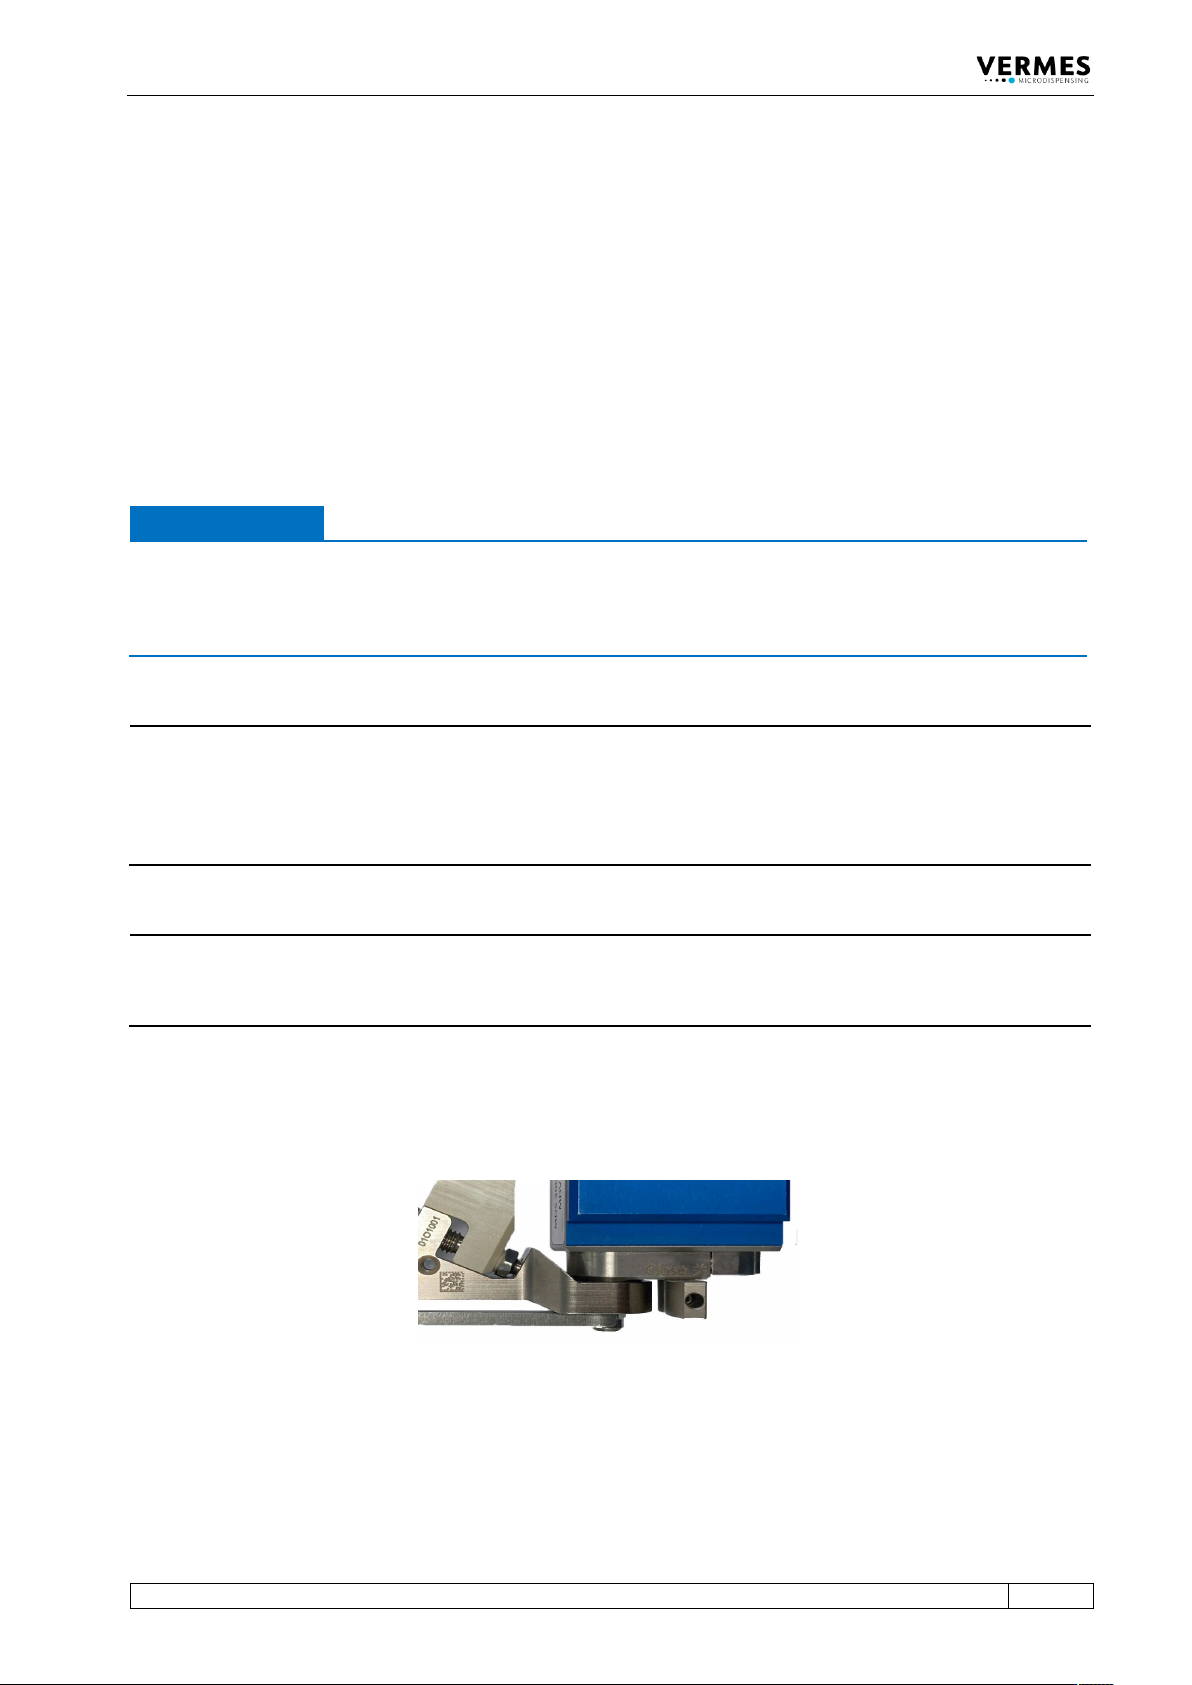
– Screw the nozzle fixation nut absolutely tight (see Fig. 35; torque for screwing it tight at least
150 cN.m).
Fig. 35: Screwing tight the nozzle fixation nut
Adjust, step 1 (Starting the adjust):
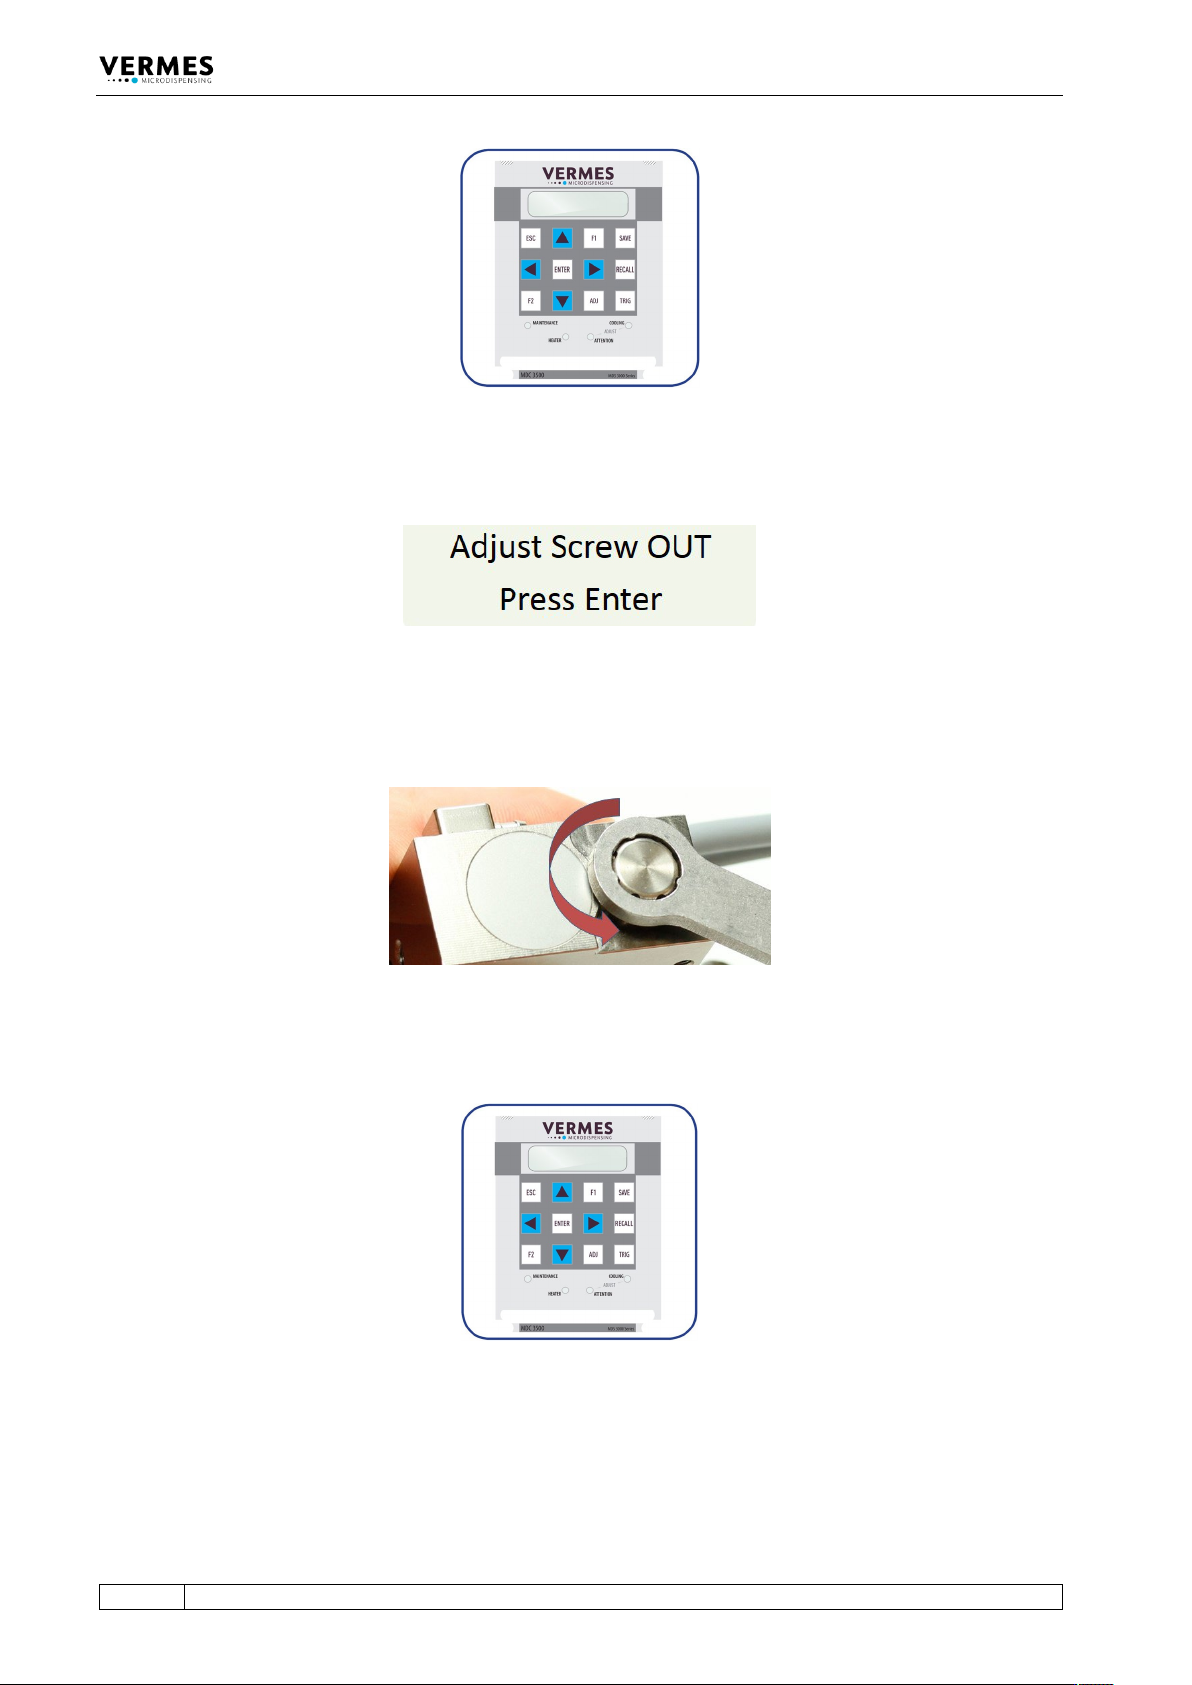
– Press the [ADJ]-key on the keypad of the control unit.
Initial Operation
58
VTK-TR-BA-072e-1 - User Manual MDS 358X Series
Fig. 36: Adjust – Press [ADJ]
The display shows the following message:
Fig. 37: Message Adjust Screw OUT
– Screw open the adjust screw completely (see Fig. 38; torque for screwing it open approx. 50 –
60 cN.m).
Fig. 38: Screw open adjust screw
– Afterwards press the [ENTER]-key.
Fig. 39: Adjust – Press [ENTER]
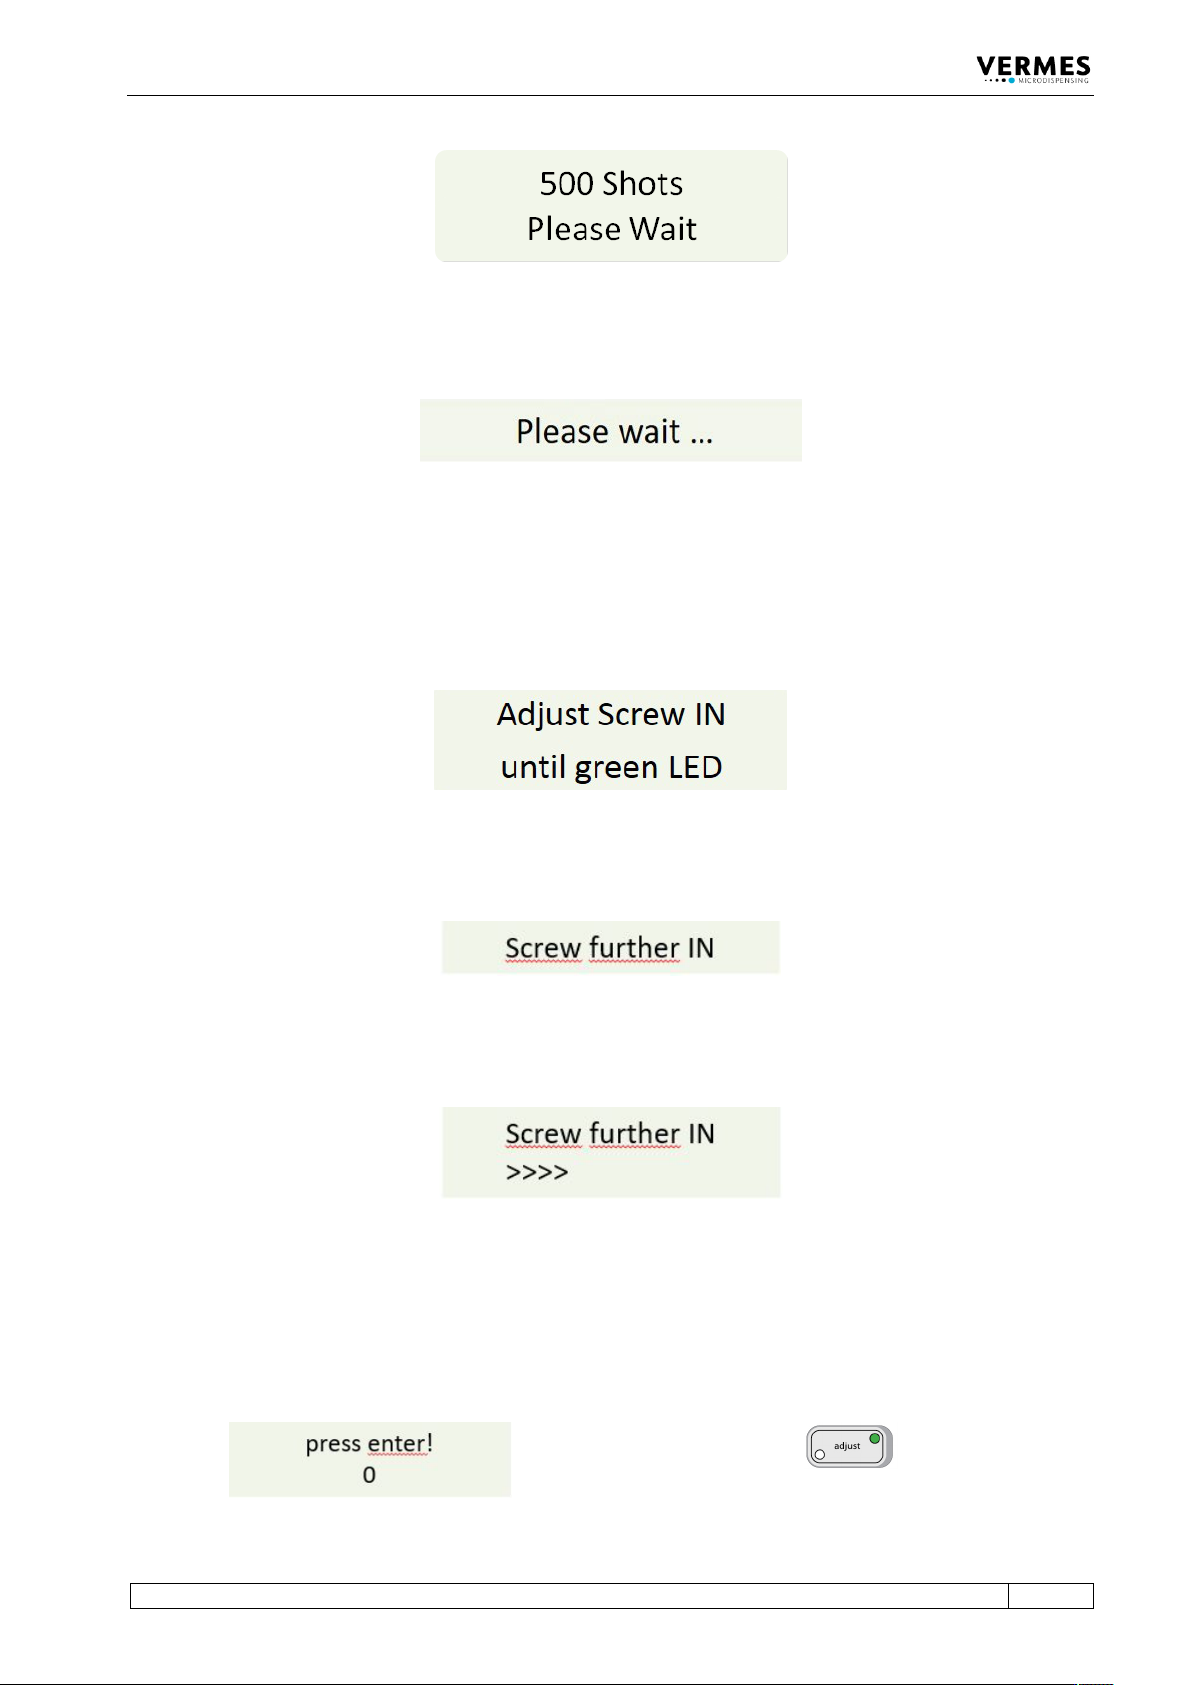
The display shows the message “500 Shots – Please Wait”. These shots help to prepare the valve
for the adjust.
Initial Operation
VTK-TR-BA-072e-1 - User Manual MDS 358X Series
59
Fig. 40: Message 500 Shots – Please Wait
A few seconds later, the display shows the message “Please wait …”.
Fig. 41: Message Please wait …
Wait until a new message on the display announces the next step.
Adjust, step 2 (Turn in adjust screw):
The screen shows the message “Adjust Screw IN until green LED”.
Fig. 42: Message Adjust Screw IN – until green LED
After one second, the initial message disappears from the display. Instead, the message “Screw
further IN” appears.
Fig. 43: Message Screw further IN
– Screw the adjust screw carefully clockwise. While screwing, you will see an increasing amount
of arrows shown in the display (see Fig. 44).
Fig. 44: Arrows displayed
Adjust, step 3 (Find adjust point and confirm it):
– Keep turning the adjust screw slowly clockwise, until the display shows “press enter! - 0”.
Meanwhile, the green adjust LED is ON (see Fig. 45).
Fig. 45: Message press enter! – 0, the green adjust LED is ON