2500_Users_Manual.pdf - 第153页
Operation ProM aster 25 00 User Manua l 4-39 Figure 4-31 Overview: Runni ng a Kit (th e number by each s creen re fers to the nu mber of the s tep describing it on the previou s page.

Operation
4-38 ProMaster 2500 User Manual
Running a Kit
Kits operate very much like Tasks. If you are familiar with running a
Task, you will find that the steps required to run a Kit are almost the
same. The process of running a Kit is outlined in the steps below. Refer to
Figure 4-31 to see the TaskLink screens associated with these steps.
1. Select a Kit from the
Run Task/Kit
list box. Kit names are displayed
on the screen with bold characters, Tasks appear as normal
characters.
2. The next screen asks if you want to perform all the Tasks in the Kit or
select just one Task. In most cases you will perform all the Tasks in
the Kit (the default selection). Press
↵
to run the entire Kit.
3. The
Process Devices
dialog box appears, prompting you for the
number of
Kits to Build
and a
Session I.D.
Enter the number of
devices you want to program and then press
↵
.
Note: The Session I.D. is an arbitrary string of printable characters that will
appear in the log file for your reference.
4. You will now see the normal series of Task dialog boxes appear.
Answer these as you do when running a single Task.
5. When the first Task has successfully programmed the number of
devices defined in the Process Devices dialog box, a programming
summary screen displays the results for the Task just completed.
Press
↵
to go on to the second Task in the Kit.
6. If your system administrator has created a message screen with
special instructions for the next Task, that screen is displayed. Once
you have completed these steps, press
↵
and TaskLink will begin
running the second Task in the Kit. If no message screen has been
created, the second Task started running when you pressed
↵
in step
5.
Note: Remember that between Tasks in the Kit, you may have to reconfigure the
2500 for a new device package type. This may require adjusting the track,
changing labels, changing and/or configuring the programming module,
and all the normal steps required before starting any new Task.
7. Continue in this sequence of steps until the last Task has completed.
At the end of the Kit’s run, a Kit Processing Results screen appears
with a summary of the Kit results.

Operation
ProMaster 2500 User Manual 4-39
Figure 4-31
Overview: Running a Kit (the number by each screen refers to the number of the step describing it on the previous
page.
Operation
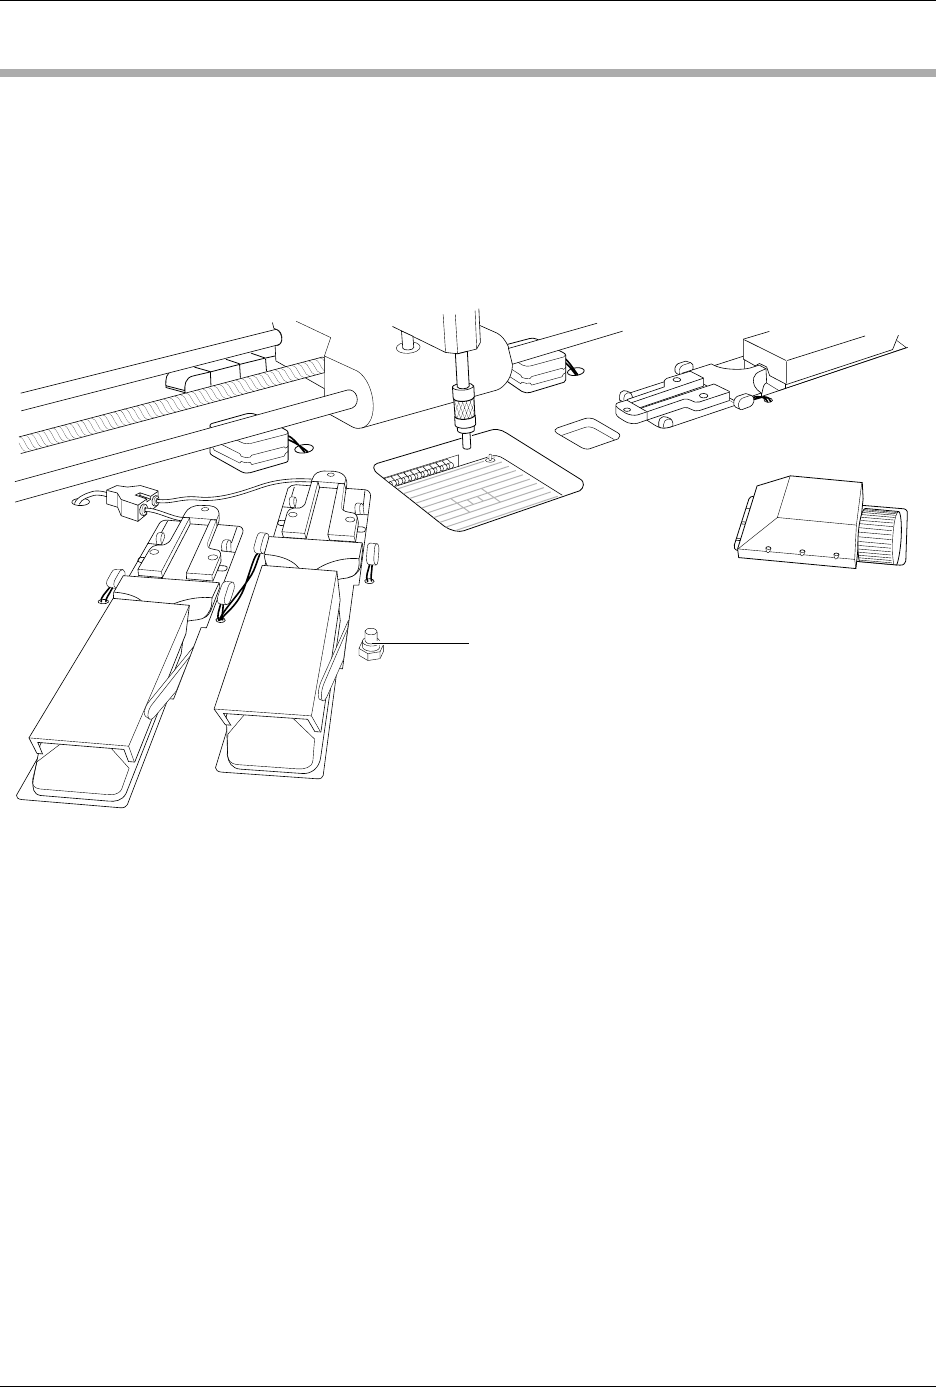
4-40 ProMaster 2500 User Manual
Adjusting Track Air
When you switch between devices of different sizes, to make sure that the
devices advance smoothly down the track into the output tube, you may
need to adjust the track air. See Figure 4-32 for the location of the track air
adjustment knob.
Figure 4-32
Track Air Adjustment Knob
TRACK AIR
ADJUSTMENT
KNOB
2386-1