2500_Users_Manual.pdf - 第176页
Preven tive Maint enance 5-22 ProMa ster 25 00 U ser Ma nual Faulty Printing Printing Is Too Light The ribbon is worn or broken, the print head is worn, or the print head gap is too great. Replace ribbon, or print head. …

Preventive Maintenance
ProMaster 2500 User Manual 5-21
TaskLink also allows you to download device data from a file on your
PC. TaskLink sends the PE information on the data file format and then
downloads the file. The PE translates the formatting information in the
file, discards all formatting characters and stores the data in RAM. The
PE signals TaskLink when it completes writing the file data into RAM.
TaskLink then sends the “program” command to the PE and the device is
programmed.
Conditions Requiring Corrective Action
To run the diagnostic tests and to make some of the adjustments, you
must operate the 2500 from its front panel in
local
mode. You cannot run
the tests using TaskLink.
To access the front panel from remote mode, press
LOWER CASE
+
L
. To
return to remote mode after completing the diagnostics and adjustments,
press
LOWER CASE
+
R
from the Main Menu.
Device Jams
The optics detect stopped or jammed devices and alert you to the
condition. Some common causes for device jams are listed below.
• The track width is not adjusted correctly for the device in the track.
• A partially full output tube was inserted in the tube holder. TaskLink
assumed the tube was empty and sent too many devices to the tube.
• The number of parts per tube is incorrect.
• The track is dirty so devices cannot travel smoothly.
• A device has bent leads that cause it to become wedged in the narrow
track.
• A device has foreign material (such as residual label adhesive) on the
surface.
• The output track air pressure is set too low for the size of the device.
• The transition height between the output tracks and the tubes is
incorrect. Adjust the output transition height screw (for the affected
track) for the correct tube thickness.
If a jam occurs in the output track and the 2500 stops operating, push the
jammed device with a wood or plastic pointer into the tube. When you
free the device, either the 2500 resumes operation automatically or you
may need to press
START
to continue operation.
If a device does not move easily down the input track due to bent pins or
some other condition, you might have to remove that device from the
input track and resume operation by pressing
START
or by restarting the
Task.
If a device falls off the chuck, replace it, press
START
and follow the
prompts on the 2500’s display. If the system times out, press
STOP
and
then
START
.
Preventive Maintenance
5-22 ProMaster 2500 User Manual
Faulty Printing
Printing Is Too Light
The ribbon is worn or broken, the print head is worn, or the print head
gap is too great.
Replace ribbon, or print head.
Adjust the print head gap (see page 5-24).
Characters Too Close
Together
Labels are loaded incorrectly, the rollers are dirty, or the motor or drive
circuitry is not operating properly.
Load the labels correctly, clean the rollers, and make sure the pinch
rollers are engaged (see page 2-9).
Check the label advance motor; run motor diagnostics.
Print Is Erratic or Slanting
Print head gap is too great, or the label drive is slipping.
Check and adjust the print head gap (see page 5-24), or clean the label
rollers.
Dots in Characters Are
Missing
The cables may not be properly connected or they may be faulty. The
print head or handler controller board may not be operating properly.
The labeler power supply may not be at the correct voltage level. Check
the power supply voltage switch. If problem persists, contact Data I/O
Support (phone numbers listed in the Preface).
Check the LEDs on the handler controller board and evaluate the labeler
operation by running the print test.
Check the cable connections. Swap cables and see if different dots are
missing. Replace the print head (see page 7-13).
Characters Are Cut Off
If characters are cut off on the top and bottom of the label, try a smaller
font.
Check and adjust the label calibration (see page 5-25).
Miscellaneous
Beam Stalls
There is a problem with the motor driver, encoder, fuses, or wiring.
Lead screws need cleaning and lubrication. Also, inspect the shaft for
wear from bad bearings.
If cleaning does not correct the problem, reduce the motor speed to
increase the motor torque. Refer to the
LOWER CASE
+
M
command in
the “Firmware Keys” Appendix. Contact Data I/O Support (phone
numbers listed in the Preface) for assistance.
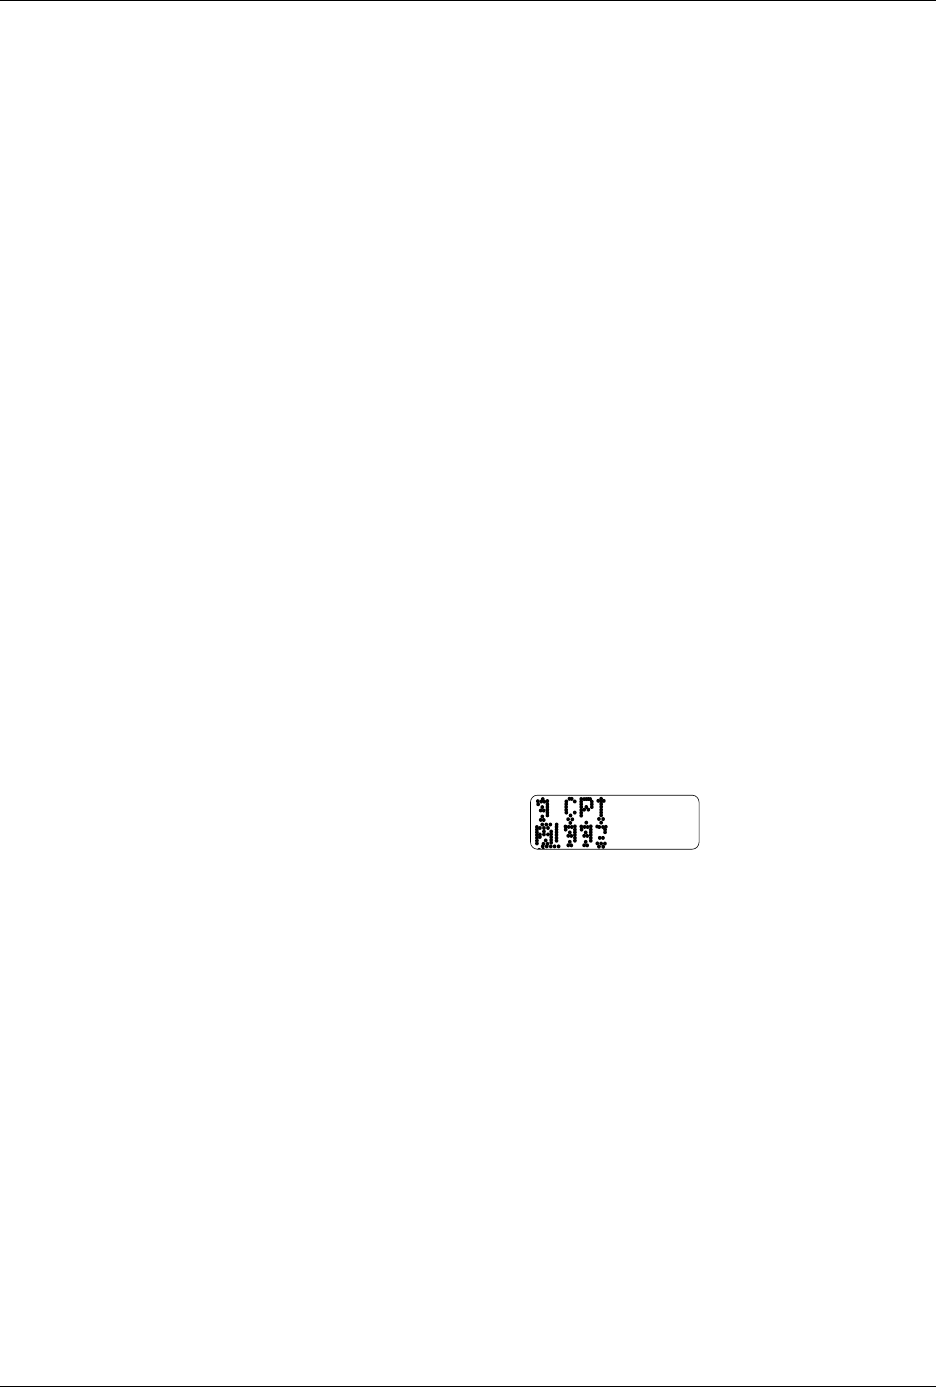
Figure 5-5
Missing Character Dots in Label
Printout
1591-1

Preventive Maintenance
ProMaster 2500 User Manual 5-23
Chuck Is Handling Devices
Incorrectly
The chuck does not work correctly with the devices you are using.
Ensure that you are using the correct chuck size for the devices you are
processing. Refer to the chuck selection chart on page 4-16.
Replace the rubber chuck tip.
Confirm that high and low air pressure gauges are set to the correct
levels.
Make sure there are no air leaks.
Continuity Failures
Try a device-related operation (program or verify) using a device from
another manufacturer to make sure the problem is associated with the
hardware rather than the device or device algorithm.
Carefully check the beam’s alignment to the device and the device’s
alignment to the programming module to verify that the chuck tip is
centered on the device (refer to the device alignment procedure,
beginning on page 4-27).
Run the PE’s self test.
Clean the contacts on the programming module.
CAUTION: This procedure should be performed only by a qualified
service technician.
The contacts may need to be replaced by a service technician.
Devices Are Not Being
Picked Up Correctly
Carefully check the beam’s alignment to the device and the device’s
alignment to the programming module to verify that the chuck tip is
centered on the device (refer to the device alignment procedure,
beginning on page 4-27).
2500 Is Not Operating and
Nothing Is Displayed
The fuse is blown, there is no power, or the power supply is bad.
Check the main fuse (see page 7-2), AC power, power cord connection,
and controller board LEDs. Contact Data I/O Support (phone numbers
listed in the Preface) for specific assistance.
Receiving Tube Overflows
The number of parts per tube is incorrect or the “Device at output tube”
optic is bad. Check optic diagnostic tests 12 and 14.
Tube was removed and reinstalled with devices in it. Insert only empty
tubes in output tube holders while a Task is running.
The number of parts-per-tube parameter on the TaskLink screen is
incorrect. Check the 2500’s display for the number of parts per tube. If it
is incorrect, press
STOP
and
LOWER CASE
+
T
on the 2500’s keyboard.
Change the part count on the keyboard if it is incorrect. Press
ENTER
and
then
START
to continue running the Task.