2500_Users_Manual.pdf - 第177页
Preventi ve Mai nten ance ProM aster 25 00 User Manua l 5-23 Chuck Is Handling Devices Incor rectly The chuck does not work correctly with the devices you are using. Ensure that you are using the correct chuck size fo r …
Preventive Maintenance
5-22 ProMaster 2500 User Manual
Faulty Printing
Printing Is Too Light
The ribbon is worn or broken, the print head is worn, or the print head
gap is too great.
Replace ribbon, or print head.
Adjust the print head gap (see page 5-24).
Characters Too Close
Together
Labels are loaded incorrectly, the rollers are dirty, or the motor or drive
circuitry is not operating properly.
Load the labels correctly, clean the rollers, and make sure the pinch
rollers are engaged (see page 2-9).
Check the label advance motor; run motor diagnostics.
Print Is Erratic or Slanting
Print head gap is too great, or the label drive is slipping.
Check and adjust the print head gap (see page 5-24), or clean the label
rollers.
Dots in Characters Are
Missing
The cables may not be properly connected or they may be faulty. The
print head or handler controller board may not be operating properly.
The labeler power supply may not be at the correct voltage level. Check
the power supply voltage switch. If problem persists, contact Data I/O
Support (phone numbers listed in the Preface).
Check the LEDs on the handler controller board and evaluate the labeler
operation by running the print test.
Check the cable connections. Swap cables and see if different dots are
missing. Replace the print head (see page 7-13).
Characters Are Cut Off
If characters are cut off on the top and bottom of the label, try a smaller
font.
Check and adjust the label calibration (see page 5-25).
Miscellaneous
Beam Stalls
There is a problem with the motor driver, encoder, fuses, or wiring.
Lead screws need cleaning and lubrication. Also, inspect the shaft for
wear from bad bearings.
If cleaning does not correct the problem, reduce the motor speed to
increase the motor torque. Refer to the
LOWER CASE
+
M
command in
the “Firmware Keys” Appendix. Contact Data I/O Support (phone
numbers listed in the Preface) for assistance.
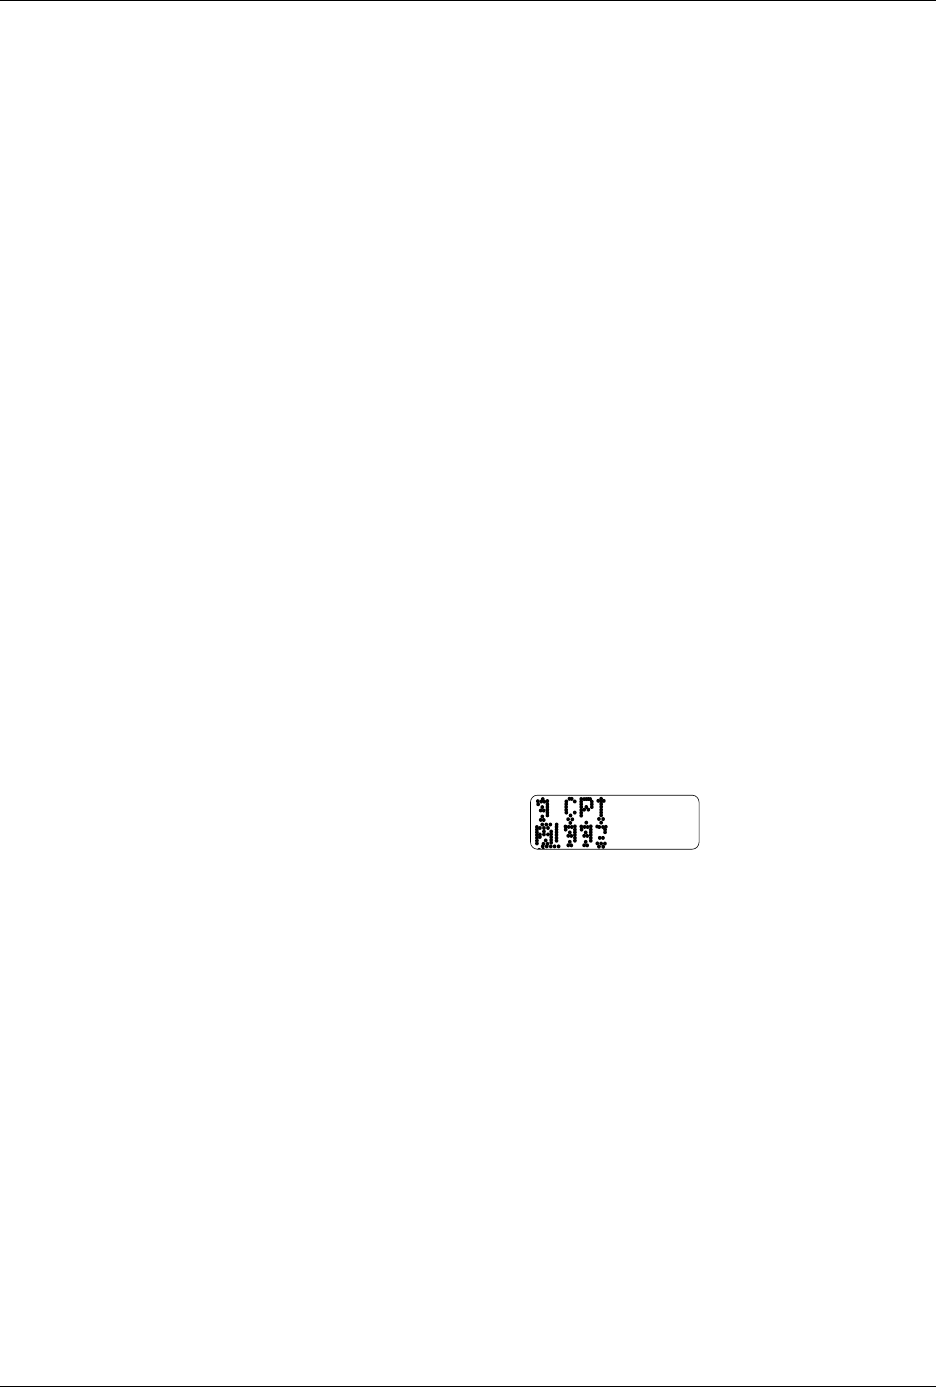
Figure 5-5
Missing Character Dots in Label
Printout
1591-1

Preventive Maintenance
ProMaster 2500 User Manual 5-23
Chuck Is Handling Devices
Incorrectly
The chuck does not work correctly with the devices you are using.
Ensure that you are using the correct chuck size for the devices you are
processing. Refer to the chuck selection chart on page 4-16.
Replace the rubber chuck tip.
Confirm that high and low air pressure gauges are set to the correct
levels.
Make sure there are no air leaks.
Continuity Failures
Try a device-related operation (program or verify) using a device from
another manufacturer to make sure the problem is associated with the
hardware rather than the device or device algorithm.
Carefully check the beam’s alignment to the device and the device’s
alignment to the programming module to verify that the chuck tip is
centered on the device (refer to the device alignment procedure,
beginning on page 4-27).
Run the PE’s self test.
Clean the contacts on the programming module.
CAUTION: This procedure should be performed only by a qualified
service technician.
The contacts may need to be replaced by a service technician.
Devices Are Not Being
Picked Up Correctly
Carefully check the beam’s alignment to the device and the device’s
alignment to the programming module to verify that the chuck tip is
centered on the device (refer to the device alignment procedure,
beginning on page 4-27).
2500 Is Not Operating and
Nothing Is Displayed
The fuse is blown, there is no power, or the power supply is bad.
Check the main fuse (see page 7-2), AC power, power cord connection,
and controller board LEDs. Contact Data I/O Support (phone numbers
listed in the Preface) for specific assistance.
Receiving Tube Overflows
The number of parts per tube is incorrect or the “Device at output tube”
optic is bad. Check optic diagnostic tests 12 and 14.
Tube was removed and reinstalled with devices in it. Insert only empty
tubes in output tube holders while a Task is running.
The number of parts-per-tube parameter on the TaskLink screen is
incorrect. Check the 2500’s display for the number of parts per tube. If it
is incorrect, press
STOP
and
LOWER CASE
+
T
on the 2500’s keyboard.
Change the part count on the keyboard if it is incorrect. Press
ENTER
and
then
START
to continue running the Task.

Preventive Maintenance
5-24 ProMaster 2500 User Manual
Corrective Adjustments
Changing Dot
Matrix Printer
Ribbon Cassette
Refer to the procedure on page 5-57.
Changing Thermal
Printer Ribbon
Refer to the procedure on page 5-59.
Adjusting Dot
Matrix Print Head
Gap
The print head gap is set at the factory and will not usually need to be
changed. If there are substantial changes in the thickness of the label or
label backing, however, you may need to make an adjustment. If the gap
between the platen and the print head is too wide, it may result in slanted
or fuzzy printing. If the gap is too narrow, the print ribbon may rub
against the labels, smudging them and making the background gray.
CAUTION: Dangerous high voltages are present. Do not perform this
procedure while power is on to the 2500. This procedure
should be performed only by a qualified service technician.
To adjust the print head height, follow these steps:
1. Turn off and unplug the 2500.
2. Remove the ribbon cartridge and labels.
3. Locate the two corner screws on the main plate that hold the plate in
position. Loosen these screws so the plate is free.
4. Lift the main plate so you can see inside the 2500’s base.
5. Locate the four hex screws on the back side of the print head that
hold it in position. Loosen the screws, but do not remove them.
6. When the print head is free to move, move it as far to the right as
possible, then adjust the gap between the print head and the
underside of the platen to approximately 0.018 inches.
7. Hold the print head in this position and tighten the four hex screws.