2500_Users_Manual.pdf - 第66页
Insta llation a nd Se tup ProM aster 25 00 User Manua l 2-23 4. With the curs or pointing to the Tempo rary file, press ENTER to select it. The 2500 displays : Use the ← , ↑ , → , ↓ to point to o ne of the fonts. 5. Pr e…
Installation and Setup
2-22 ProMaster 2500 User Manual
Adjusting Print Quality and Label Position
This section describes several parameters that affect the appearance of
characters on the label. Some of these labeling parameters are changed by
entering commands on the 2500’s front panel while it is in the
local
mode.
Others parameters are accessible in the middle of a Task after you press
STOP
on the 2500’s keyboard and then enter a specific key sequence.
STOP commands are used to pause a Task so you can make an
adjustment and then continue the Task from the same place. A complete
list of all the STOP commands is located in Appendix B.
When you change one of these parameters, it is often useful to print a
label to evaluate the new setting.
Print Only
Command
Using the Print Only command is an efficient method of checking the
quality and position of text on a label by printing a label without having
to apply it to a device. You can experiment with new settings for the print
parameters and thereby create the label style you will use when running
your Tasks.
To use this feature follow the steps below.
1. Press
1
from the Main Menu to select OPERATIONS.
The 2500 displays:
2. Press
5
to select PRINT ONLY. The 2500 displays:
3. Use the
←
,
↑
,
→
, and
↓
keys to point to a file.
If you select the Temporary file, continue with step 4.
If you point to any of the other files listed on the 2500’s display, press
ENTER
to select the file. The 2500 displays:
Proceed to step 7.
* * PROMASTER 2500 MAIN MENU * *
ENTER THE NUMBER OF THE DESIRED FUNCTION
1 - OPERATIONS 3 - SYSTEM SETUP
2 - FILE UTILITIES 4 - DIAGNOSTICS
* * * OPERATIONS MENU * * *
1 - PROGRAM/TEST & LABEL 4 - LABEL ONLY
2 - LOAD MASTER 5 - PRINT ONLY
3 - PROGRAM/TEST ONLY 6 - PURGE
PRINT LABEL
TEMPORARY FILE1 FILE2 FILE3
FILE 4 FILE5 FILE6 FILE7
ENTER FILE NAME:
PRINT LABEL FILE NAME: FILE5
PRESS START TO PRINT
A LABEL

Installation and Setup
ProMaster 2500 User Manual 2-23
4. With the cursor pointing to the Temporary file, press
ENTER
to select
it. The 2500 displays:
Use the
←
,
↑
,
→
,
↓
to point to one of the fonts.
5. Press
ENTER
to select that font. The 2500 displays:
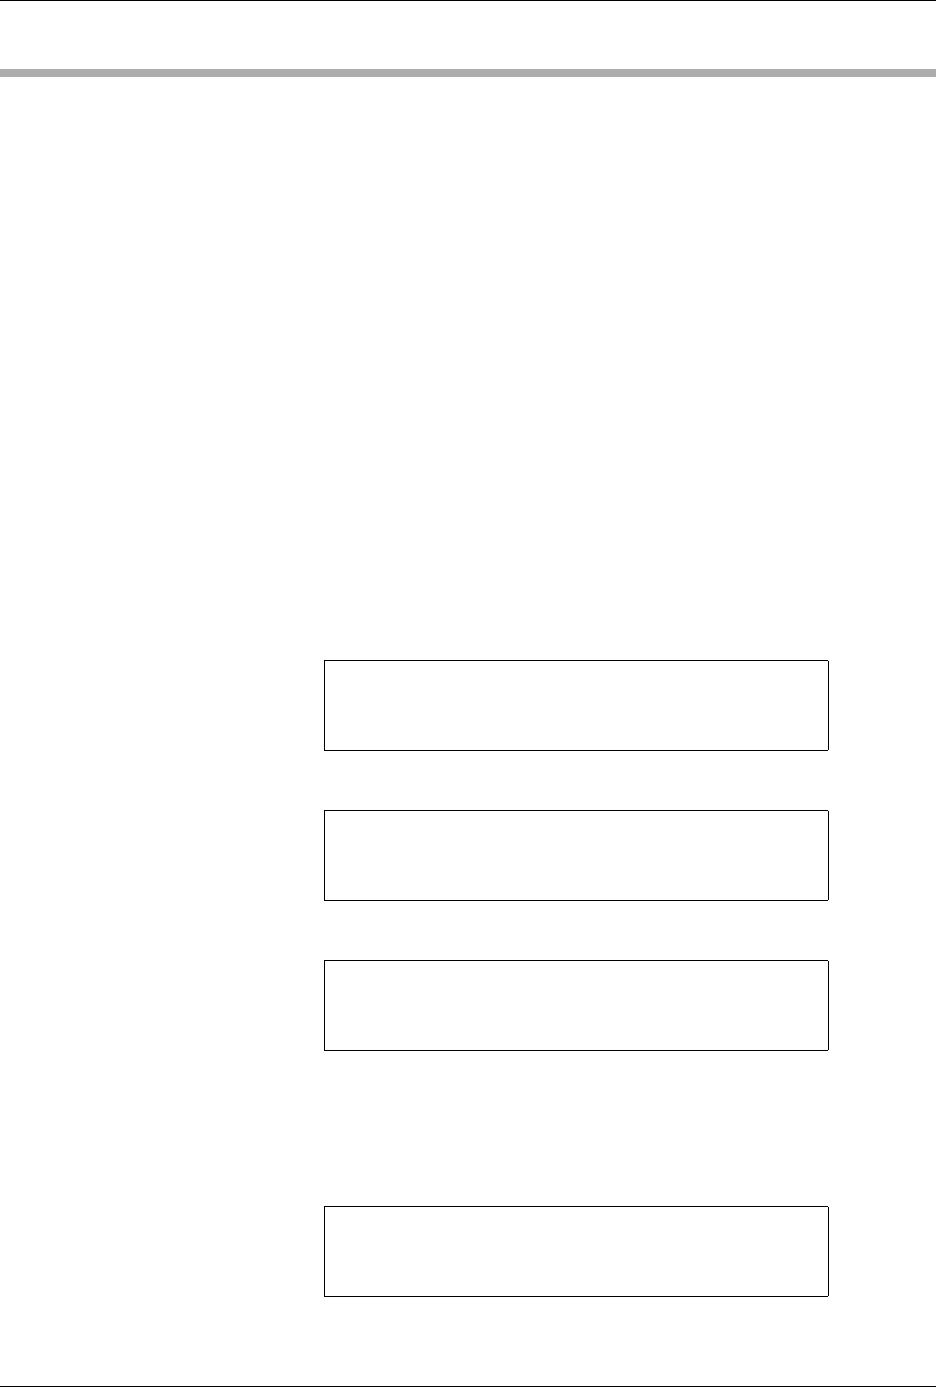
6. Use the keyboard to enter label text. Press
STOP
when text entry is
complete. The 2500 displays:
7. Position your finger near the label platen so you are ready to “catch”
the label as it is printed. Press
START
to print a label. Each time you
press
START
another label is printed.
8. When you are finished, press
RESET
to return to the Main Menu.
Labeler Setup Menu
Follow the procedures below to set up label calibration, label placement,
and label adjust. The 2500 must be in local mode to access these
commands.
1. Press
3
from the 2500 Main Menu. The 2500 displays:
PRINT LABEL TEMPORARY FILE
AUTO-SEL 26 CPI 26 CPI S 20 CPI
18 CPI 16 CPI T 12 CPI T
MOVE TO SELECTION THEN PRESS ENTER
TTTT | TEMPORARY FILE
HHHH | COLUMN: 01 ROW: 01
| PRESS STOP WHEN
| EDITING IS COMPLETE
PRINT LABEL FILE NAME: FILE5
PRESS START TO PRINT
A LABEL
Figure 2-14
Labeler Setup Path (Local mode on
the front panel)
* * * SYSTEM SETUP MENU * * *
1 - GENERAL 4 - MAIN MENU
2 - LABELER
3 - HANDLER
SYSTEM
SETUP
Label Calibration
Label Placement
Label Adjust
Print Mode
Label Type
Setup Menu
DIAGNOSTICS
MAIN MENU
HANDLER
GENERAL
FILE
UTILITIES
OPERATIONS
1343-4
LABELER
Installation and Setup
2-24 ProMaster 2500 User Manual
2. Press
2
to select LABELER. The 2500 displays this menu:
Label Calibration
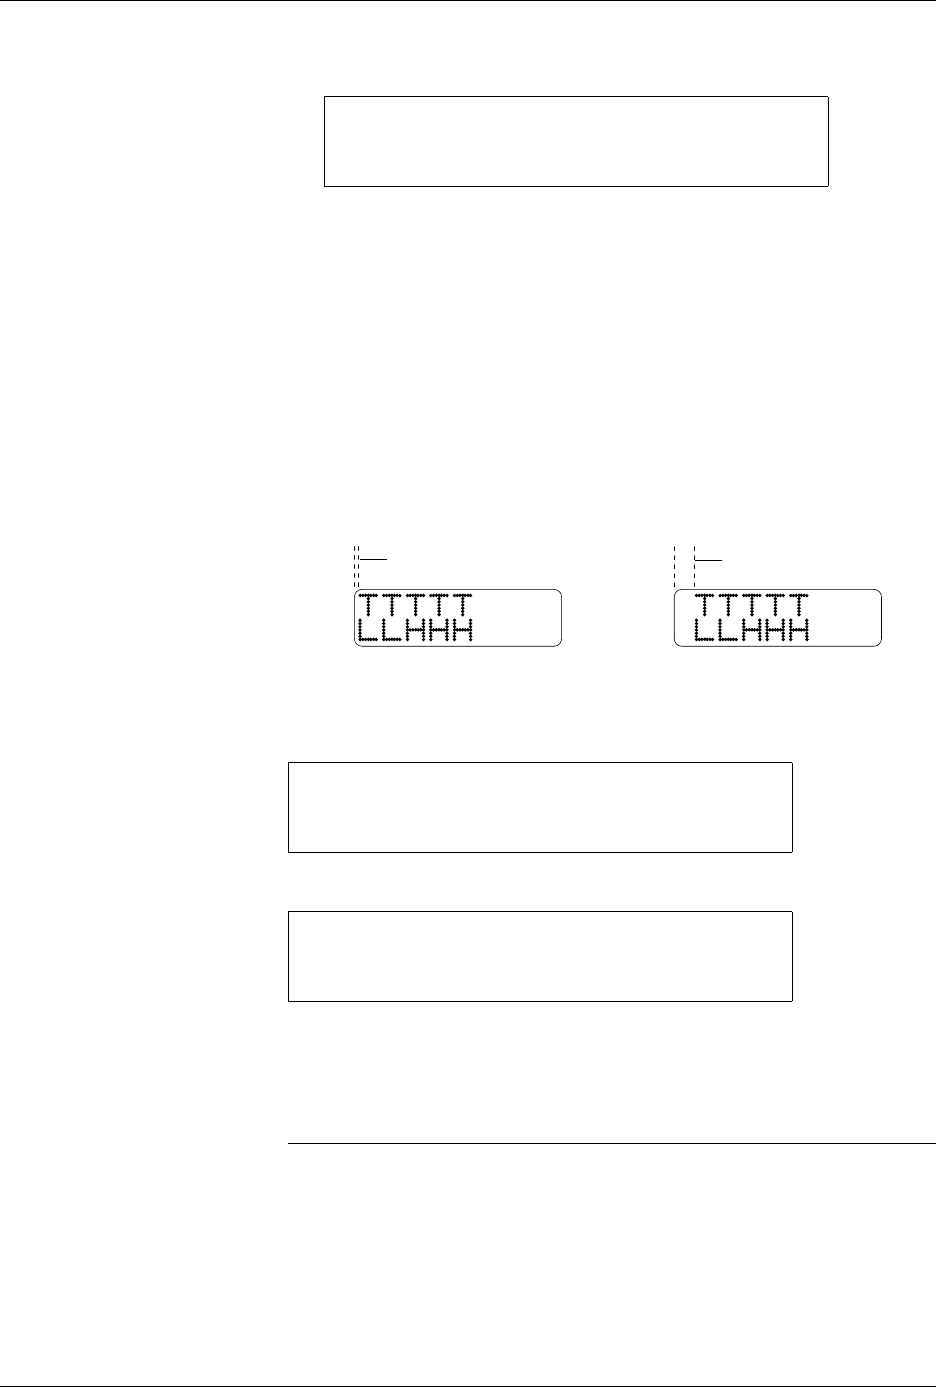
Label calibration determines the distance between the edge of the label
and the first printed character. This value is set at the factory and does not
usually need to be changed. If the text is not being printed on the label in
the proper location, ensure that the following conditions have been met:
• Labels have been calibrated.
• Labeler’s pinch rollers are fully engaged against the drive roller.
• ADC value is correctly set to 200 (see page 5-34 for this procedure).
• Correct labels for the 2500 (“QF” in the part number) are installed.
If these actions do not resolve the placement problem, you may need to
adjust label calibration.
To change the current label calibration value from the 2500’s front panel,
put the 2500 in local mode. The 2500 displays:
Press
1
from the LABELER SETUP MENU. The 2500 displays:
Use the 2500’s keyboard to change the setting. The range is from 0 to 255.
After entering the desired value, save it by pressing the
ENTER
key. The
2500 records this value as the new default and returns to the LABELER
SETUP MENU.
Note: If you change the label calibration value, press
CAL
so that the ADC optic
performs the ADC optic label calibration (see page 2-11).
* * * LABELER SETUP MENU * * *
1 - LABEL CALIBRATION 4 - SETUP MENU
2 - LABEL PLACEMENT
3 - LABEL ADJUST
Figure 2-15
Changing the Label Calibration
Value
* * * LABELER SETUP MENU * * *
1 - LABEL CALIBRATION 4 - SETUP MENU
2 - LABEL PLACEMENT
3 - LABEL ADJUST
ENTER LABEL CALIBRATION VALUE (XX):_
1944-1
NORMAL
HIGHER VALUE