SME_Jig_User_Guide(Eng_Ver1).pdf - 第52页
3-20 User's Guide For Tape Fe eder Calibration Jig 3.4.2. Tape Feeder Sensor Initialization (Sensor Initialize) When the main board of the ta pe fe eder was replaced, or index motor , i nde x gear, sprocket componen…
3-19
Tape Feeder Calibration
3. Input the tape feeder serial number and click the <OK> button to save it.
Memo
Scanning the serial number using a barcode reader will immediately
save the serial number scanned on the main board of the tape feeder
and exit the barcode scan window.
Caution
If the serial number of the feeder is not inputted correctly, an
error message is displayed.
Even though the serial number can be inputted using the
keyboard, it is recommended to scan the serial number
using a barcode reader.
Changing the tape feeder serial number will automatically
delete the sensor data and mapping data.
3-20
User's Guide For Tape Feeder Calibration Jig
3.4.2. Tape Feeder Sensor Initialization (Sensor Initialize)
When the main board of the tape feeder was replaced, or index motor, index gear, sprocket
components were reassembled or replaced, initialize the tape feeder sensor according to
the following procedure:
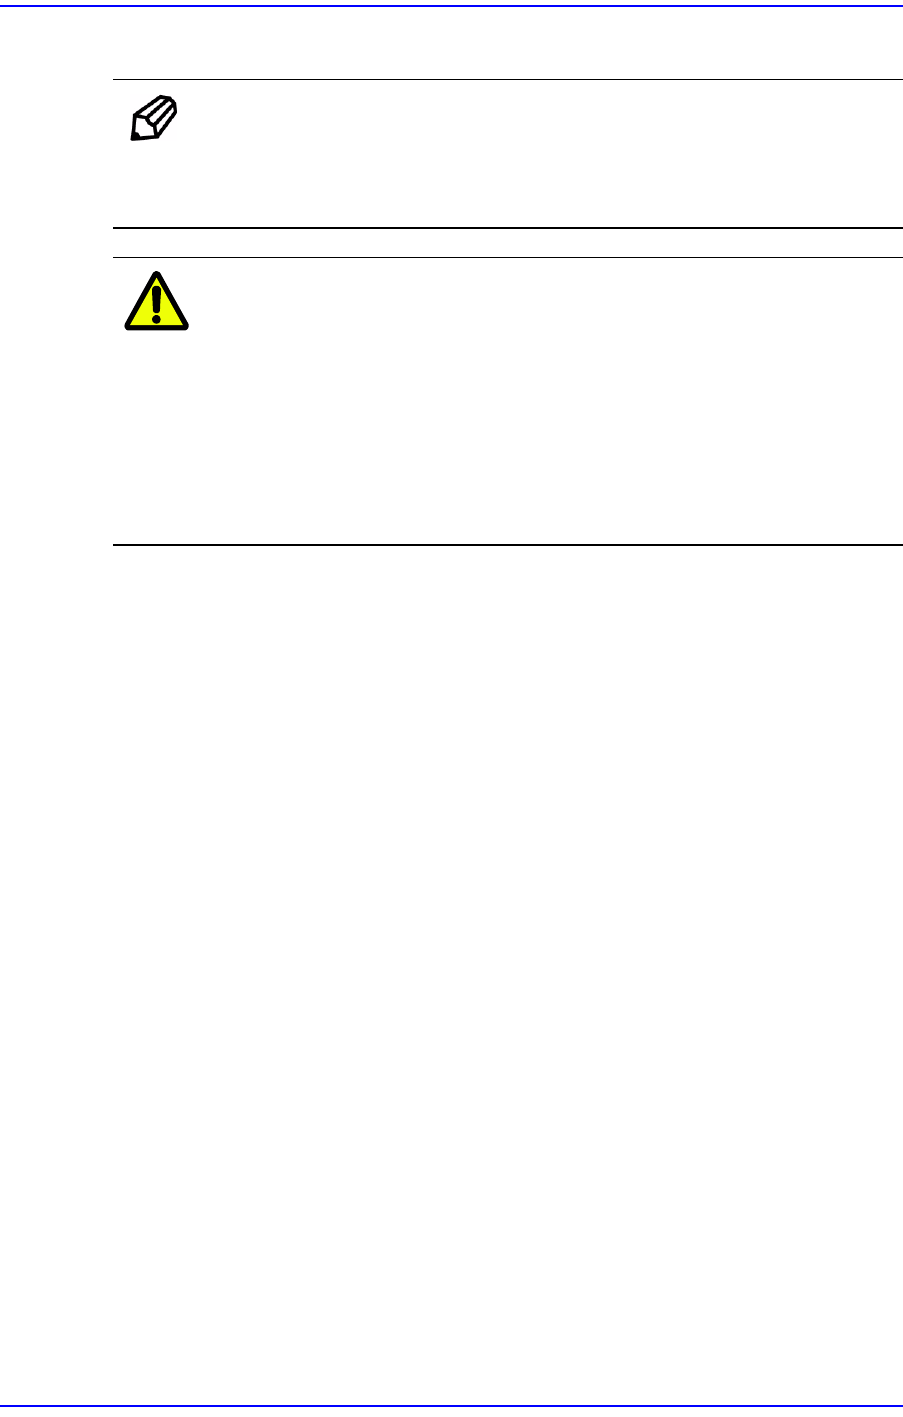
1. Insert the empty carrier Paper tape (longer than 100cm).
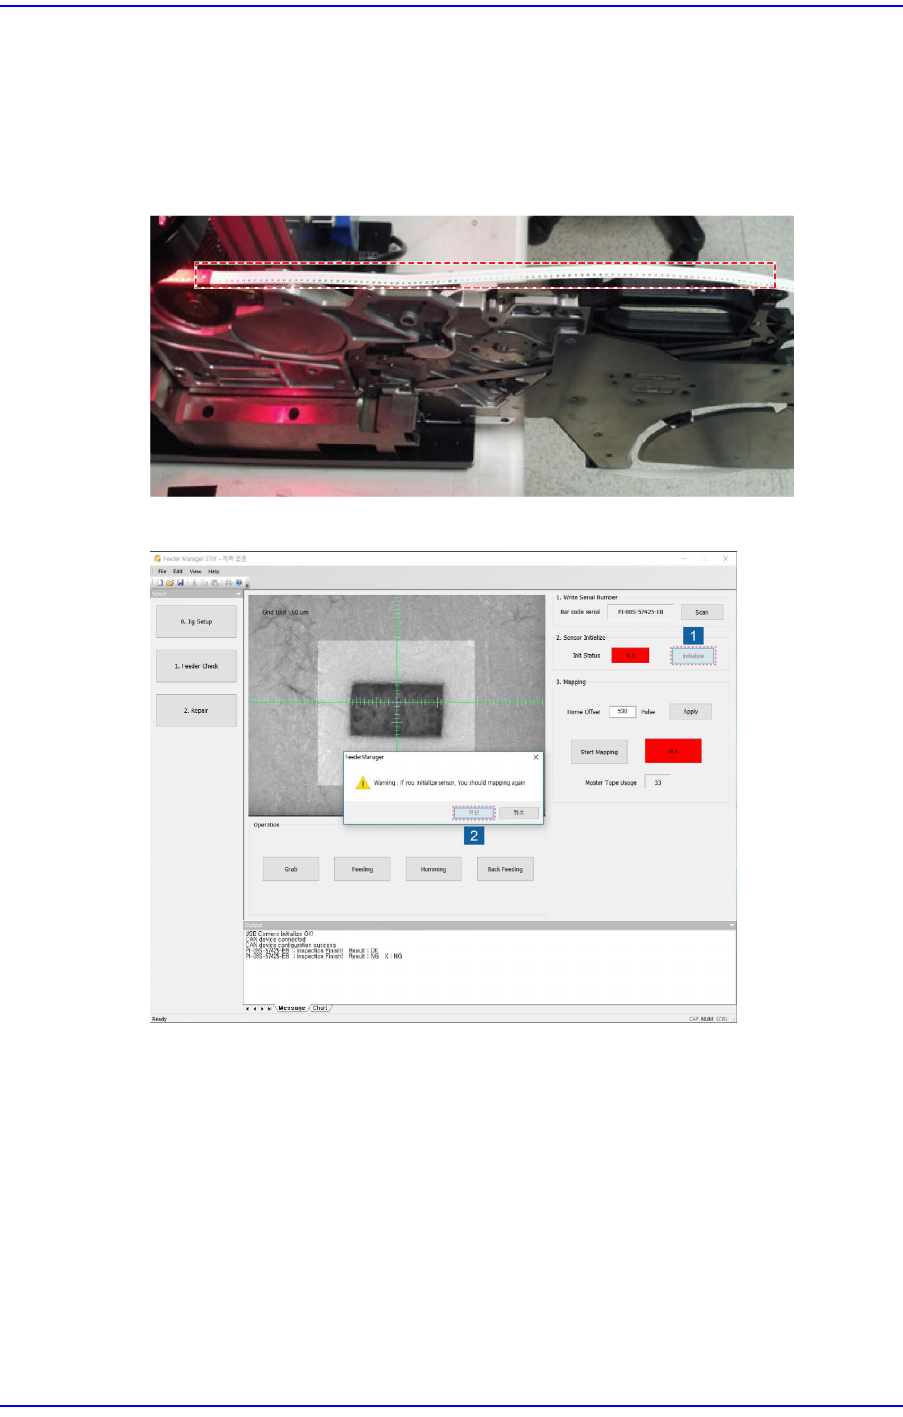
2. Run the calibration jig program and click the <Initialize> button.
If there is an existing sensor value, the message, "If you initialize sensor, You should
mapping again" is displayed. Click the <OK> button to delete the existing sensor
value and initialize the sensor.
Once the sensor is initialized, the mapping value is deleted. Therefore, perform
mapping inspection again. For more details about mapping, refer to "3.4.3. Mapping
Inspection".
3-21
Tape Feeder Calibration
Memo
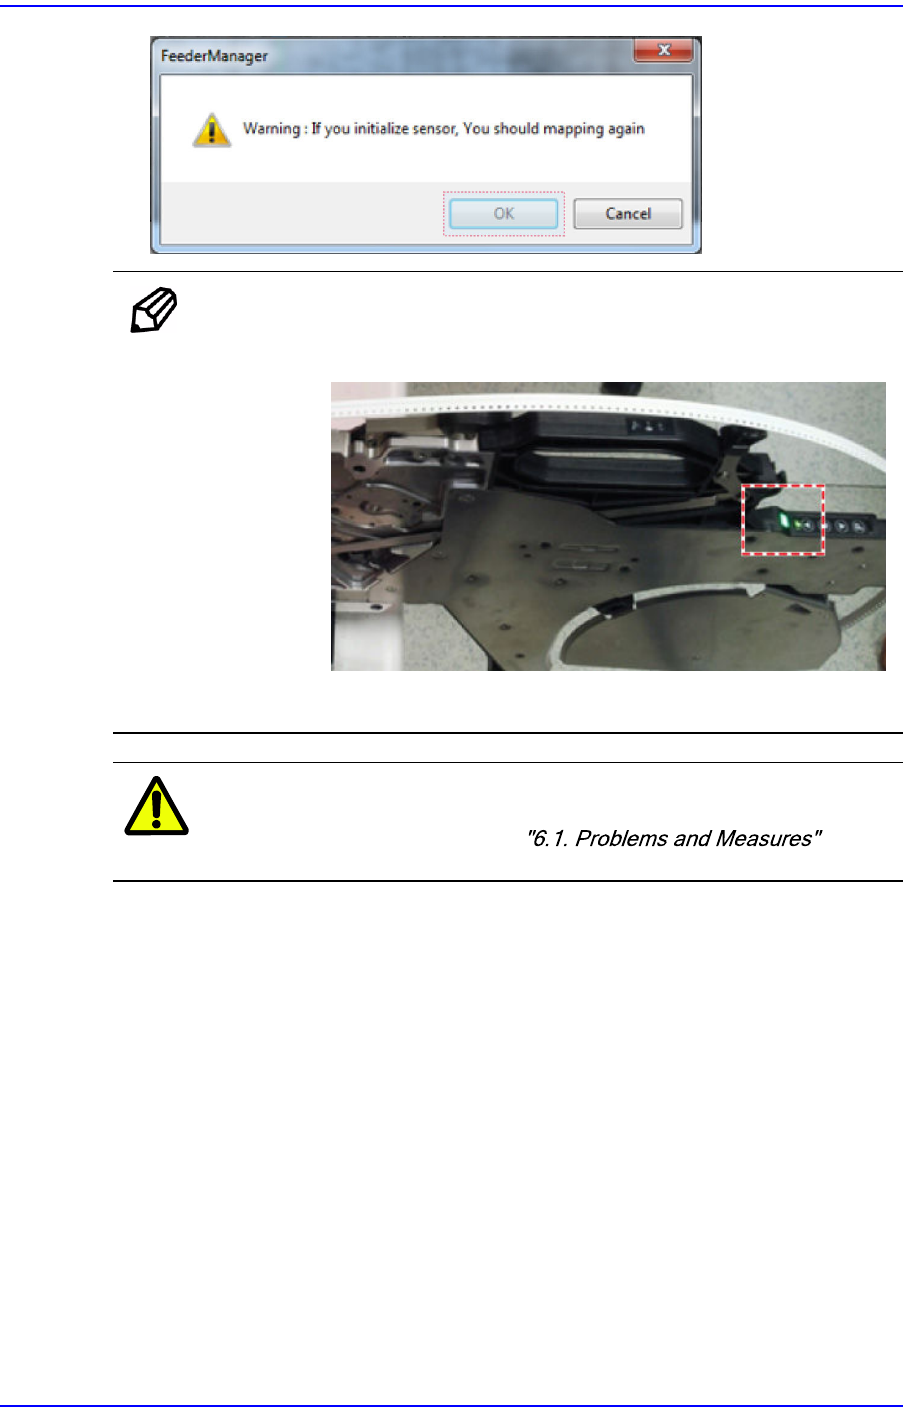
If the sensor is initialized successfully, the feeder status LED turns
green.
If the sensor initialization fails, the feeder status LED turns red.
Caution
If sensor initialization fails more than 3 times, solve the
problem referring to .