印刷机通用说明书(中英文版) 450+.pdf - 第50页
- 50 - 图 3-12 ( PCB 定位) Pix 3-12 (PCB posit ioning)
- 49
-
图 3-11(输入 PCB Mark 点到边距离,尺寸关系参考图 3-10)
Pix 3-11(input the distance data between PCB mark point and side. The size relationship in
pix 3-10 is for the reference.)
- 50
-
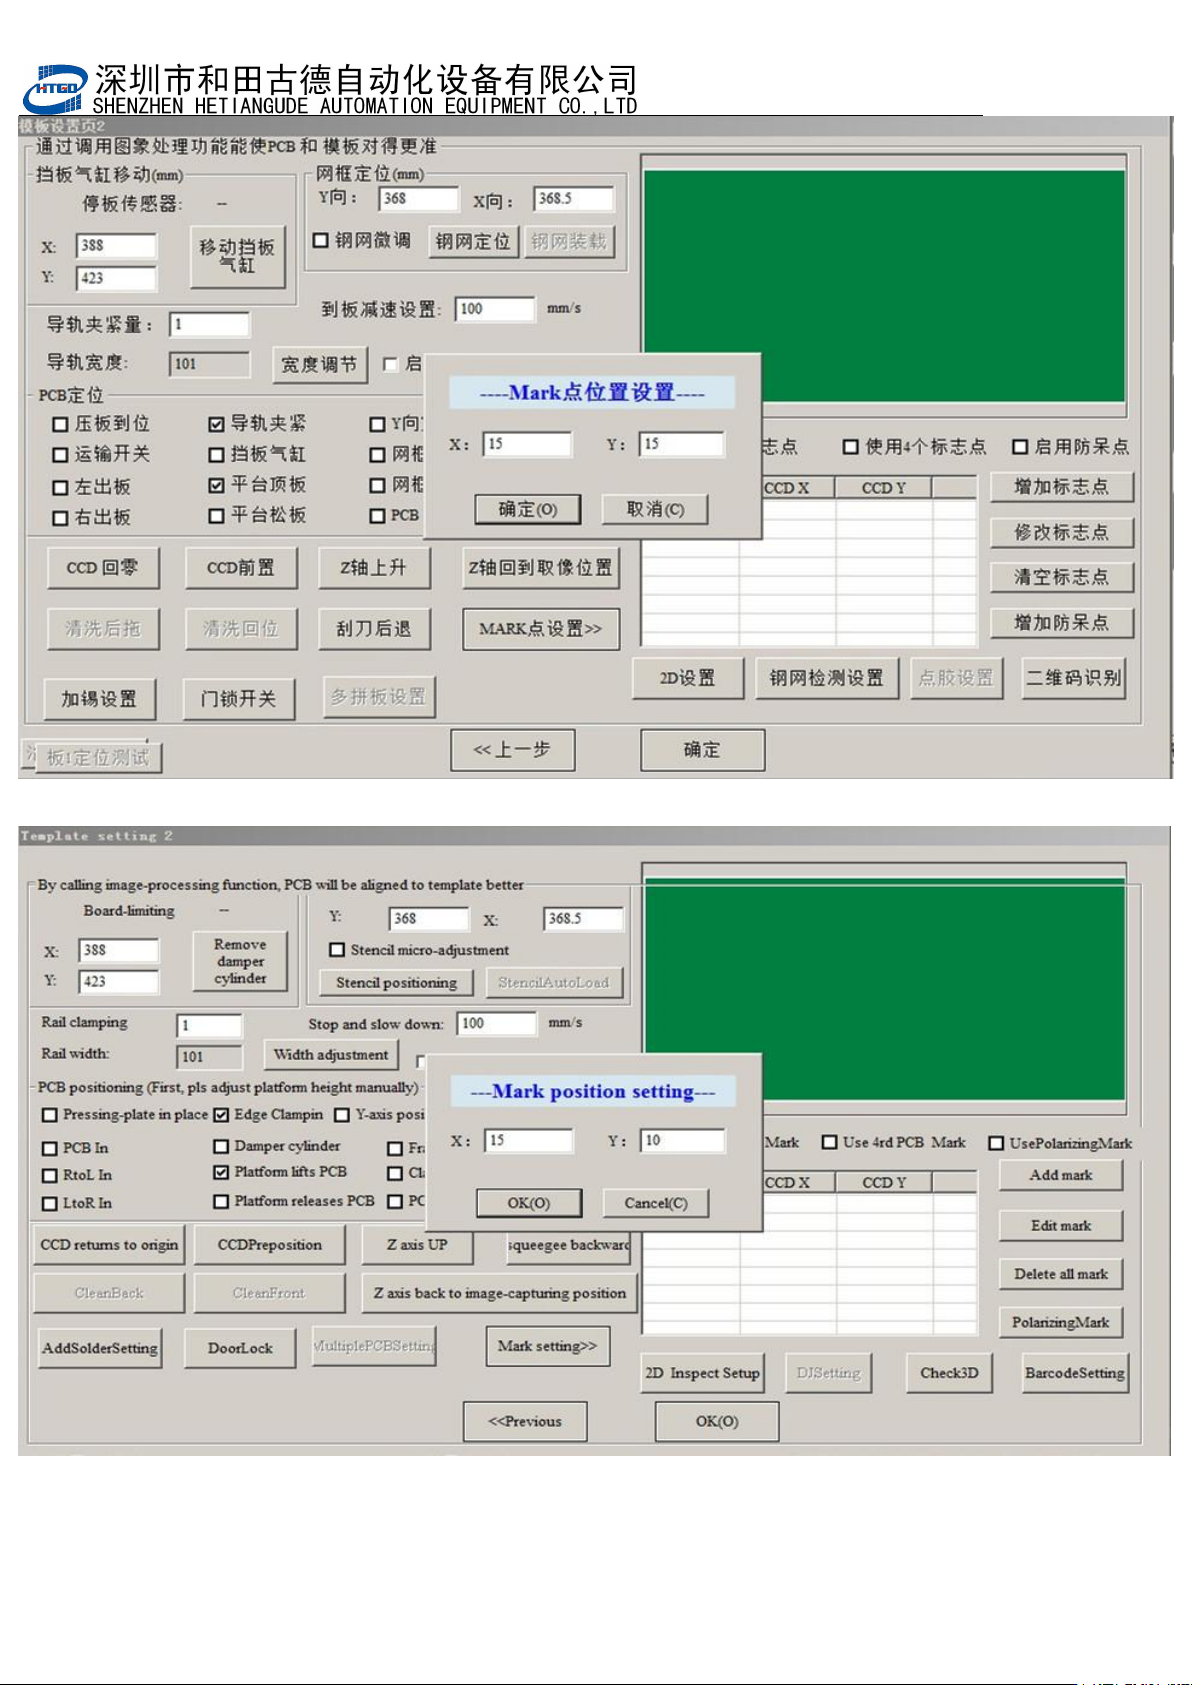
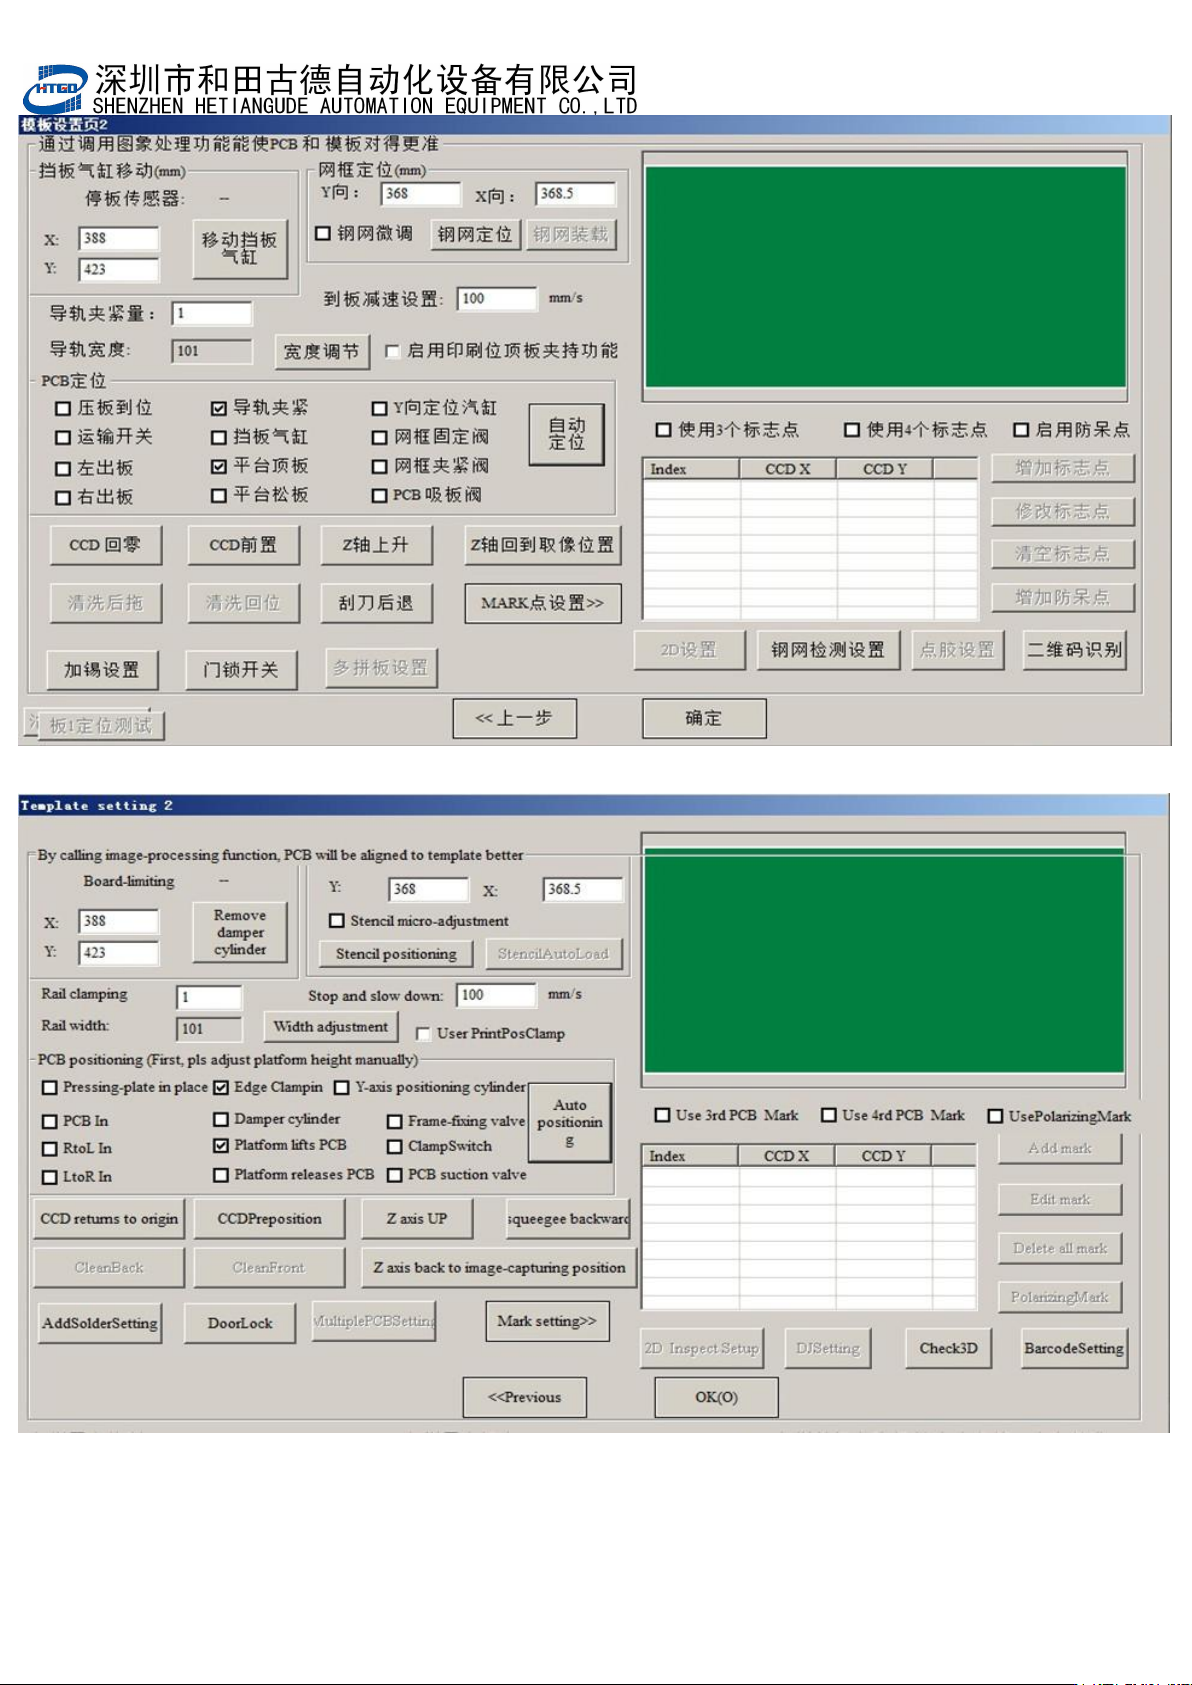
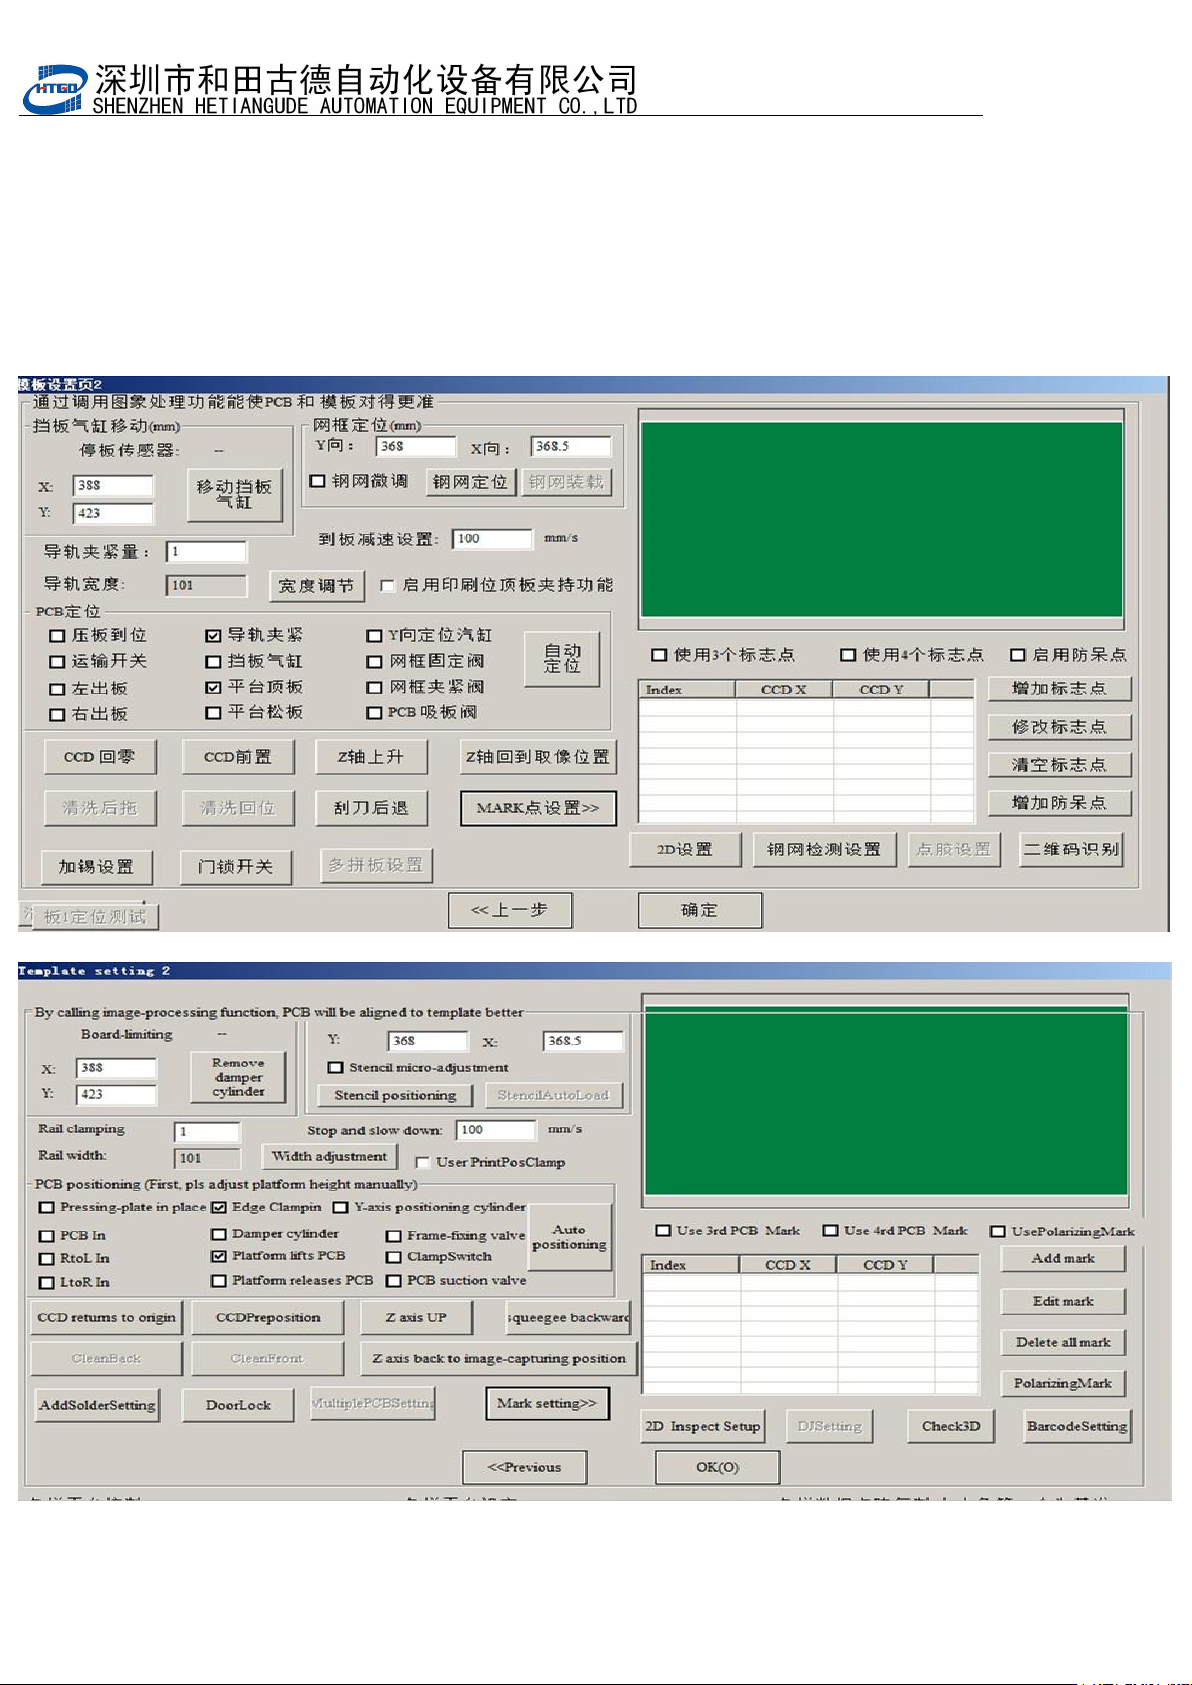
图 3-12(PCB 定位)
Pix 3-12(PCB positioning)
- 51
-
注意:设置好 PCB 标志点到边距离后,将 PCB 放置在运输轨道入口处,点击[自动定位]PCB
自动送到预定位置并固定夹紧。如图
3-12
;点击
[Z
轴上升
]
将
PCB
顶到钢网位置,打开
(
网框固定阀
)
把钢网放入并与
PCB
对齐。
Notice: Place the PCB in the entrance of the transmission rail after setting thedistance
between PCB mark and side. Click (automatic positioning) button, PCB will be delivered
automatically to the preset position and will be clamped and fixed. See pix 3-12. By clicking(Z
axis lifts up) button, the PCB will be lift to the stencil position. Turn on frame fixed valve and
put in the stencil and let stencil align at PCB
图 3-13(点击[MARK 点设置],开启 Mark 编辑状态)
Pix 3-13(the mark can be edited by clicking the “MARK 点设置”(Mark point setting) button.