Portal-Operation-Manual-REV-I.pdf - 第83页
PVA Portal Manual Revision I / Janua ry 2022 Page 83 of 106 2. Sele ct the column head er to sort the par t view. Figure 96 : Column Header 3. Select the “ OK ” butto n to accept th e selected highlighted part. Figure 97…
PVA Portal Manual
Revision I / January 2022
Page 82 of 106
Part Manager
Part Manager is an embedded library used to manage Portal Part Selection and Part
Recipes. Part Recipes can be configured in the Recipe Manager window. The Recipe
Manager window is accessible from the Portal Part Selection field when in the workcell is
in Setup mode. The structure of a recipe can be defined from the ‘PartDataType.cfg’ file.
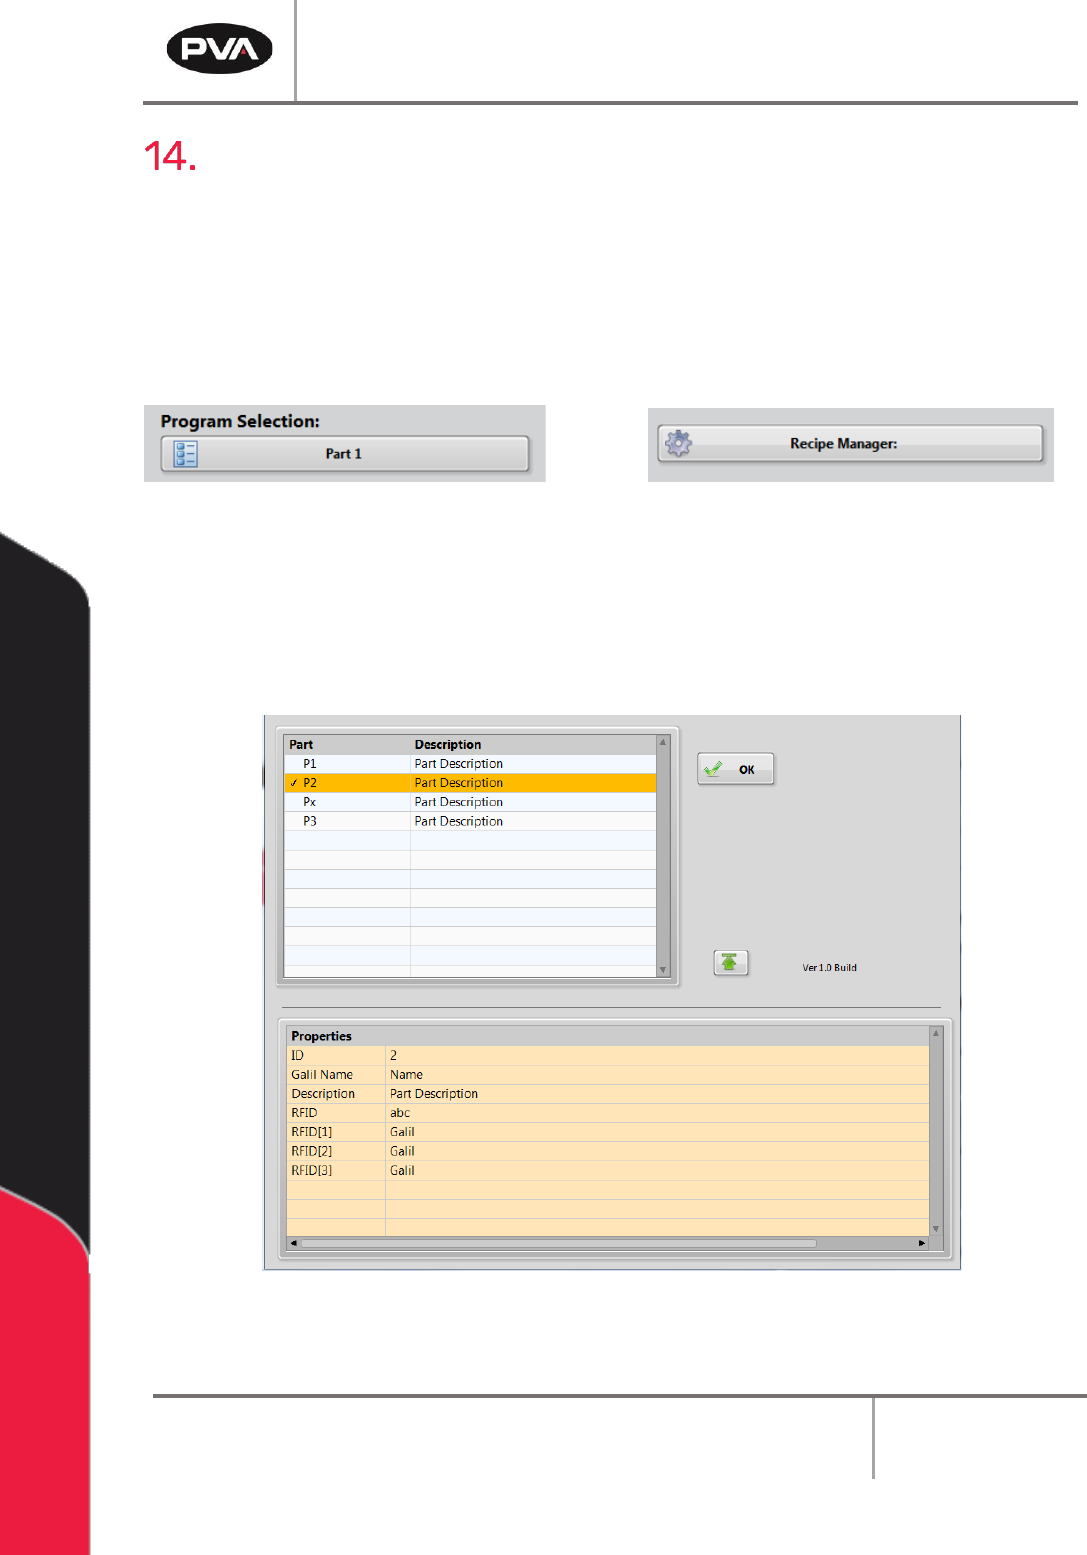
In Setup mode, there is a Recipe Manager drop down menu. In every other mode, the
drop-down menu will say Program Selection.
Figure 94: Recipe Manager and Program Selection Menus
14.1 Part Selection Console
1. To see the Part Selection Console, select the drop-down menu and select a part.
Figure 95: Part Selection Console
PVA Portal Manual
Revision I / January 2022
Page 83 of 106
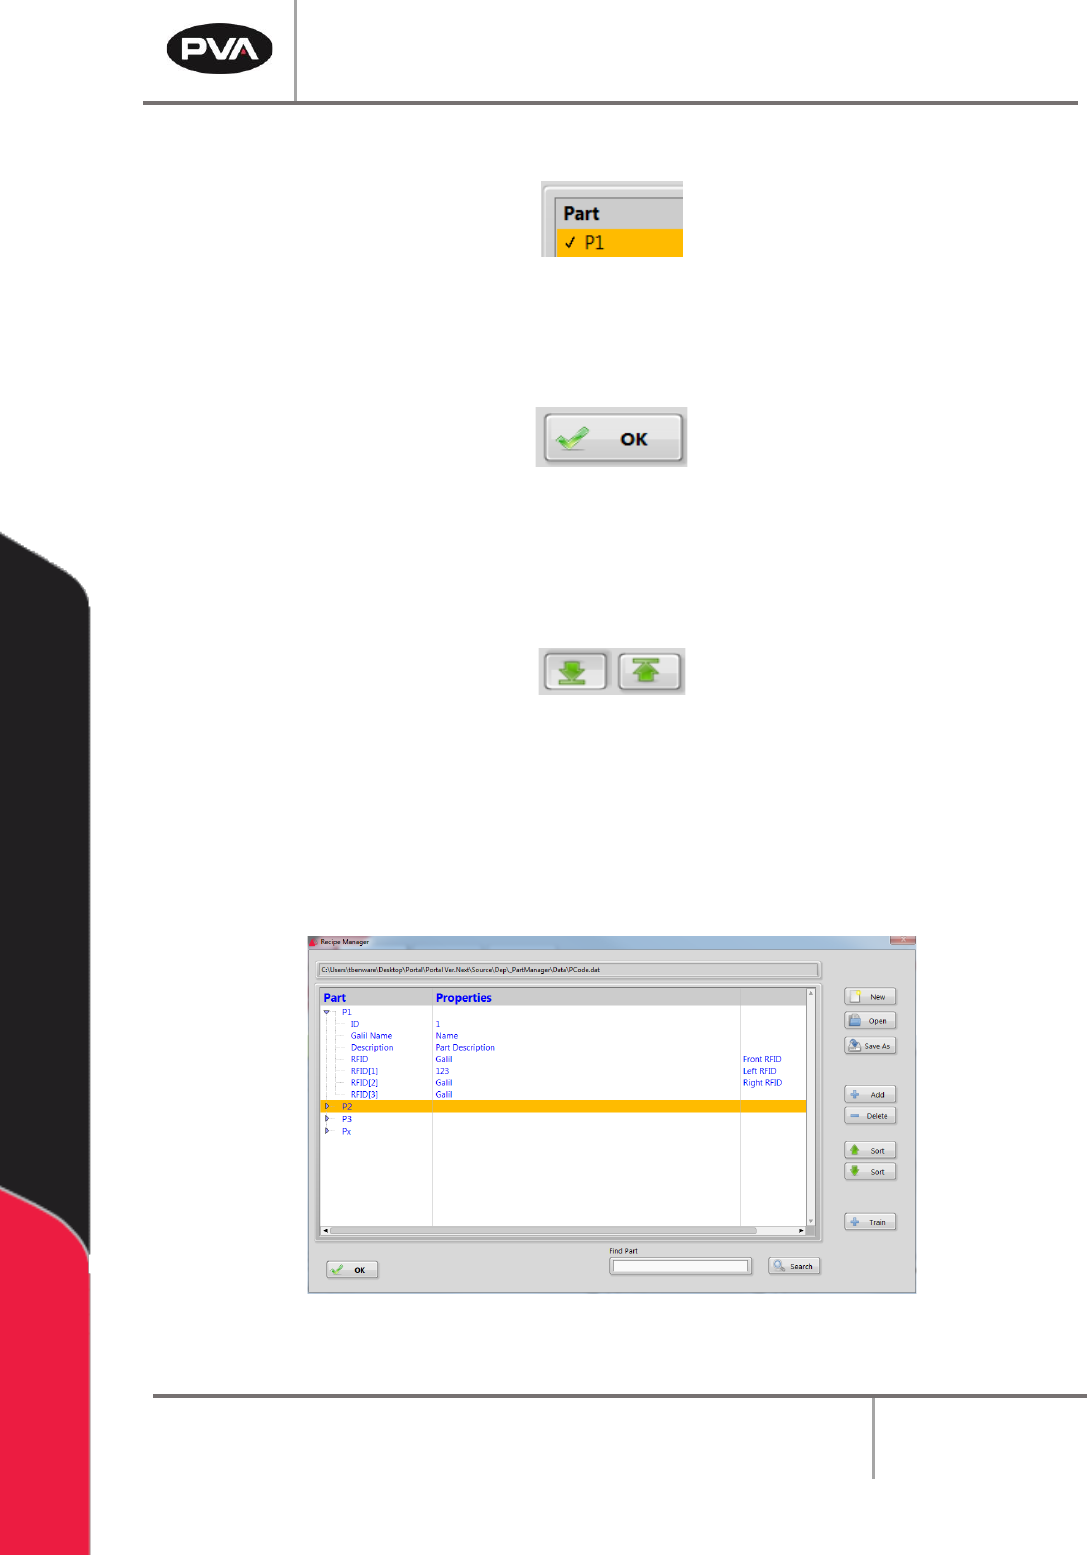
2. Select the column header to sort the part view.
Figure 96: Column Header
3. Select the “OK” button to accept the selected highlighted part.
Figure 97: "OK" Button
4. Use the arrow buttons to expand or collapse the window to view or hide current part
properties.
Figure 98: Arrow Buttons to Expand or Collapse the Window
14.2 Recipe Manager
1. In Setup mode, select “Recipe Manager” to go to the Recipe Manager.
Figure 99: Recipe Manager Window
PVA Portal Manual
Revision I / January 2022
Page 84 of 106
2. Select the “New” button to create a new Dataset file.
3. Select the “Open” button to open an existing Dataset file.
4. Select the “Save As” button to save the current Dataset file as a new Dataset file.
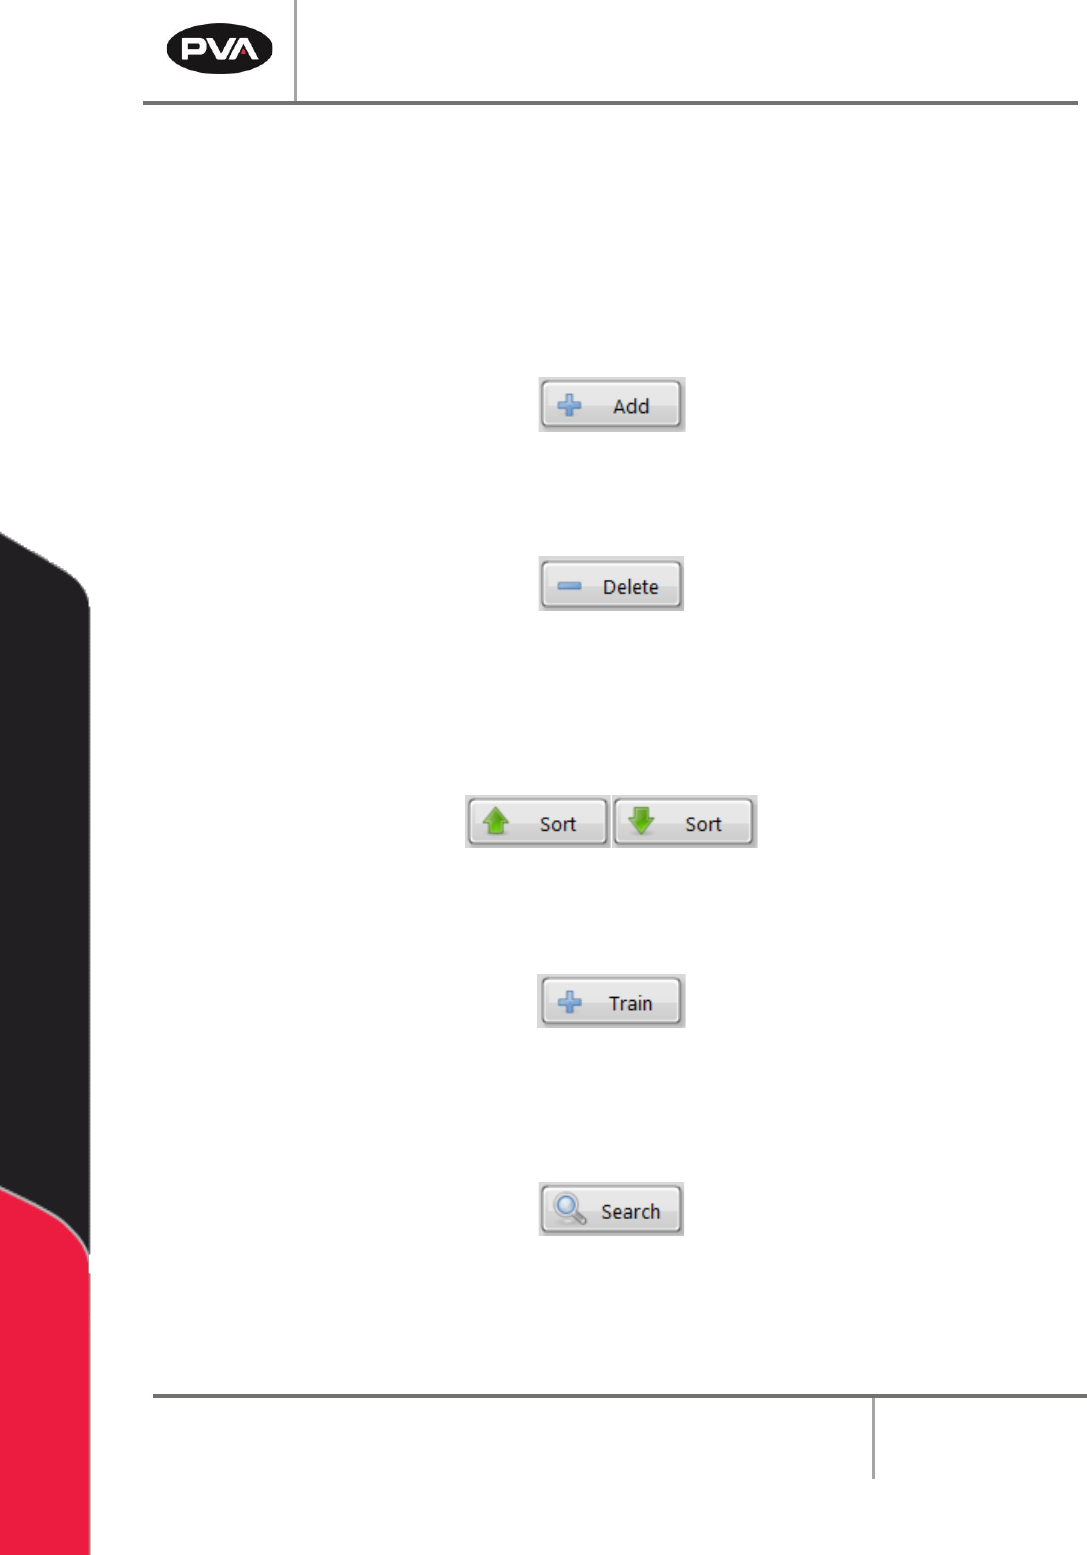
5. Select the “Add” button to add a new part to the current data set. Ensure the new
part name is unique.
Figure 100: Add Button
6. Select the “Delete” button to delete the selected part record.
Figure 101: Delete Button
7. The part record can be viewed in ascending or descending order. To view the part
record in ascending order, select the “Sort” button with the up arrow. To view the
part record in descending order, select the “Sort” button with the down arrow.
Figure 102: Sort Ascending or Descending Buttons
8. Select the “Train” button to add a new part record based on a trained part code.
Figure 103: Train Button
9. Select the “Search” button to search for a part by name in the current dataset. The
search is case sensitive.
Figure 104: Search Button