Portal-Operation-Manual-REV-I.pdf - 第85页
PVA Portal Manual Revision I / Janua ry 2022 Page 85 of 106 14.2.1 To Edit Part Name or P art ID To edit a Part Na me or Part ID , hold th e “ CTRL ” key do wn and double click the necessar y field. This action prevents …
PVA Portal Manual
Revision I / January 2022
Page 84 of 106
2. Select the “New” button to create a new Dataset file.
3. Select the “Open” button to open an existing Dataset file.
4. Select the “Save As” button to save the current Dataset file as a new Dataset file.
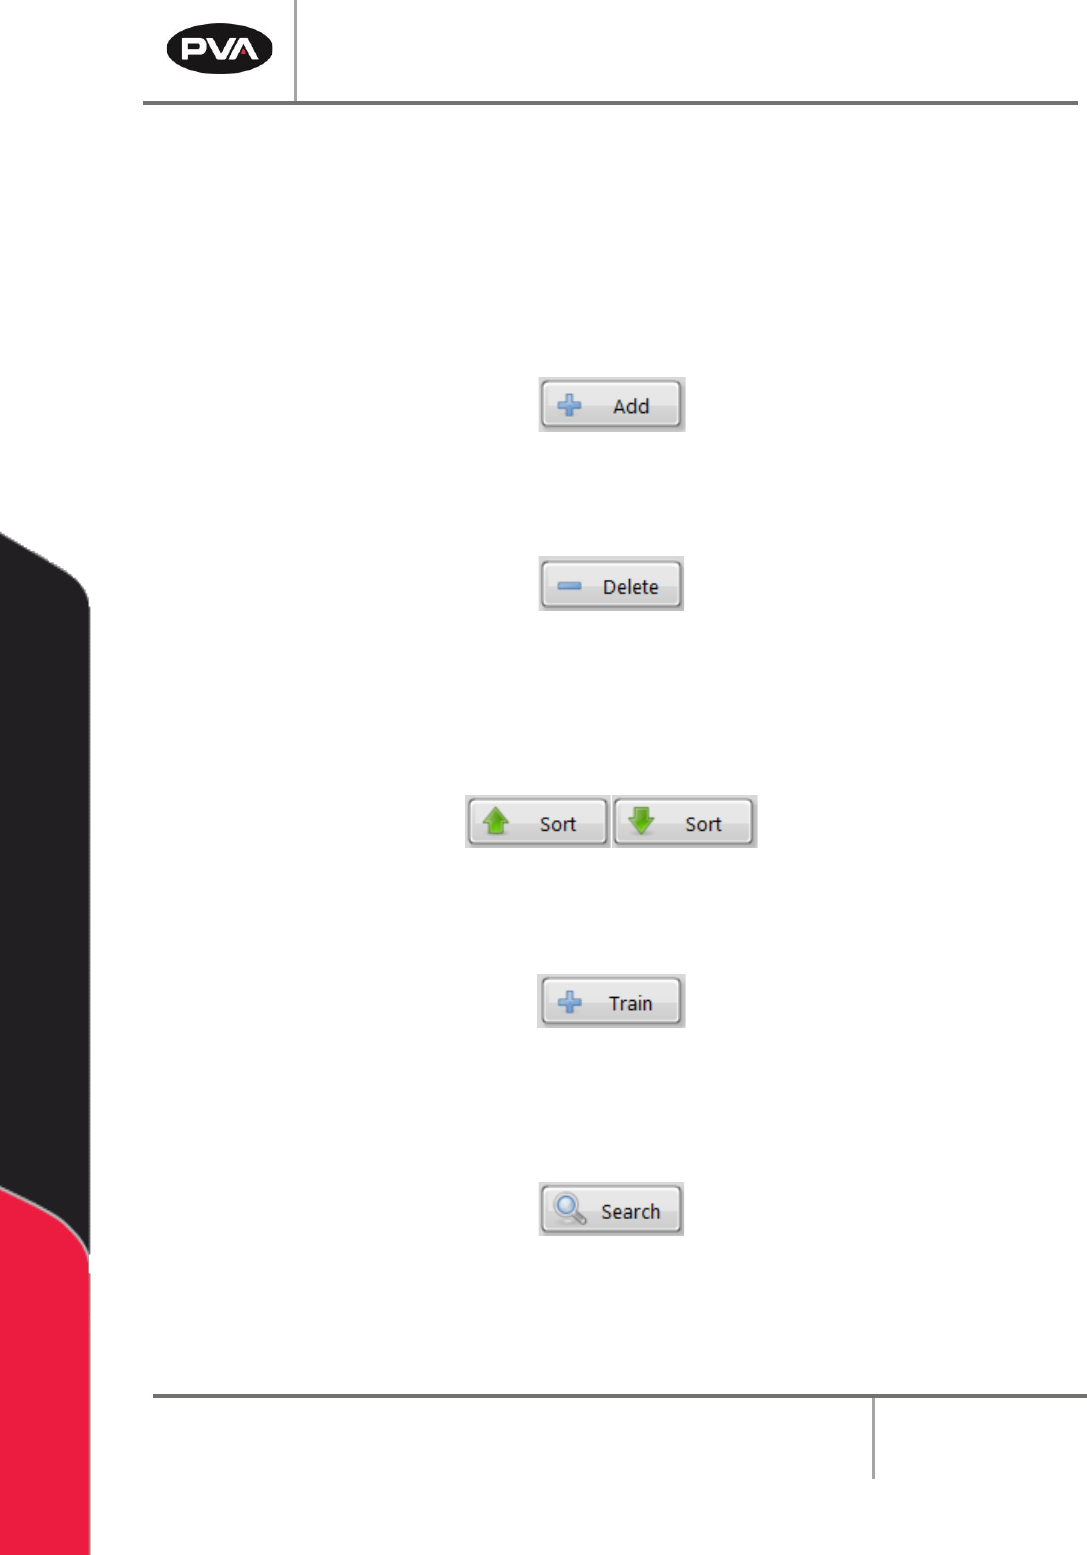
5. Select the “Add” button to add a new part to the current data set. Ensure the new
part name is unique.
Figure 100: Add Button
6. Select the “Delete” button to delete the selected part record.
Figure 101: Delete Button
7. The part record can be viewed in ascending or descending order. To view the part
record in ascending order, select the “Sort” button with the up arrow. To view the
part record in descending order, select the “Sort” button with the down arrow.
Figure 102: Sort Ascending or Descending Buttons
8. Select the “Train” button to add a new part record based on a trained part code.
Figure 103: Train Button
9. Select the “Search” button to search for a part by name in the current dataset. The
search is case sensitive.
Figure 104: Search Button
PVA Portal Manual
Revision I / January 2022
Page 85 of 106
14.2.1 To Edit Part Name or Part ID
To edit a Part Name or Part ID, hold the “CTRL” key down and double click the necessary
field. This action prevents accidental edits to these fields.
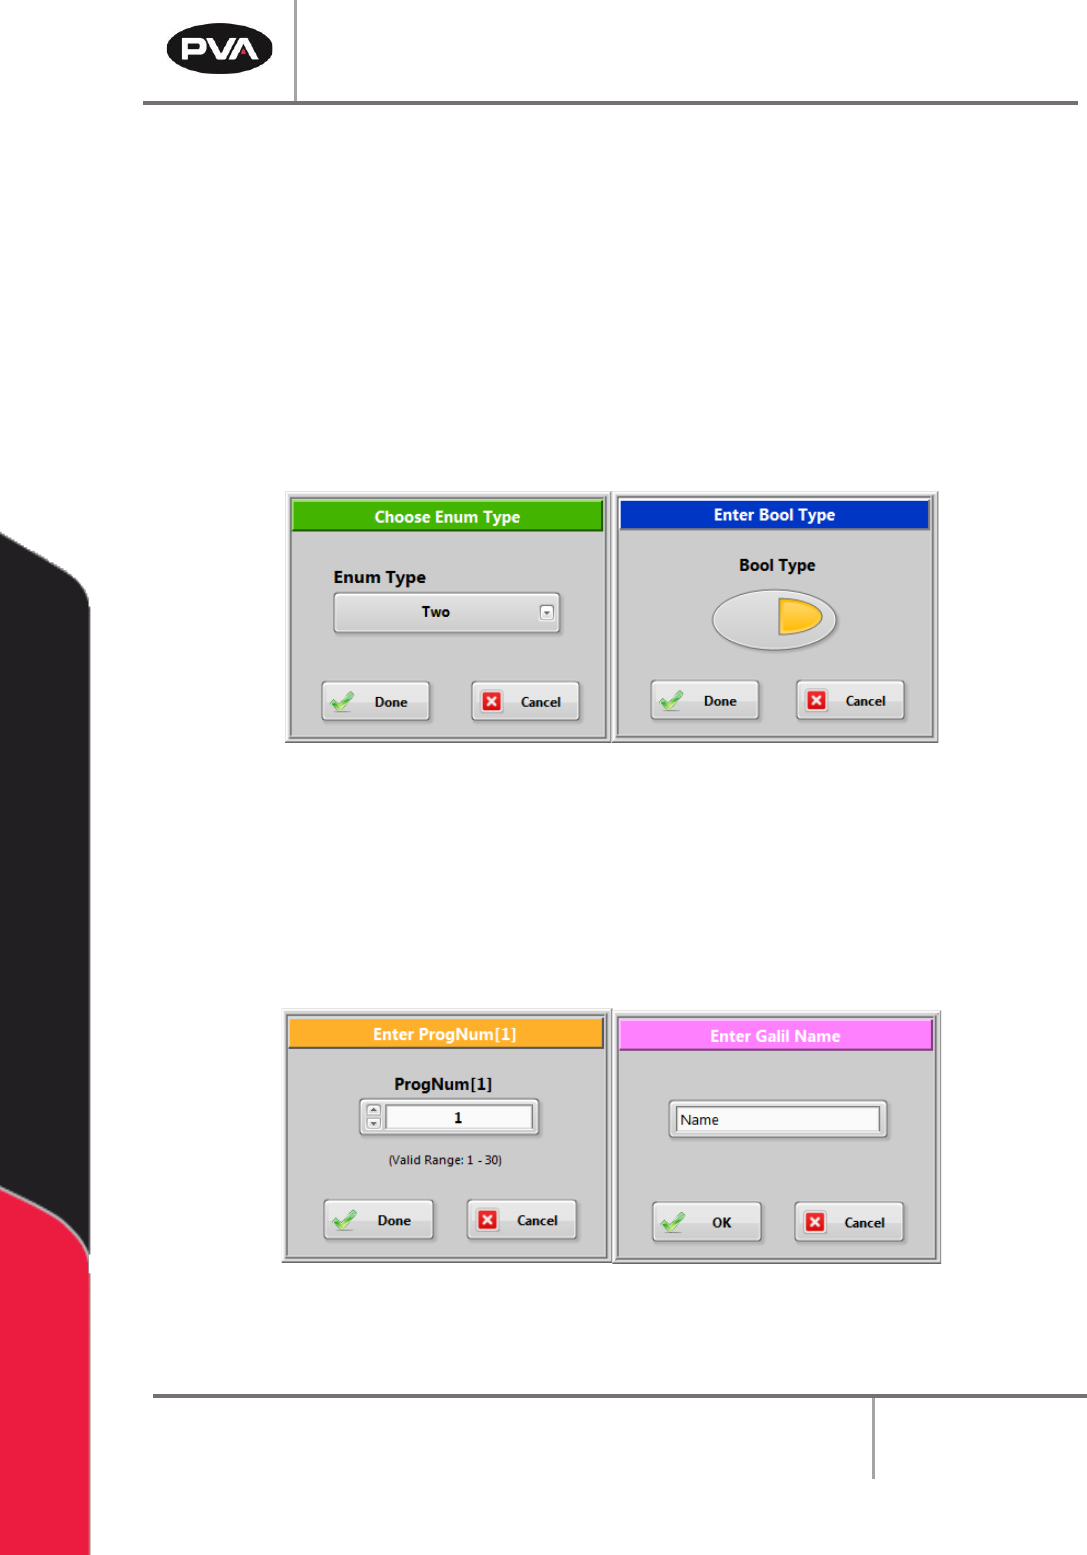
14.2.2 To Edit a Property Field
1. To edit a property field, click on the part name to expand the property list.
2. Double click on the property that is to be edited. The edit property window shown
will depend on the data type of the selected property.
Figure 105: Choose Enum and Enter Bool Type Windows
3. The edit field may have limits on what can be entered. For example, a property of
type ‘String’ may be restricted to a length of 12 characters and some characters
may not be allowed. A property of type ‘Num’ may only allow numbers in the range
of 1 - 30 to be entered.
Figure 106: Enter ProgNum and Enter Galil Name Windows
PVA Portal Manual
Revision I / January 2022
Page 86 of 106
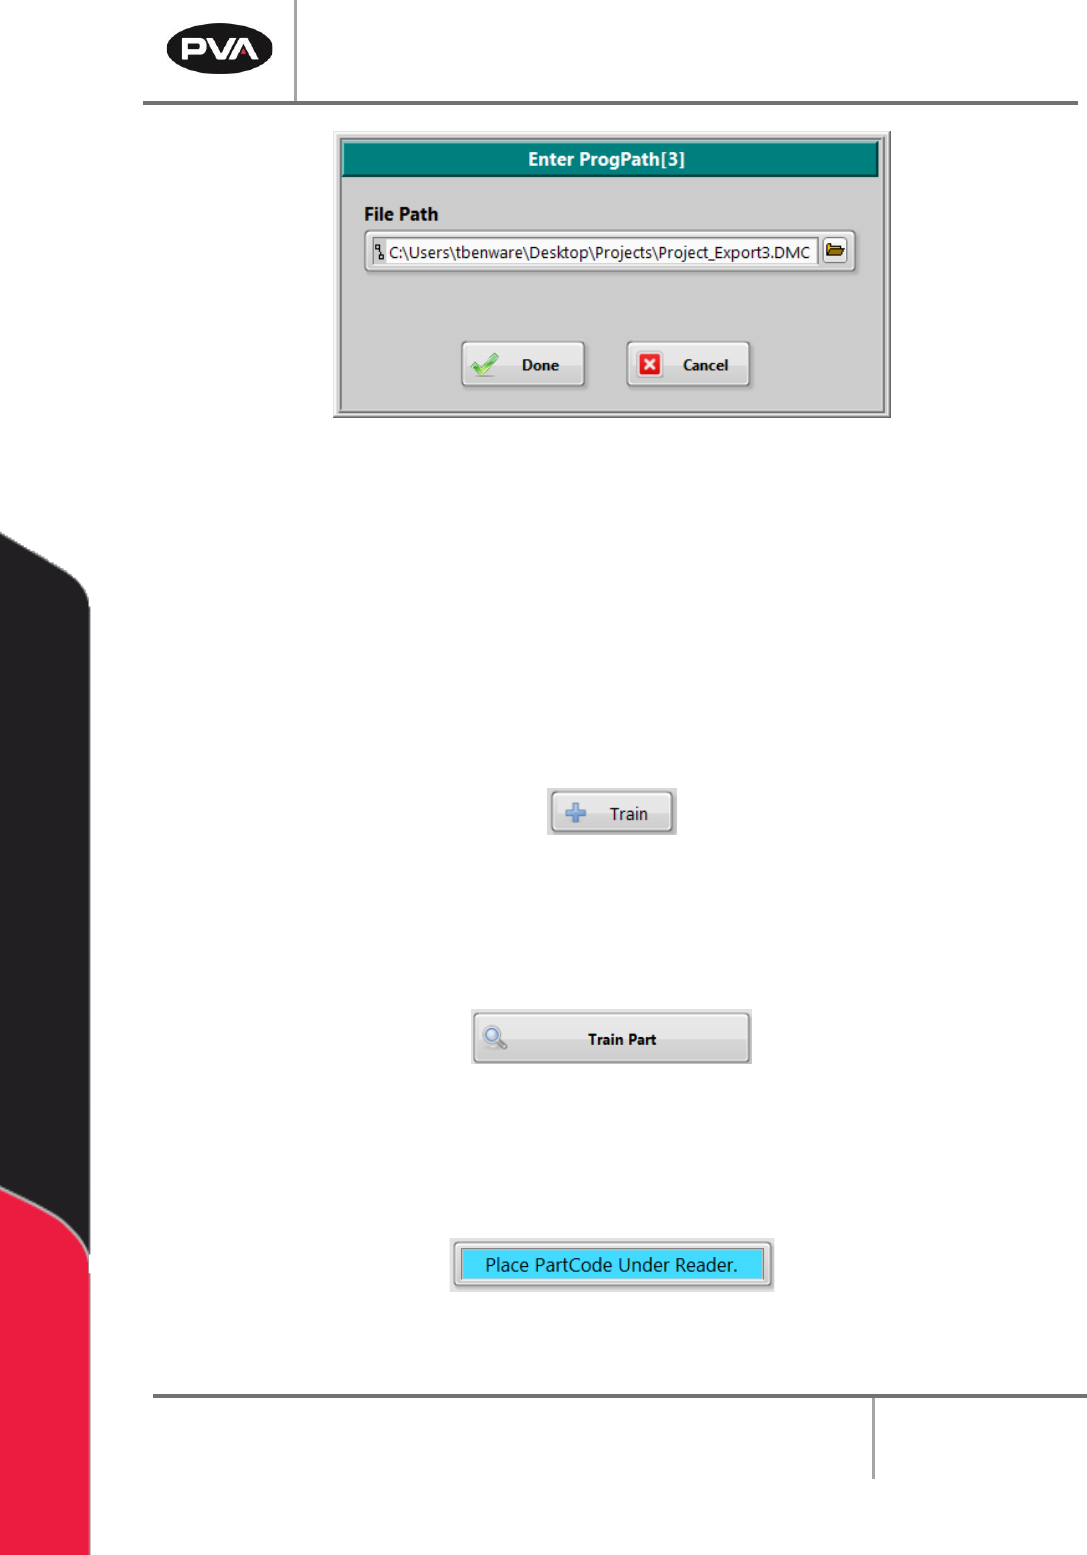
Figure 107: Path Program File Location
14.3 How to Train a New Part
PartCodes must be trained in order to create a new part record. A PartCode could be a
barcode, RFID tag, etc. PartCodes must be unique to the dataset. If the trained PartCode
is found in the dataset, the Train window will close and the part matching the PartCode
will be selected.
1. Select the “Train” button from the Recipe Manager window.
Figure 108: Train Button
2. The Train window will open. Select the “Train Part” button.
Figure 109: Train Part Button
3. The Train window will display a prompt to put the PartCode under the reader.
Figure 110: PartCode Prompt