4H4CEOM2.pdf - 第83页
Page 9-13 CHANGING THE PRODUCTION BOARDS 9 9-5 Setting and Checking the Production Materials Not to produce the bad board, ensure that the production materials in data match those set on the feeder table in following pro…
Page 9-12
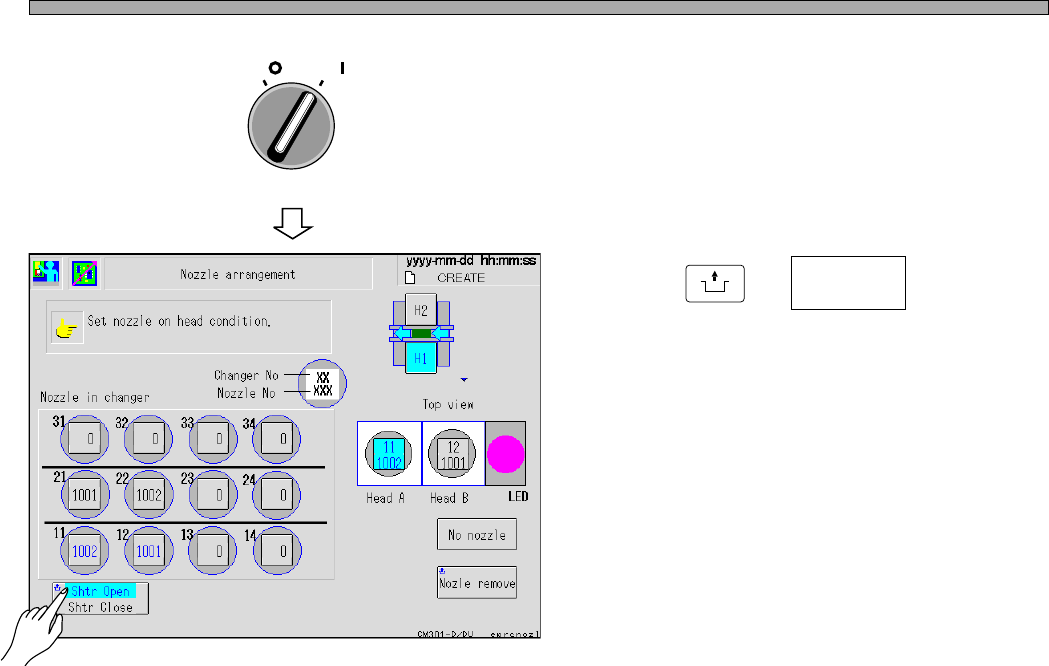
Nozzle Exchange
6. Close the safety cover, and turn on
the servo switch.
7. Press
UNLOCK
+ .
• The shutter of the nozzle changer closes.
OFF ( )
ON ( )
SERVO
Shtr Open
Shtr Close
4H4C-E-OMA09-A01-03
4H4C-EEn-PcNa-004

Page 9-13
CHANGING THE
PRODUCTION BOARDS
9
9-5 Setting and Checking the Production Materials
Not to produce the bad board, ensure that the production materials in data match those set on the
feeder table in following procedures.
∗ Refer to “Chapter 5 Setting Production Materials” for setting the feeder.
1. Press
Data modify
.
• The data modification menu screen appears.
2. Press .
• The feeder layout/stock data screen appears.
3. Ensure that the feeder in the stock
data matches the set one.
4. After checking it, press .
• The data modification screen reappears.
Feeder layout
Stock data
4H4C-EEn-DmFl-003
4H4C-E-OMA09-A01-02
Page 9-14
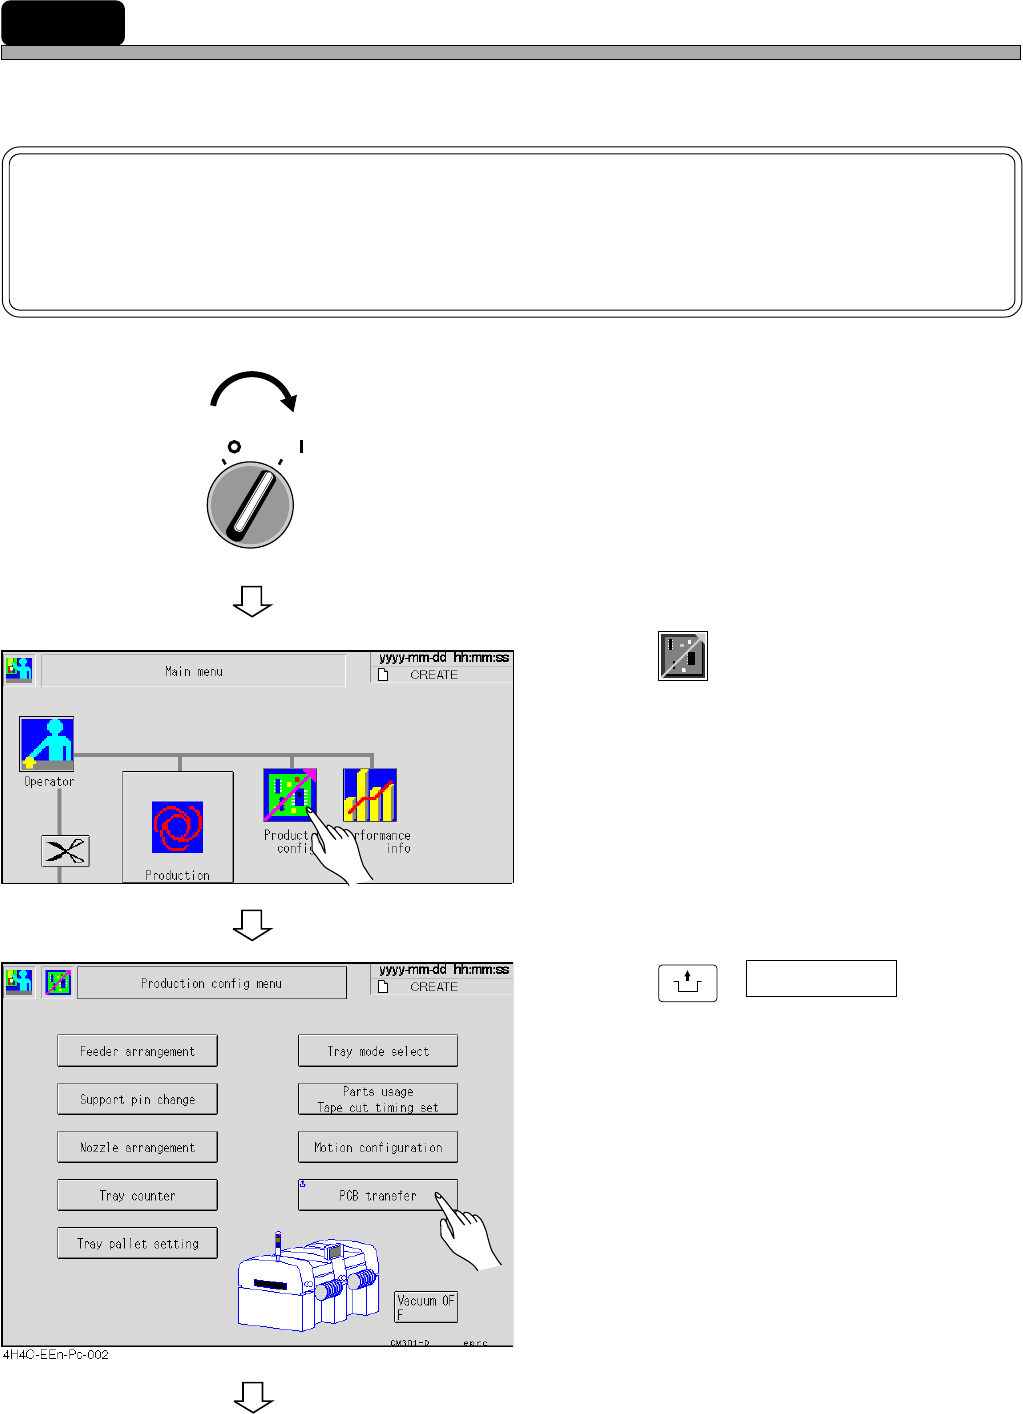
9-6 Board Transfer Test
After adjusting the width of the transfer rail and the support pin, carry out the board transfer test,
and ensure that the board is transferred smoothly.
NOTICE
Actually, the transfer test is carried out for whole line. This section describes the
transfer test with the board on the rear conveyor of the pre-station, after the trans-
fer test for the pre-station.
1. Turn on the servo switch.
2. Press
Product
config
.
• The production setting screen appears.
3. Press
UNLOCK
+ PCB transfer .
• The board transfer screen appears.
To the next page
444C-EEn-Main-001
OFF ( )
ON ( )
SERVO
4H4C-E-OMA09-A01-02