OM-1743-005w.pdf - 第83页
1209-001 (4) Set the timing to indicate the "Splicing W arning". • Specied with [T ape Length (mm)] Note The "Splicing W arning" is not indicated with a remaining tape length of 900 mm or less. (4.1)…
1209-001
6.2. Setting in the Main Machine before Splicing Operation
Notice
When the splicing operation is to be performed, the splicing setting in the
machine body is required.
Reference
Refer to "4.2.8 Splicing" in Chapter 1, Volume 2 in the Instruction Manual for
the Main Machine, for the description of the "Splicing" window.
6.2.1 Setting in the Splicing Stop and Warning Mode
Procedure
(1) Press the [Opn. Mode] tab in the "AUTO OPN" window.
(The "Opn. Mode" tab sheet will appear.)
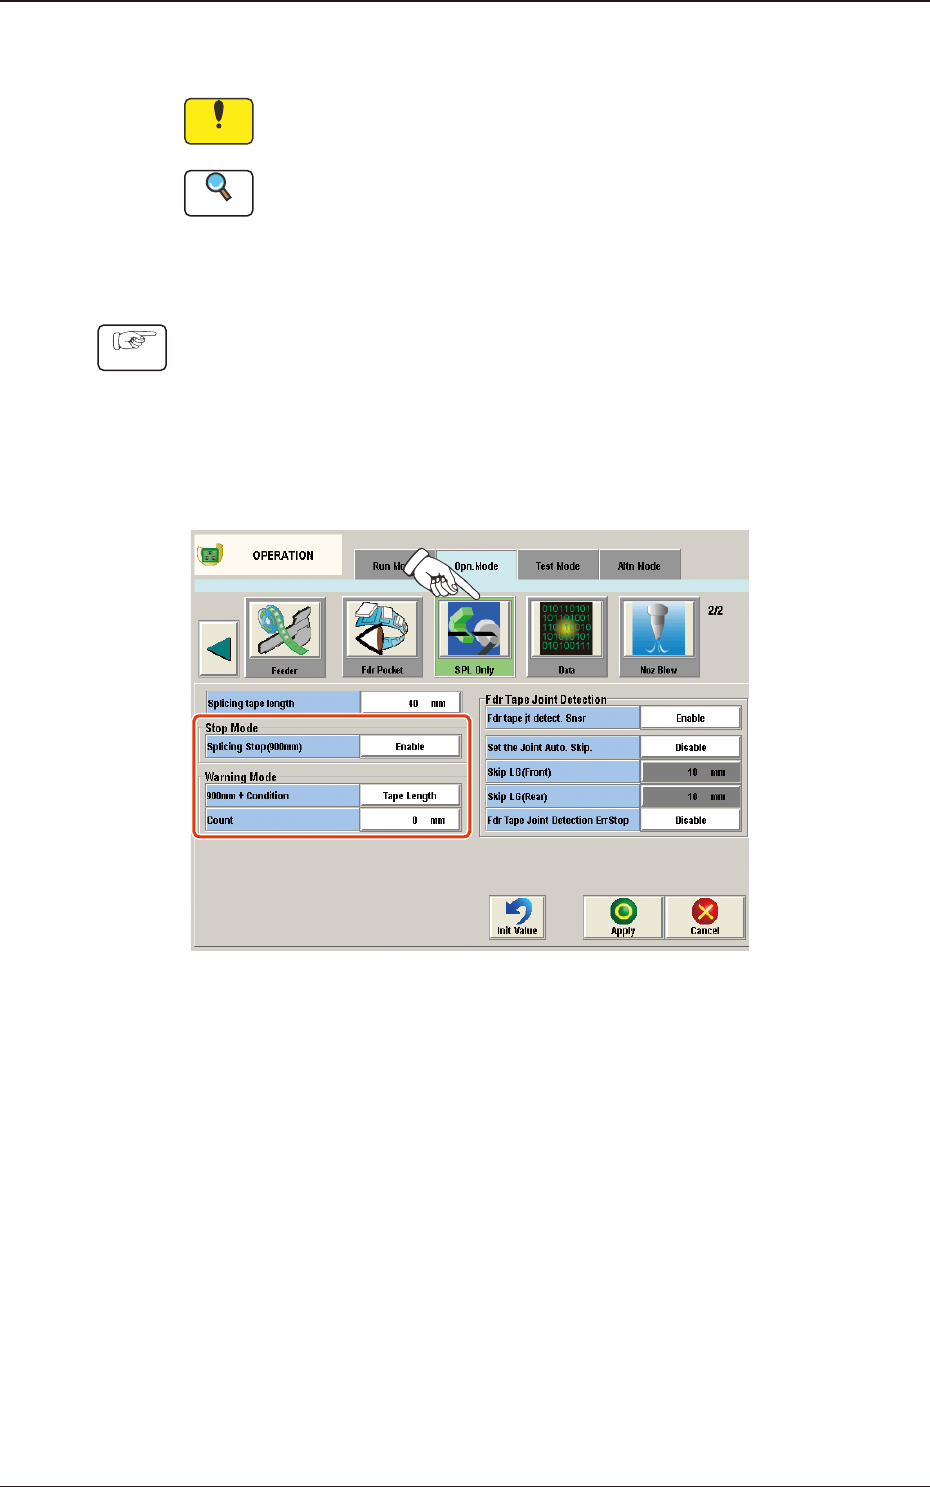
(2) Press the [Opn. Mode] tab and press the [SPL Only] button on the "Opn.
Mode" tab sheet.
(The "Splicing" window will appear.)
Fig. F2 "SPL Only" Window
(3) Select "Enable" in the "Splicing Stop (900 mm)" selection box in the "Stop
Mode" group box.
6.2. Setting in the Main Machine before Splicing Operation
OM-1743
6-2
1209-001
(4) Set the timing to indicate the "Splicing Warning".
•
Specied with [Tape Length (mm)]
Note
The "Splicing Warning" is not indicated with a remaining tape length of
900 mm or less.
(4.1) Select "Tape Length" in the Warning Mode "90 mm + Condition"
text box.
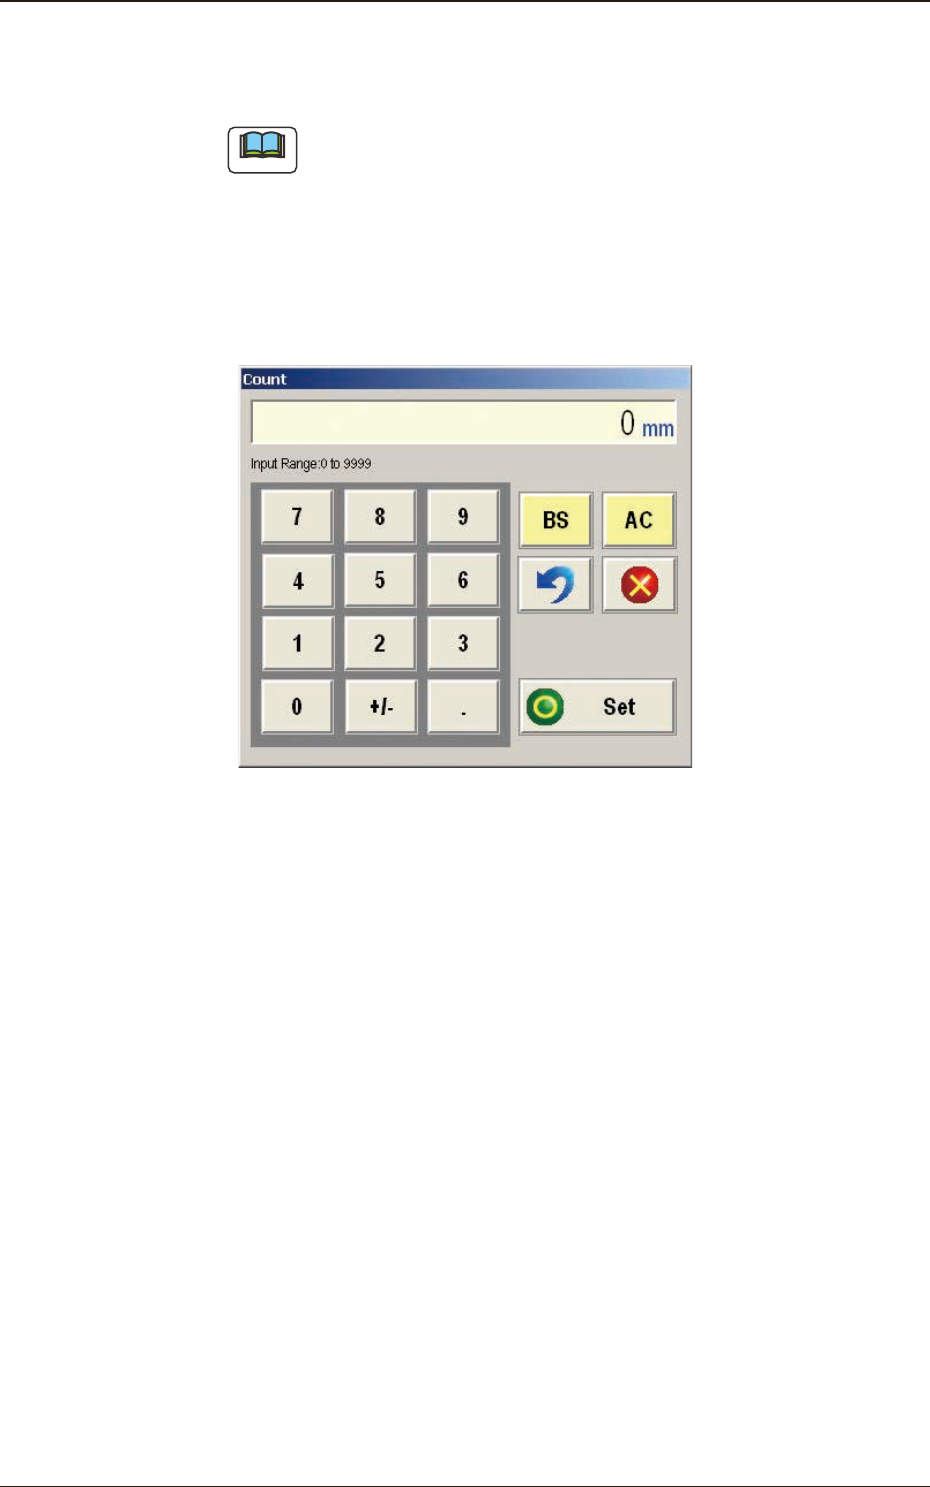
(4.2) Press the [Count] button.
(The "Count" input window will appear.)
FF3 "Count" Input Window
(4.3) Enter the tape length.
Input Range
: 0 to 9999 mm
(4.4) Press the [Set] button to dene the entered values.
•
Specied with [PCB Count]
(4.1) Select "PCB Count" in the Warning Mode "90 mm + Condition" text
box.
(4.2) Press the [Count] button.
(The "Count" input window will appear.)
(4.3) Enter the number of PCBs to be produced.
Input Range
: 0 to 9999 PCBs
(4.4) Press the [Set] button to dened the entered values.
(5) Press the [Apply] button.
(The entered values will be applied.
When the [Cancel] button is pressed, the set values are cancelled.)
6.2. Setting in the Main Machine before Splicing Operation
OM-1743
6-3
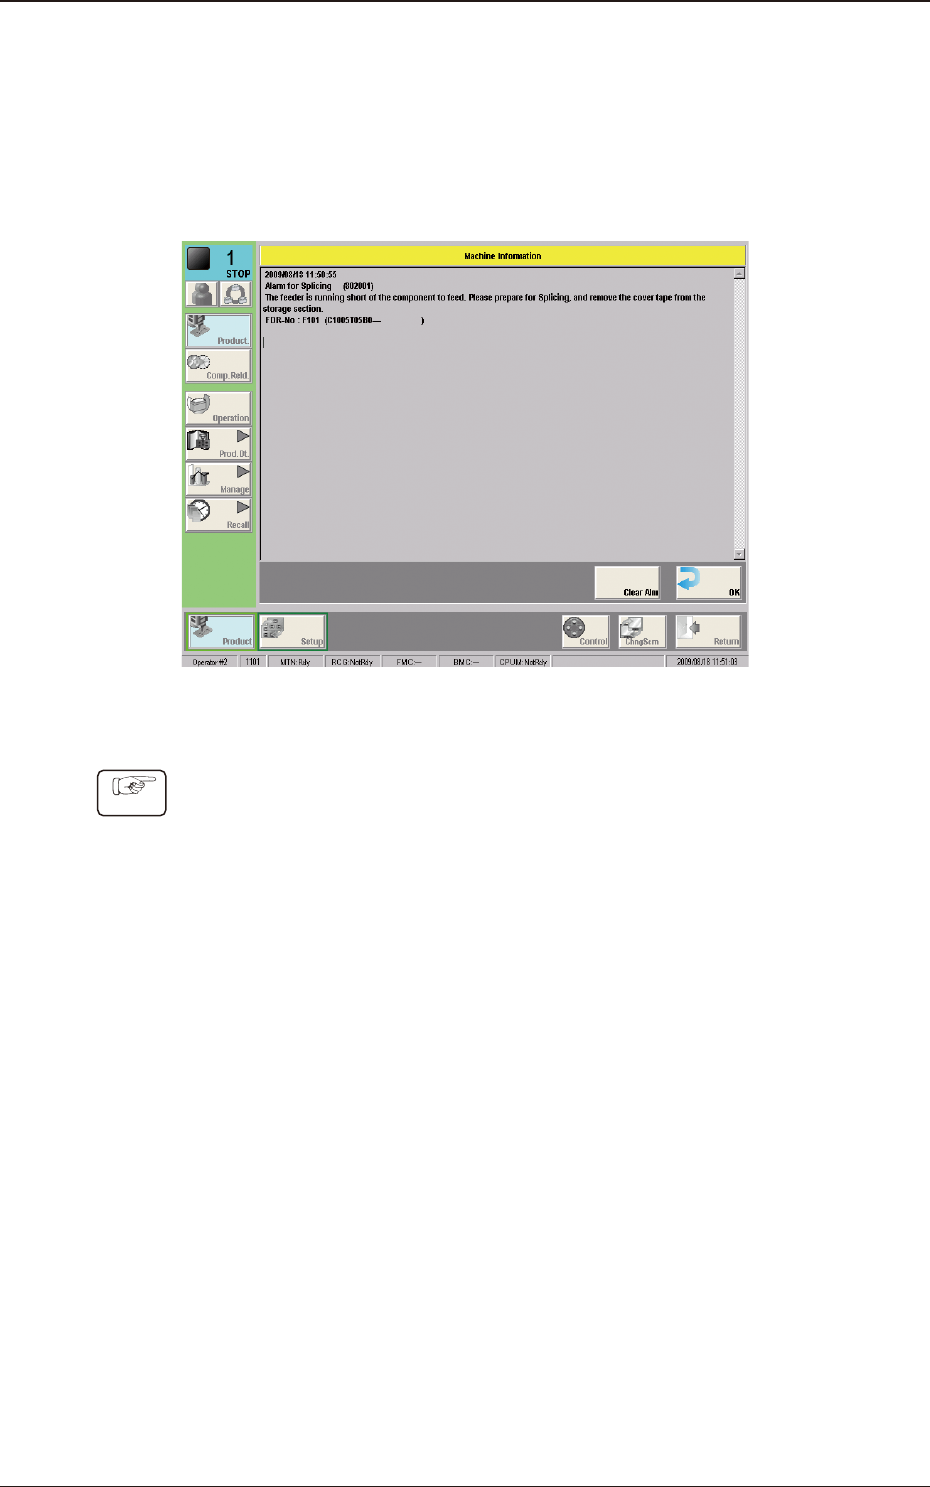
6.3 Indication of "Alarm for Splicing" on the Machine
Information Window
6.3.1 Characteristics of the Tape Feeders applicable to the Splicing
Operation
Fig. F4 "Alarm for Splicing" Display
Procedure
(1) Conrm the contents on the machine information window and press the [OK]
button.
(The "Machine Information" window will be closed.)
1209-001
6.3 Indication of "Alarm for Splicing" on the Machine Information Window
OM-1743
6-4