AltaPail II Bulk Melters Product Manual.pdf - 第43页
Hardware Operation 4-2 Part 1121836_03 E 11/2014 Nordson Corporation First Time Startup The initi al startup is a 4-step process. Step Description Refer to Page 1 Switch the Ma in Power On. 4-2 2 Following the handling i…

Hardware Operation
4-1
Part 1121836_03
E 11/2014 Nordson Corporation
Section 4
Hardware Operation
WARNING! Allow only qualified personnel to perform the following tasks.
Follow the safety instructions in this document and all other related
documentation.
Hardware Operation
4-2
Part 1121836_03
E 11/2014 Nordson Corporation
First Time Startup
The initial startup is a 4-step process.
Step Description Refer to Page
1 Switch the Main Power On. 4-2
2 Following the handling instructions that came with the PUR
adhesive container, place the container in place and remove
the cover.
3 Raise/Lower the Platen 4-3
4 Purge any material in the system. 4-6
The following sections detail each procedure in greater detail.
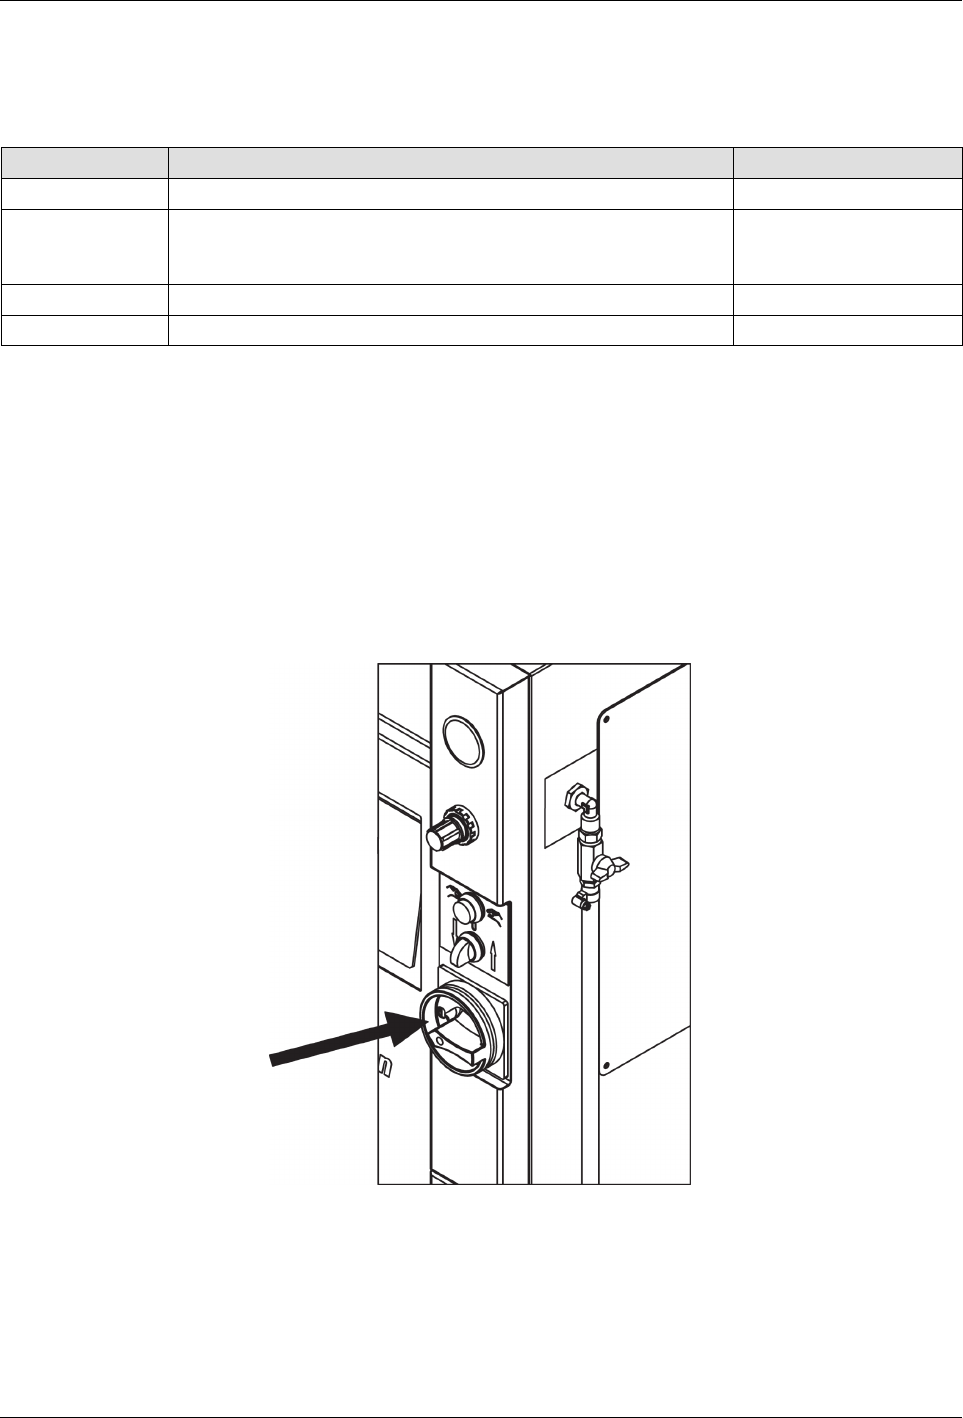
Switching the Melter On/Off
S
To switch the melter On, turn the Main Power Switch clockwise (to the
right)
S
To switch the melter Off, turn the Main Power Switch counter clockwise
(to the left)
Main Power Switch
NOTE: Before initial startup and every time the container is replaced,
remove residue and lubricate the platen sealing ring (Refer to page 8-2,
Processing Materials for lubricant). Do not use sharp tools.
Hardware Operation
4-3
Part 1121836_03
E 11/2014 Nordson Corporation
Inserting and Replacing Containers
CAUTION: Place only undamaged, suitable containers in the bulk melter;
otherwise the platen sealing ring will be damaged. Refer to page 12-1,
Suitable Containers. Always keep the base plate of the bulk melter clean so
that the container is positioned straight.
WARNING: Risk of pinching parts of the body between platen and
container. Ensure that, during operation, no one else is near the system.
1. Raise the platen.
2. Set selector Raise/lower platen to 0/Stop.
3. Insert or replace container.
4. Lubricate sealing ring. Refer to page 8-2, Processing Materials.
5. Lower platen. Refer to page 4-5, Lowering Platen.
6. Properly dispose of empty container according to local regulations.
Raising the Platen when there is no Container
WARNING: Risk of burns! Hot material can splash out when the platen exits
the container. Hot material may flow out of the air relief valve. Wear goggles
and heat-protective gloves.
1. Set selector Raise/lower platen to Raise.
2. Press both buttons on the two-hand control at the same time (within 0.5
seconds).