AltaPail II Bulk Melters Product Manual.pdf - 第44页
Hardware Operation 4-3 Part 1121836_03 E 11/2014 Nordson Corporation Inserting and R eplacing Containers CAUTION: Place only undamaged, suitable containers in the bulk melter; otherwise the p laten sealing ring will be d…
Hardware Operation
4-2
Part 1121836_03
E 11/2014 Nordson Corporation
First Time Startup
The initial startup is a 4-step process.
Step Description Refer to Page
1 Switch the Main Power On. 4-2
2 Following the handling instructions that came with the PUR
adhesive container, place the container in place and remove
the cover.
3 Raise/Lower the Platen 4-3
4 Purge any material in the system. 4-6
The following sections detail each procedure in greater detail.
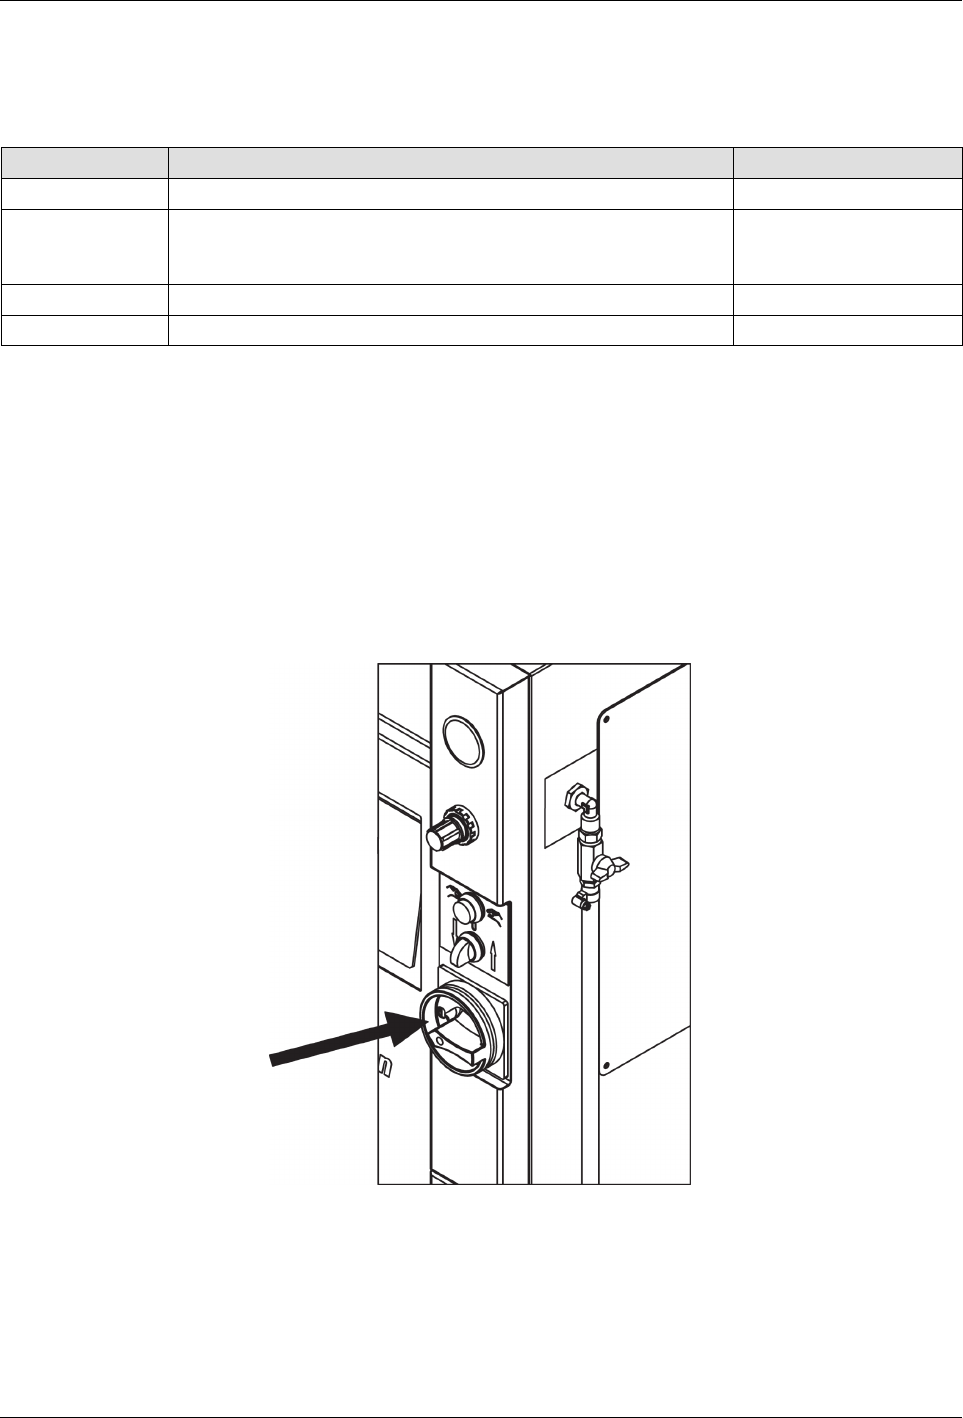
Switching the Melter On/Off
S
To switch the melter On, turn the Main Power Switch clockwise (to the
right)
S
To switch the melter Off, turn the Main Power Switch counter clockwise
(to the left)
Main Power Switch
NOTE: Before initial startup and every time the container is replaced,
remove residue and lubricate the platen sealing ring (Refer to page 8-2,
Processing Materials for lubricant). Do not use sharp tools.
Hardware Operation
4-3
Part 1121836_03
E 11/2014 Nordson Corporation
Inserting and Replacing Containers
CAUTION: Place only undamaged, suitable containers in the bulk melter;
otherwise the platen sealing ring will be damaged. Refer to page 12-1,
Suitable Containers. Always keep the base plate of the bulk melter clean so
that the container is positioned straight.
WARNING: Risk of pinching parts of the body between platen and
container. Ensure that, during operation, no one else is near the system.
1. Raise the platen.
2. Set selector Raise/lower platen to 0/Stop.
3. Insert or replace container.
4. Lubricate sealing ring. Refer to page 8-2, Processing Materials.
5. Lower platen. Refer to page 4-5, Lowering Platen.
6. Properly dispose of empty container according to local regulations.
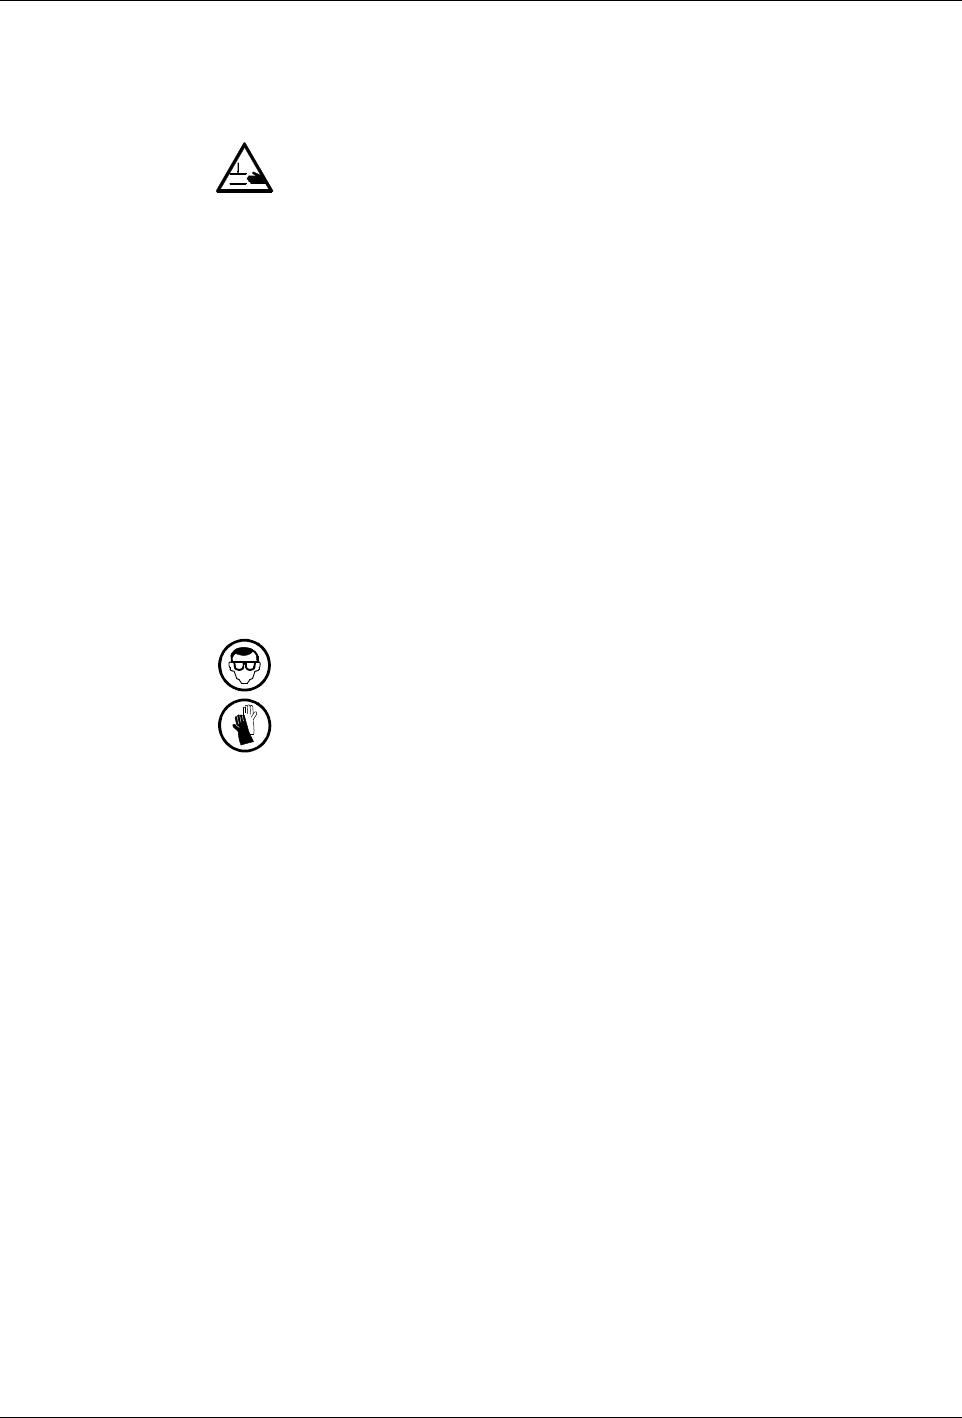
Raising the Platen when there is no Container
WARNING: Risk of burns! Hot material can splash out when the platen exits
the container. Hot material may flow out of the air relief valve. Wear goggles
and heat-protective gloves.
1. Set selector Raise/lower platen to Raise.
2. Press both buttons on the two-hand control at the same time (within 0.5
seconds).
Hardware Operation
4-4
Part 1121836_03
E 11/2014 Nordson Corporation
Raising the Platen when there is a Container
To prevent damage to the sealing rings, make sure you do the following
steps when attempting to raise the platen from an adhesive container.
Step 1 - Make sure the platen is hot enough so that none of the adhesive
sticks to it. From the Home screen, touch the Platen button then Adjust Set
Point.
Step 2 - Use compressed air from beneath the platen to help the heated
platen raise itself up. This process is called Aerating the Container. The
following section details this procedure in greater detail.
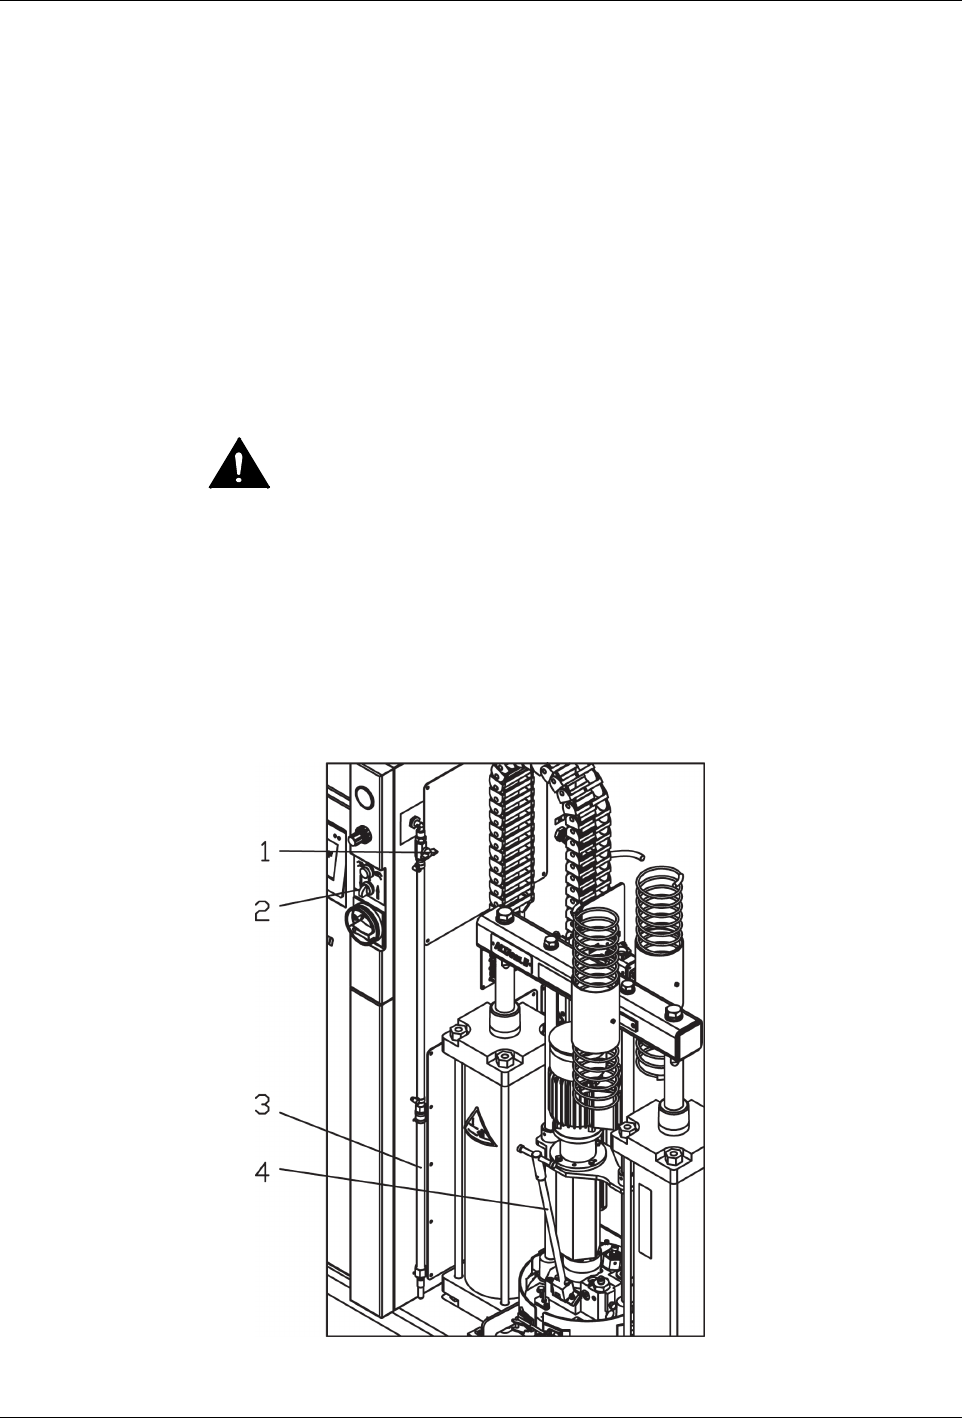
Aerating Container
WARNING! Risk of injury! Do not use an external source of compressed air
for aeration. Excessive pressure could damage both the platen the adhesive
container.
1. Make sure the selector Raise/lower platen (2) is set to 0.
2. Remove the rod (4) out of the aeration connection.
3. Secure the aeration tube (3).
4. Open the shutoff valve Compressed air to aerate container (1).
5. Set selector Raise/lower platen to Raise.