1.011.1_VPC使用手册.pdf - 第85页
84/144 5. Documentation of Results 5.1 Automatic Data Evaluation After all the diagram types have been presented and worked with in the exercises, it becomes cl ear that every evaluation requires a longer period, dependi…

83/144
4.7 Exercise 1:
1. Please make all the settings necessary to write or evaluate VPC files
2. Now load the inspection plan Teach_auto and start the inspection
operation (user: SI_teach). Then stop the inspection operation after
about 5 complete runs.
3. Please check if the VPC files are correctly written.
4. Then start the repair station (user: rep_teach) and confirm the defect.
5. Please check if the VPC files are copied to the VPC server.
6. Please change the user in VPC_teach.
7. With the utility VPC Explorer, check if the classification results and the
number of solder joints are entered in the VPC files
8. Are the machine and repair station names entered?
84/144
5. Documentation of Results
5.1 Automatic Data Evaluation
After all the diagram types have been presented and worked with in the
exercises, it becomes clear that every evaluation requires a longer period,
depending on the time filter chosen and the given amount of data.
If the VPC is applied regularly - perhaps daily - in order to document the results,
it can cost a lot of time.
The automatic data evaluation, where as many diagrams as wanted can be
evaluated automatically within a settable time, helps to prevent long waiting
times when a large amount of data is processed. The diagrams created during
this process are filed as Windows bitmaps in a directory structure and can be
further processed in any form.
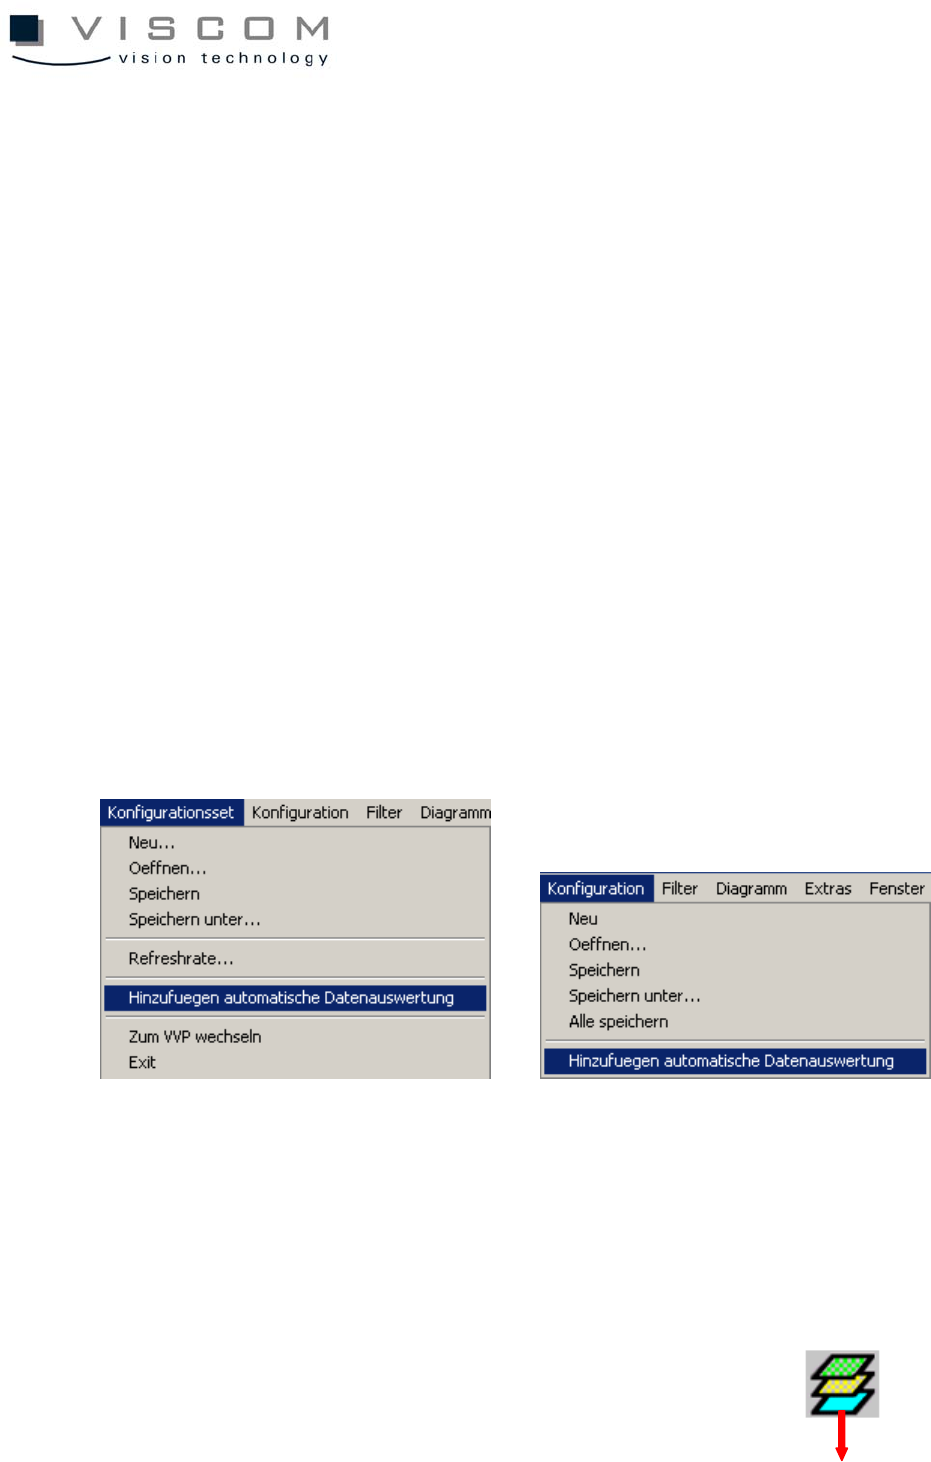
In order to add a loaded diagram (configuration) or the whole configuration set
to the automatic evaluation list, choose the option "Add automatic data
evaluation" in the menu bar.
Doing this automatically adds the active diagram or the active configurations set
to the automatic data evaluation list immediately.
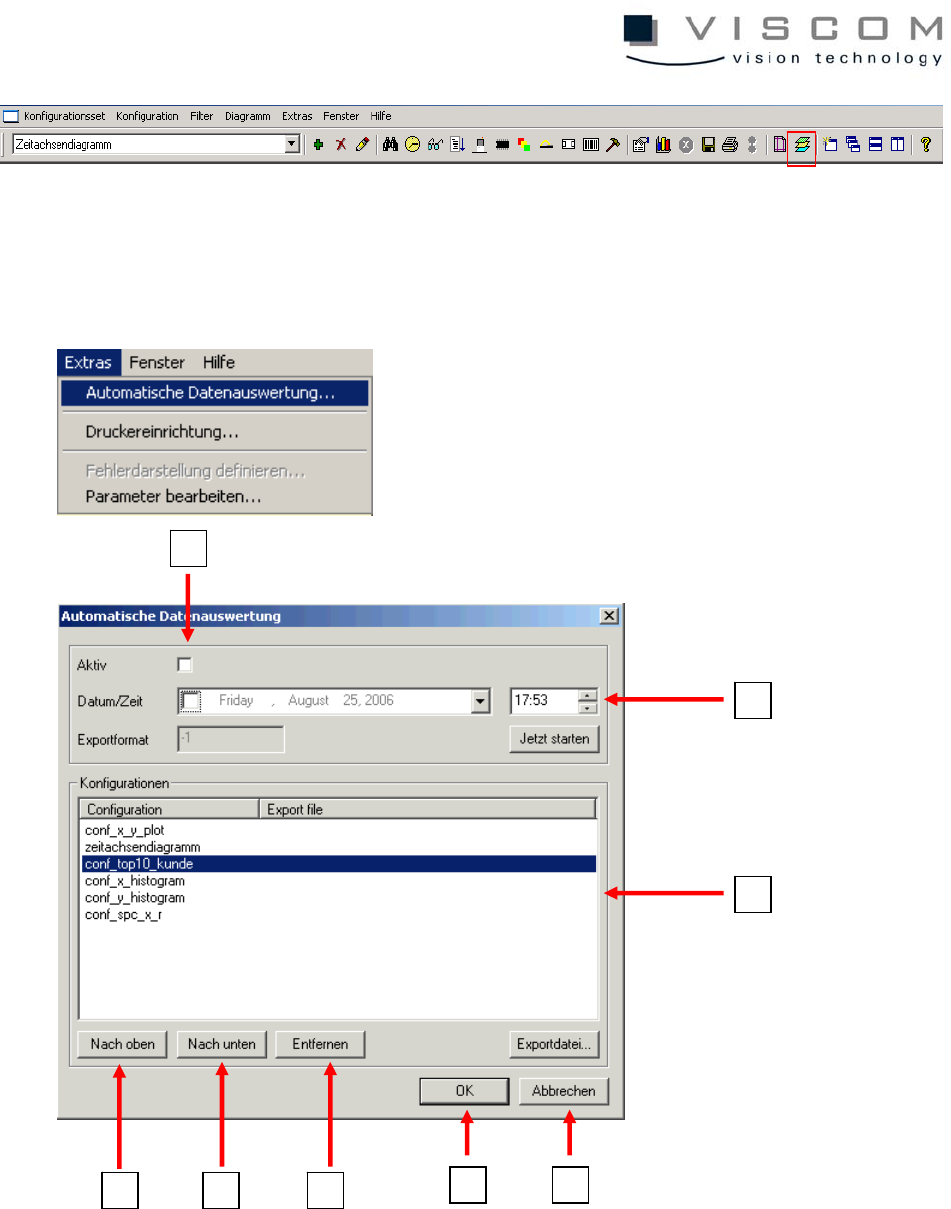
85/144
The menu point "Extras - Automatic data evaluation" displays the configuration
dialog illustrated here, which offers the following options.
1
2
3
4 5 6
8 7