c900773.R02_EN.pdf - 第127页
6 . Additional Function 11 Place CAP, LOCK onto BODY, MAIN BODY, MAIN (LE7-M5F12-00x) CAP, LOCK (LE7-M5F14-00x) Assemble the nozzle ont o nozzle holder. HOLDER, NOZZLE (LE7-M5F11-00x) O-RING (LE7-M5F1C-00x) ADAPTER (LE7-…
6.Additional Function
10
Follow the instructions below and place O-RING onto the dispense nozzle.
Ser O-RING onto COLLAR.
*It is recommended that O-RING should be
replaced once a month.
COLLAR (LE7-M5F10-00x)
O-RING (LE7-M5F1A-00x)
Ser O-RING onto COLLAR. (on the other
end)。
*It is recommended that O-RING should be
replaced once a month.
COLLAR (LE7-M5F10-00x)
O-RING (LE7-M5F1A-00x)
Set COLLAR onto BODY, MAIN.
Apply grease to a cotton swab and lubricate the
inside of O-RING.
BODY, MAIN (LE7-M5F12-00x)
Silicon Grease (LG1-M89AB-00x)
Set COLLAR onto BODY, MAIN.
Adjust the positioning slit on COLLAR to meet
the positioning pin on BODY, MAIN.
1
2
3
4
6.Additional Function
11
Place CAP, LOCK onto BODY, MAIN
BODY, MAIN (LE7-M5F12-00x)
CAP, LOCK (LE7-M5F14-00x)
Assemble the nozzle onto nozzle holder.
HOLDER, NOZZLE (LE7-M5F11-00x)
O-RING (LE7-M5F1C-00x)
ADAPTER (LE7-M5F15-00x)
TWIN NOZZLE SEL (LE8-M5F70-xxx)
STOPPER,TWIN (LE7-M5F16-00x)
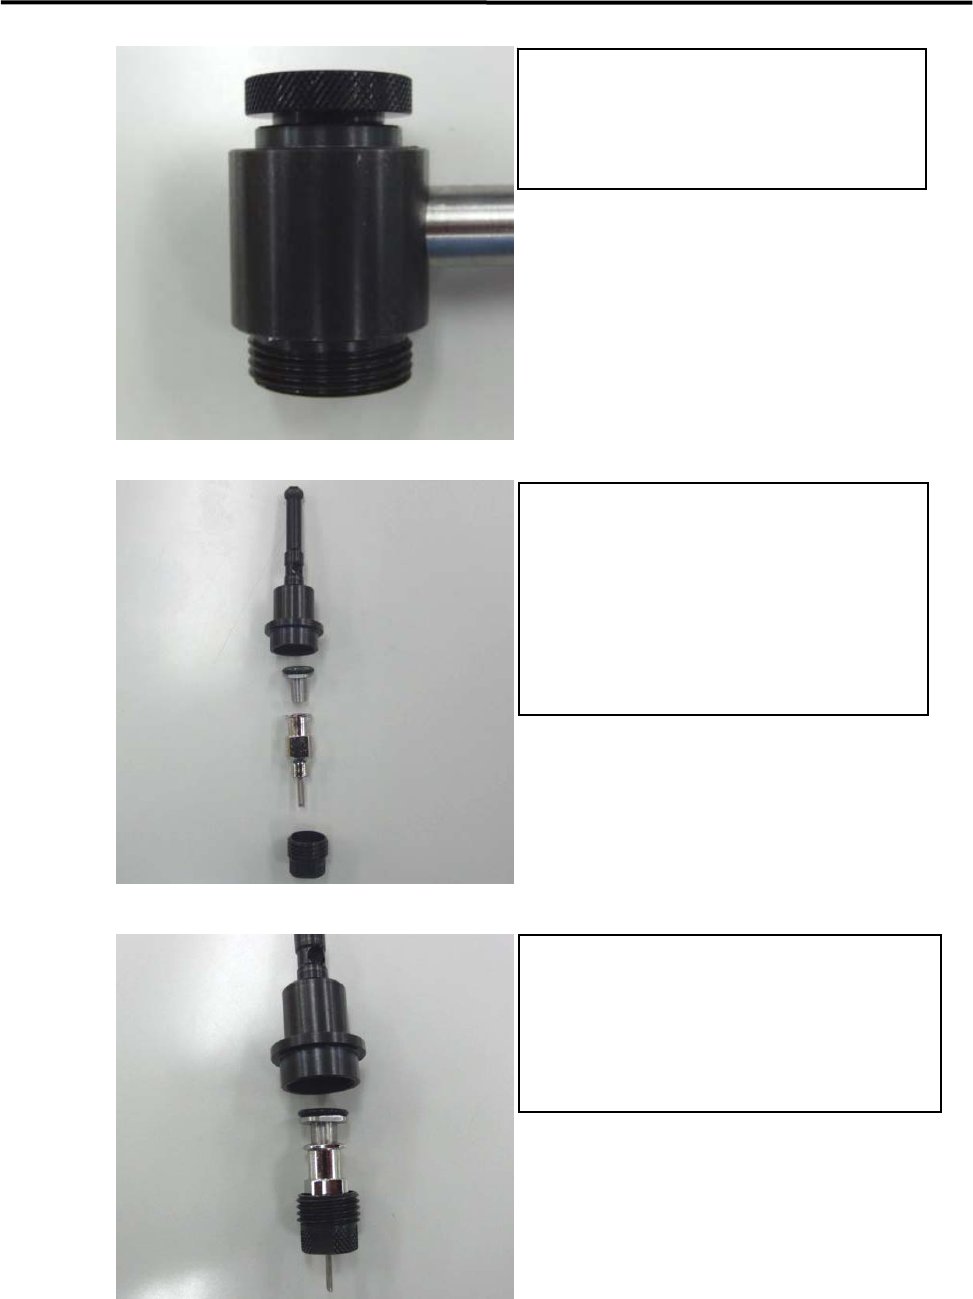
Insert the nozzle into ADAPTER.
Set the nozzle and ADAPTER onto the nozzle
holder.
Rotate the twin stopper and complete the
assembly.
5
6
7
6.Additional Function
12
NOZZLE LIST
No. PART NO. PART NAME Q’TY No. PART NO. PART NAME Q’TY
1 LG7-M740T-10x NOZZLE, TWIN (18G) 1 9 LE8-M5F72-00x NOZZLE, TWIN L (18G) 1
2 LG7-M740T-30x NOZZLE, TWIN (21G) 1 10 LE8-M5F72-10x NOZZLE, TWIN L (21G) 1
3 LG7-M740T-50x NOZZLE, TWIN (22G) 1 11 LE8-M5F72-20x NOZZLE, TWIN L (22G) 2
4 LG7-M740T-70x NOZZLE, TWIN (24G) 1 12 LE8-M5F72-30x NOZZLE, TWIN L (24G) 1
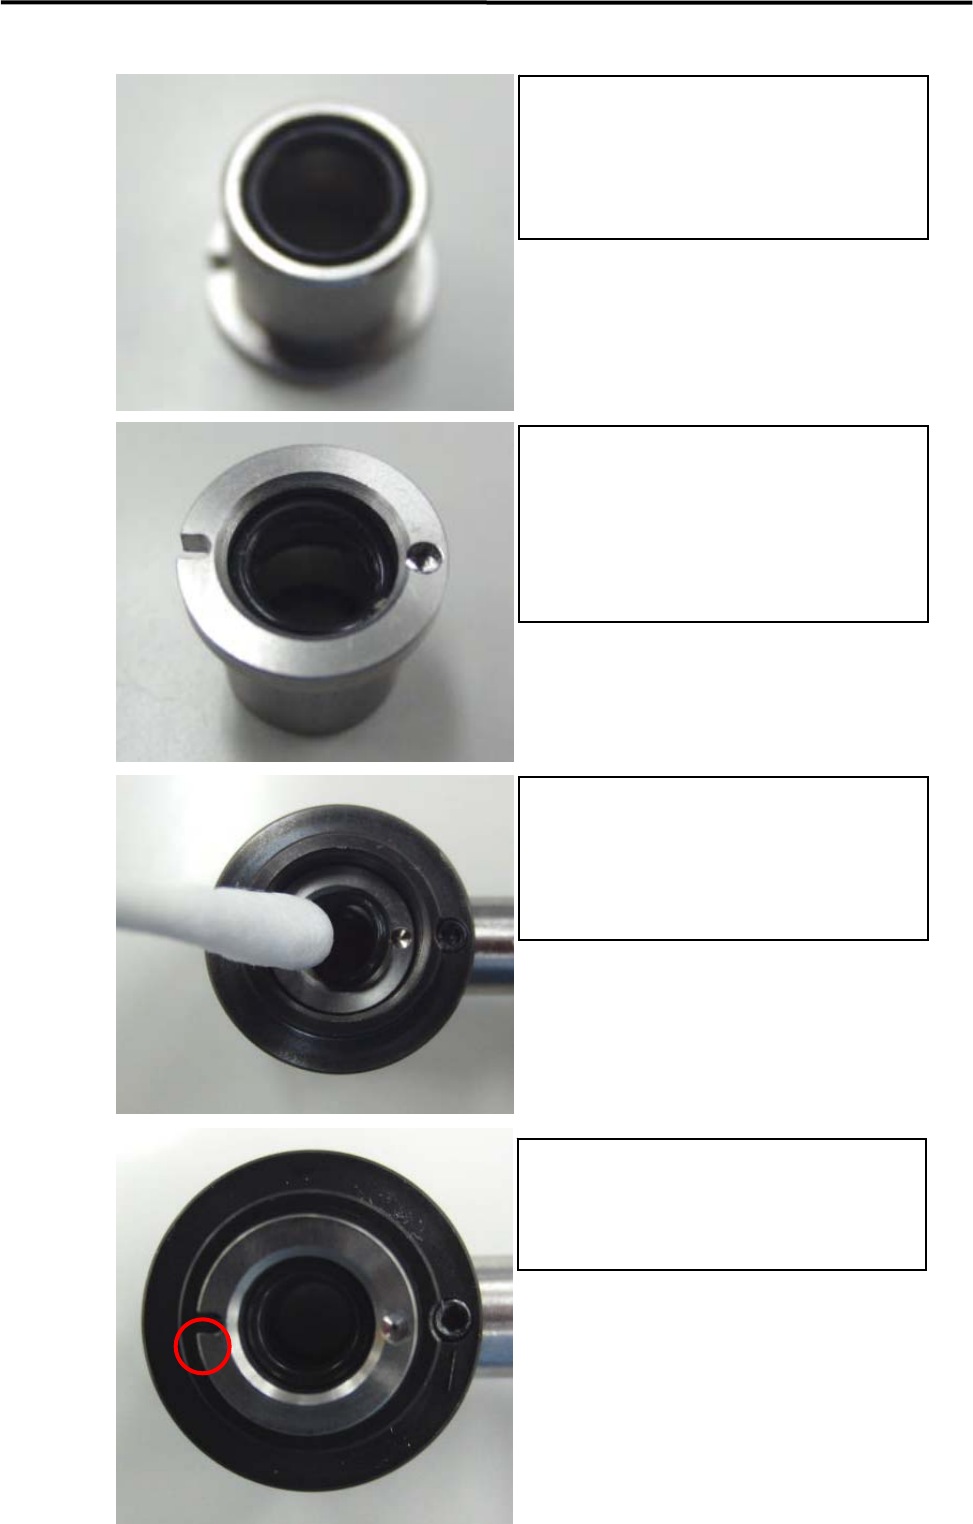
Lubricate the nozzle holder (See red lines on the
image.)
Do not apply too large amount of grease,
otherwise the rotation speed of the dispense slows
down.
Rotate the twin stopper and complete the
assembly of the nozzle.
Insert the nozzle assy. Into BODY, MAIN.
Rotate CAP, LOCK and lock the nozzle assy..
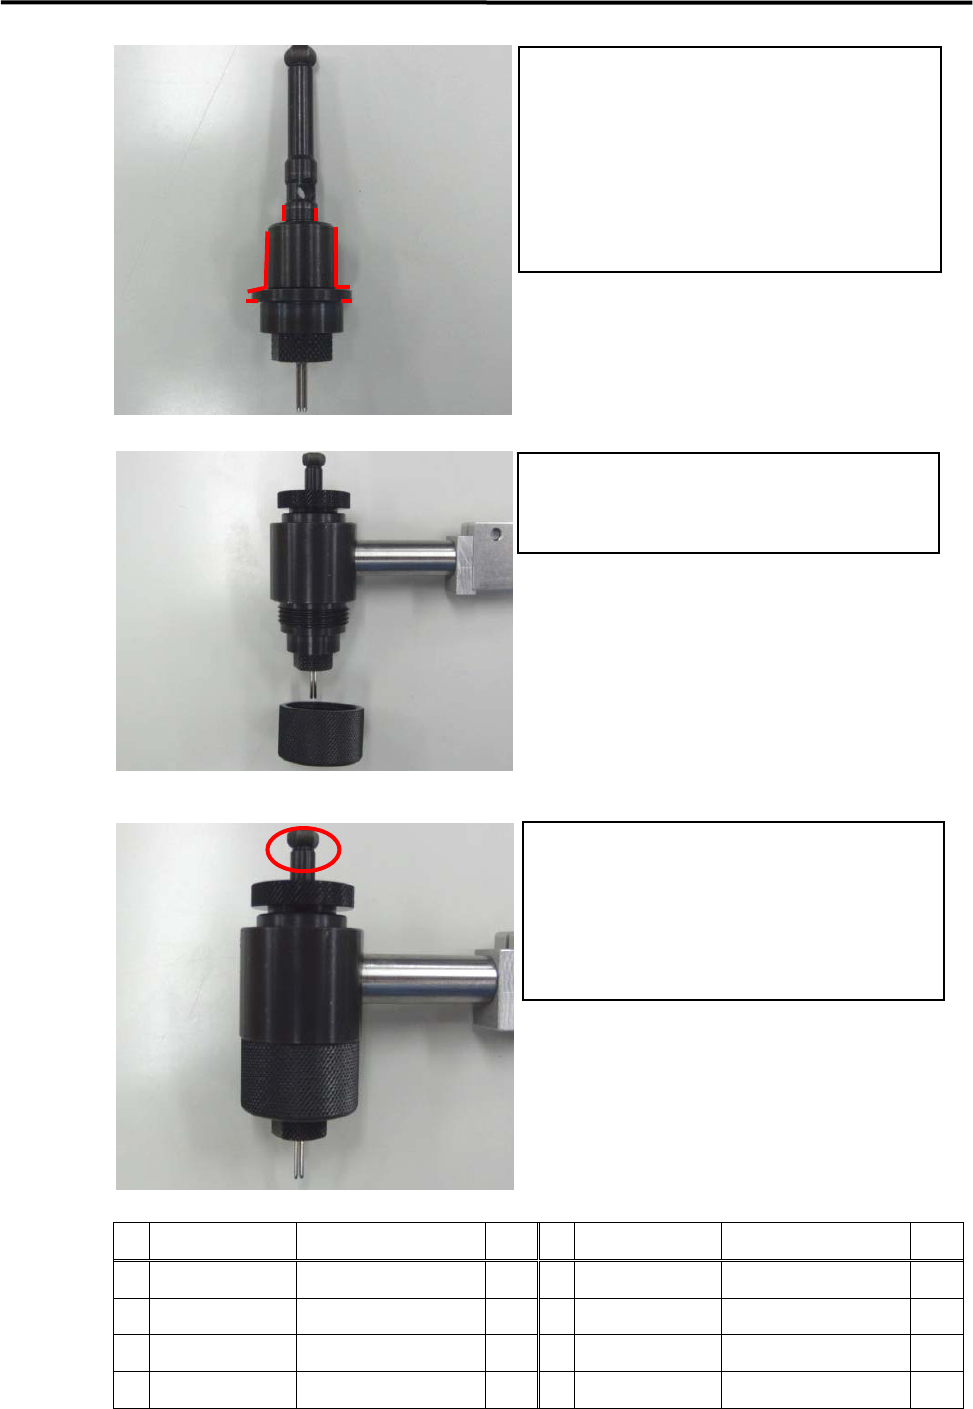
Hold the top thumb nut (see red area on the
image) and rotate it. Check to see if it rotates
smoothly.
If the thumb nut does not rotate smoothly, repeat
8. described above and lubricate the nozzle holder
once again.
8
9
10