a3369b.pdf - 第157页
Maintenance 148 VTK - TR -BA- 171e - 1 - User Man u al MDS 3080 -V Fig. 43 : Example - Nozzl e Insert N11 10.1.4 Exchange o f the Tappet, the Tapp et Se aling and th e Noz zle I nsert For t he necess ary step s of de - /…
Maintenance
VTK-TR-BA-171e-1 - User Manual MDS 3080-V
147
10 Maintenance
We suggest to clean and to maintain your system regularly, especially for wearing parts such as
tappets, tappet sealings and nozzle inserts. This chapter gives you an overview of the wearing
parts that require high attention. You can check the cycle count of the dispensing cycles, which is
shown at the MDC (see paragraph 4.5.4, page 31). To learn how to demount, clean and remount
each part, see the chapter “Cleaning” (see chapter 9, page 129).
10.1 Maintenance of Tappet, Tappet Sealing and Nozzle Insert
As the tappet, the tappet sealing and the nozzle insert belong to the wearing parts of the system,
they need to be cleaned and exchanged regularly.
10.1.1 Maintenance of the Tappet
The tappet has to be cleaned and exchanged in regular intervals (at least every 40 million shots)
or in the case of problems (as soon as it starts to move in a sluggish way). Please be aware that
the lifespan of the tappet not only varies by the material and size, but also depends on your
application. Ceramics (CTF, SNTF), tungsten carbide (TTF) and diamond (PDTF) items are
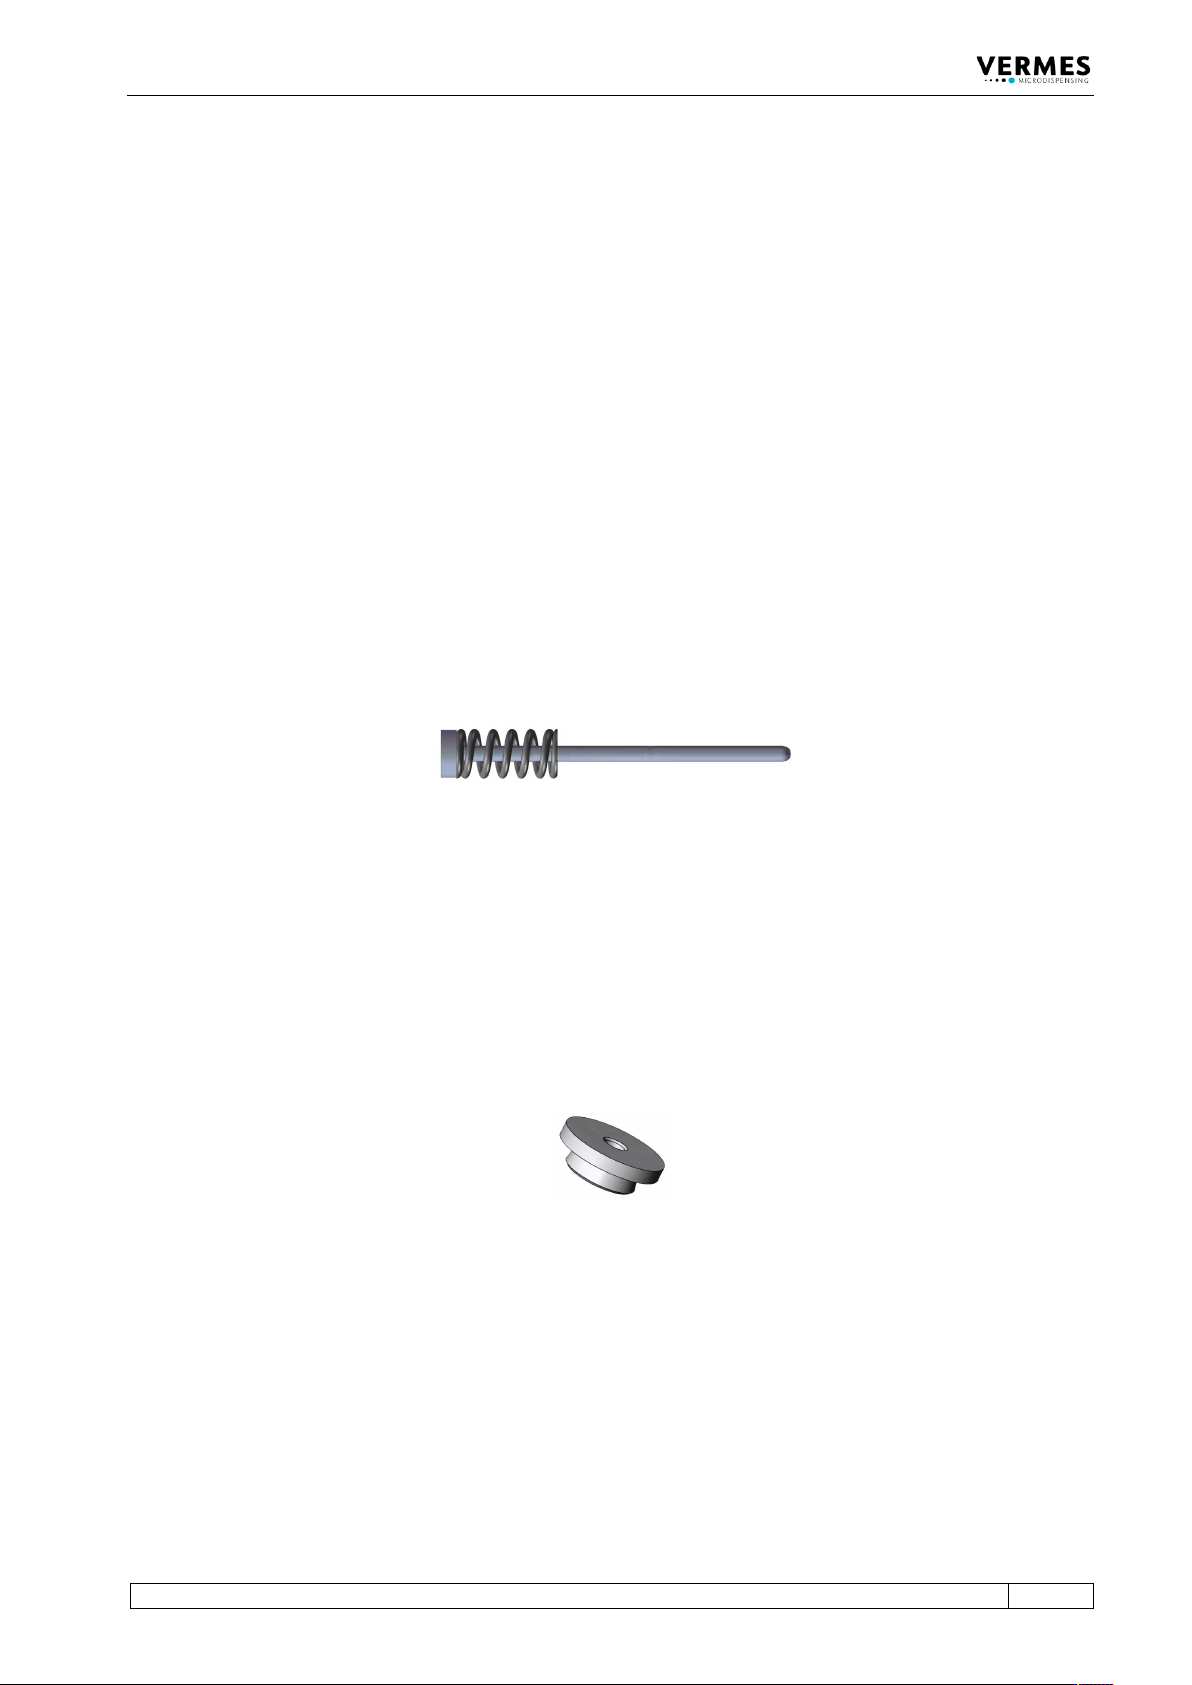
available. The tappet consists of the tappet rod and the tappet spring.
Fig. 41: Example - TTF Tappet (consists of tappet rod and tappet spring)
10.1.2 Maintenance of the Tappet Sealing
For replacement of tappet sealings a particular counter is not provided, as the necessity depends
on current applications, substances to be dispensed etc. Caused by the tappet movement, some
materials tend to penetrate between tappet and tappet sealing, giving rise to abrasion.
Therefore, you have to inspect the tappet sealing from time to time. To continue working with a
damaged tappet sealing inevitably entails unexpected interruptions, loss of material and an
increased need of cleaning.
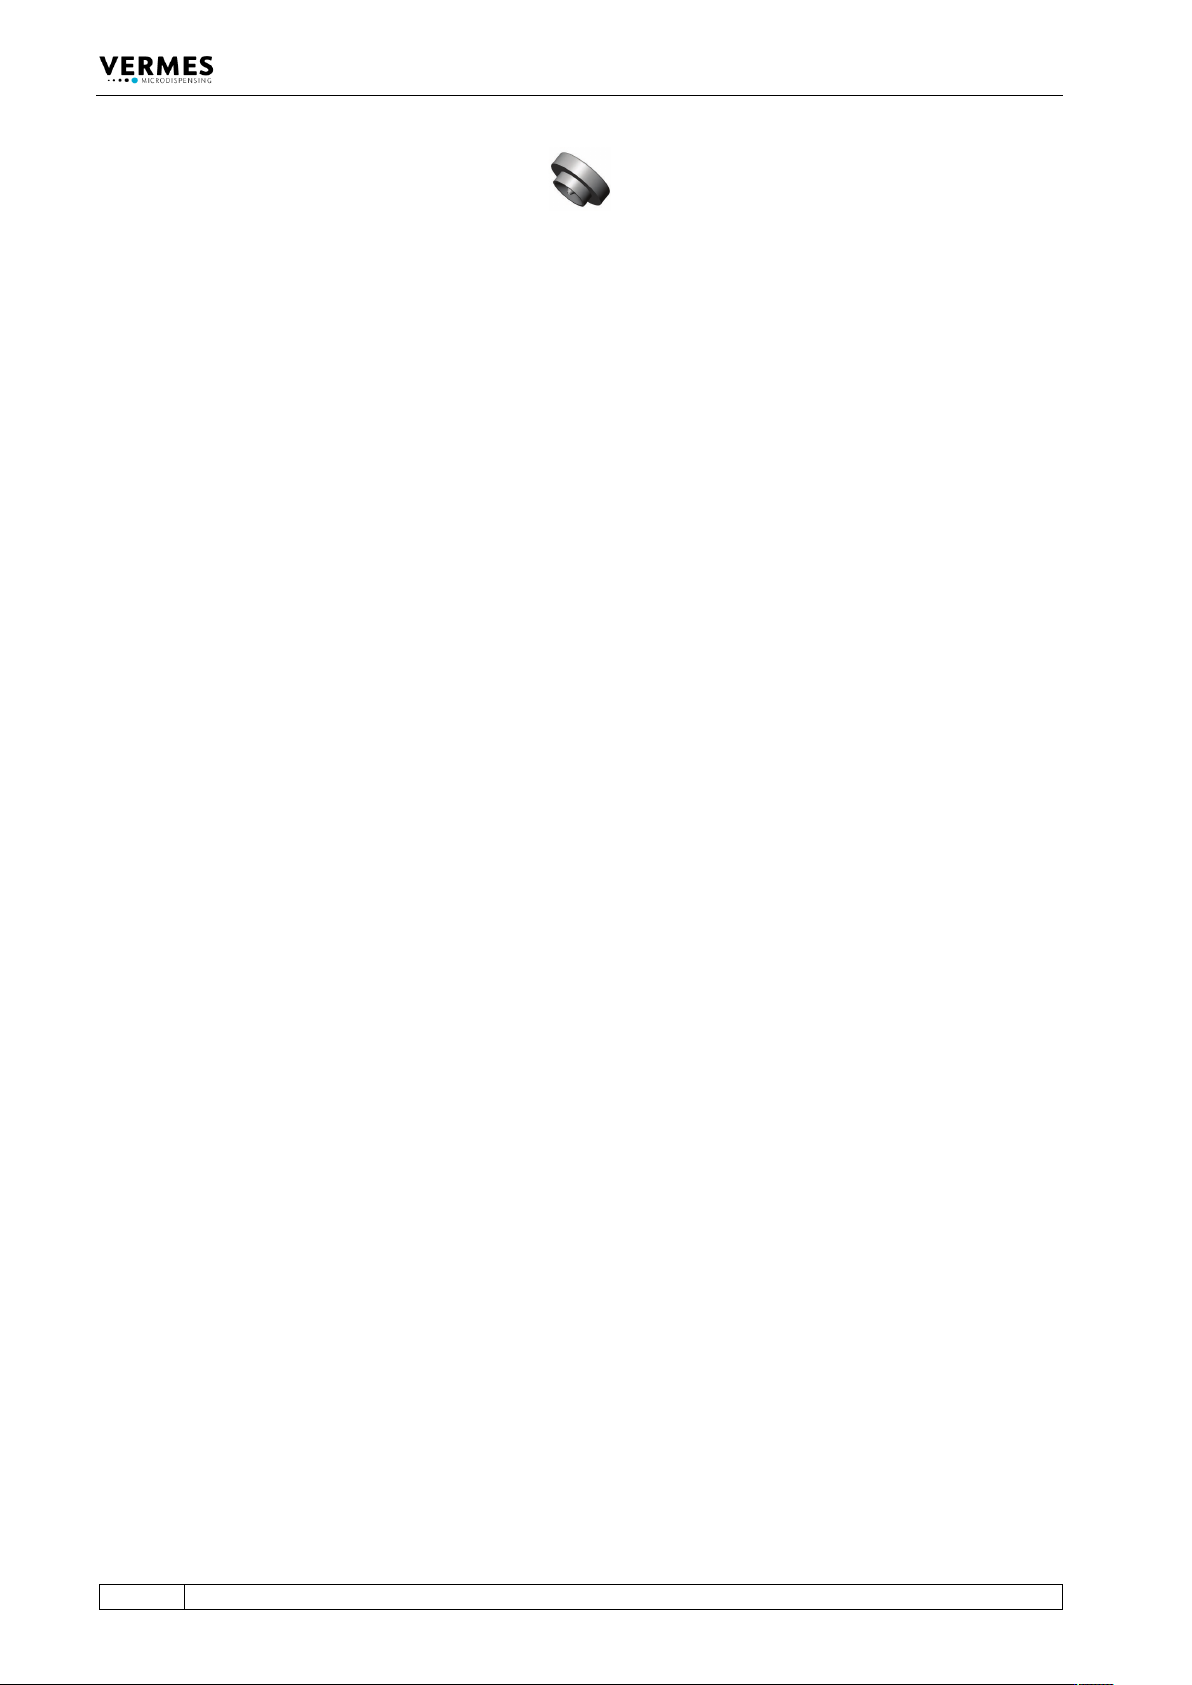
Fig. 42: Example - Tappet Sealing PE
10.1.3 Maintenance of the Nozzle Insert
The nozzle insert has to be cleaned and exchanged in regular intervals or in the case of problems.
Please be aware that the lifespan of the nozzle insert depends on your application. After
disassembling the nozzle insert, immediately use a cleaning wire to push through the channel of
the nozzle insert, to avoid hardening of residue medium. Do not use a clogged nozzle insert,
since it would strongly compromise your dispensing results. Exchange the nozzle insert as soon
as it is worn out, since otherwise it can cause a leakage problem.
Maintenance
148
VTK-TR-BA-171e-1 - User Manual MDS 3080-V
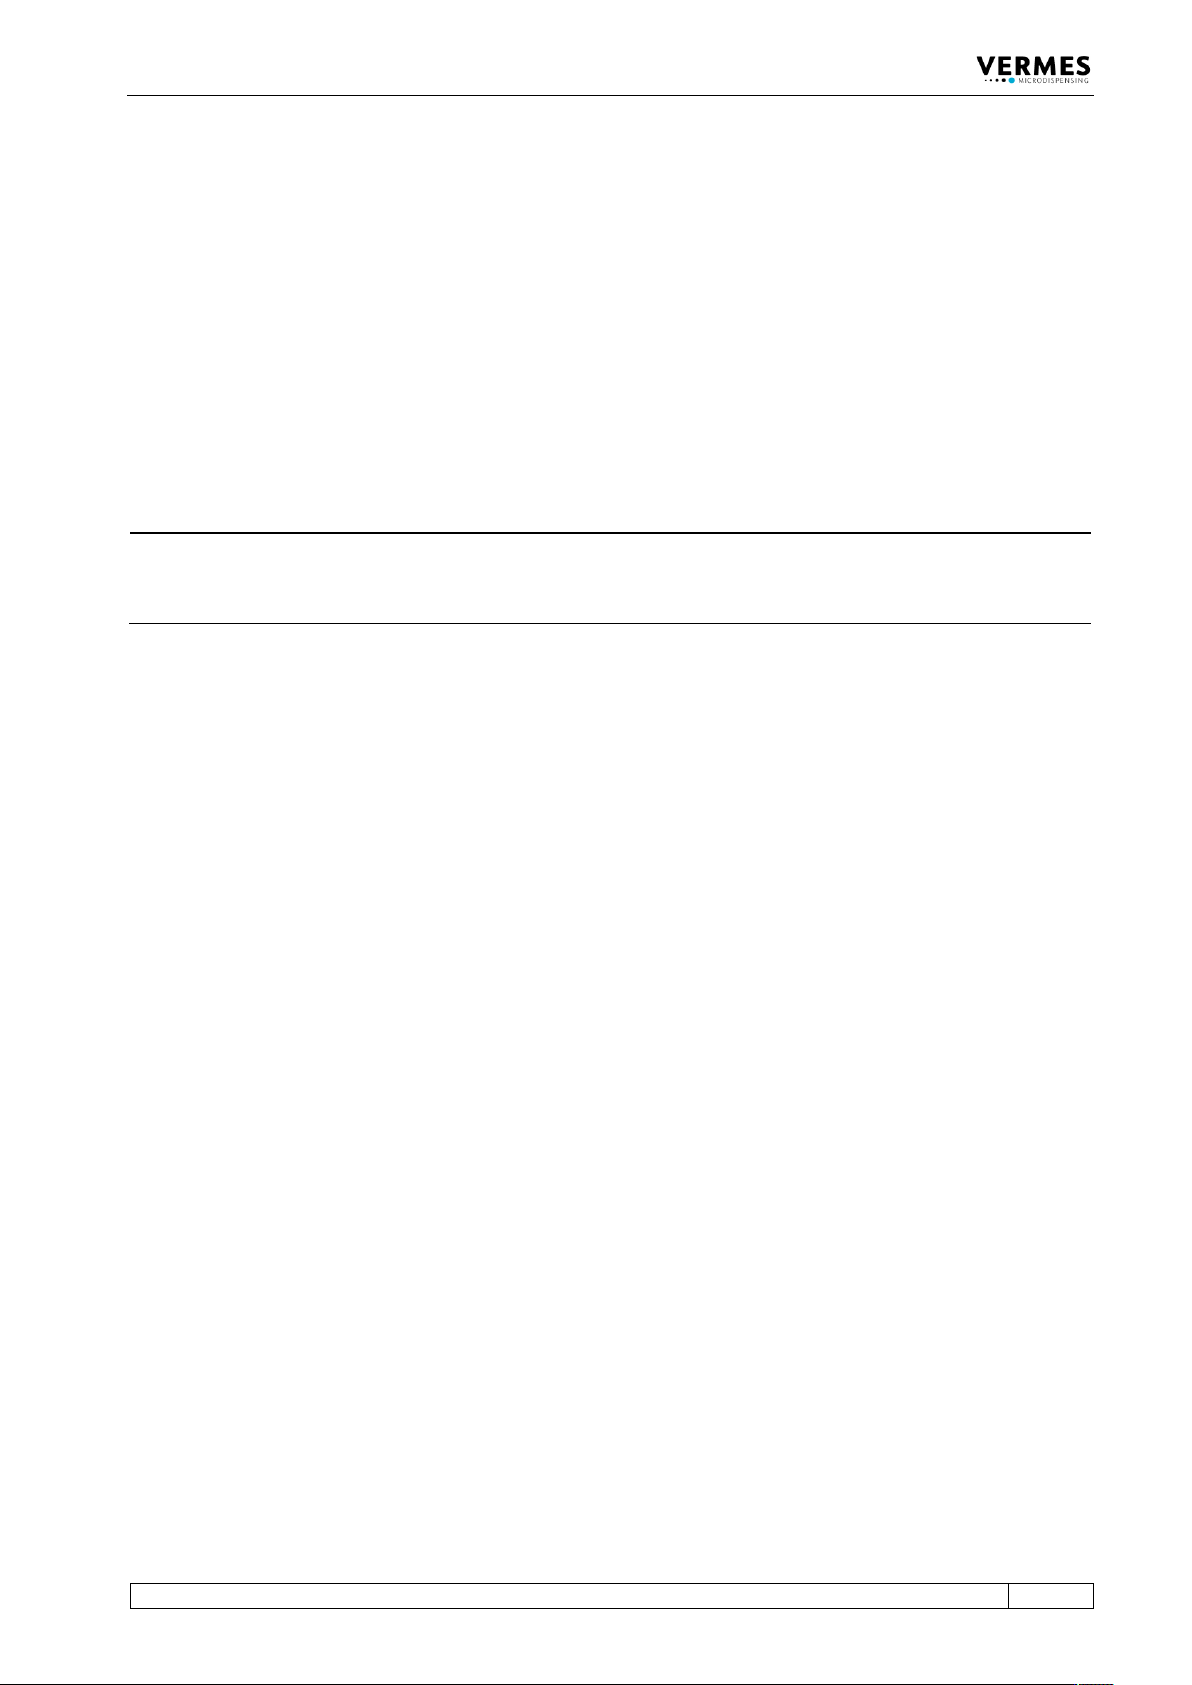
Fig. 43: Example - Nozzle Insert N11
10.1.4 Exchange of the Tappet, the Tappet Sealing and the Nozzle Insert
For the necessary steps of de-/mounting the tappet/tappet sealing/nozzle insert, please see the
cleaning chapter (see chapter 9, page 129). Before disassembling the system, perform the
cleaning procedure explained in the same chapter. There you will also find the necessary
information of how to clean the tappet/tappet sealing/nozzle insert.
Error Messages
VTK-TR-BA-171e-1 - User Manual MDS 3080-V
149
11 Error Messages
The following pages list all the error messages you could encounter when using this system. The
table in paragraph 11.1, page 150 will give you a quick overview. In paragraph 11.2, page 151
every error message is explained in detail.
In case of an error, an error message is shown in the display and the red adjust LED is switched
“ON”. This information can also be obtained via pin 13 of the PLC interface (see paragraph 8.2.1
"Pin Functions", page 119). Press [enter] to clear the display. If this does not work, switch “OFF”
the control unit. Check the system for potential problems (e.g. loose cables) and re-start the
system.
If the error still occurs, please contact the Technical Support at VERMES Microdispensing or your
local supplier (see Page 7).
INFORMATION
Storing error messages
After the re-start, the error message can only be found in the submenu “Error” (see
paragraph 4.5.4 "Submenu “Status”", page 31).