CP40 service manual.pdf - 第135页
4. Feeder Base & ANC (CP-40) 4-3-4. ANC Position Setting 3. Feeder Unlock Sensor Check 1) Install Feeder on the Center(refer to Fig. 5) and Verify F eeder Operates Pr operly Using L-Wrench. Fig. 5 8mm Tape Feed er Ve…
4. Feeder Base & ANC
(CP-40)
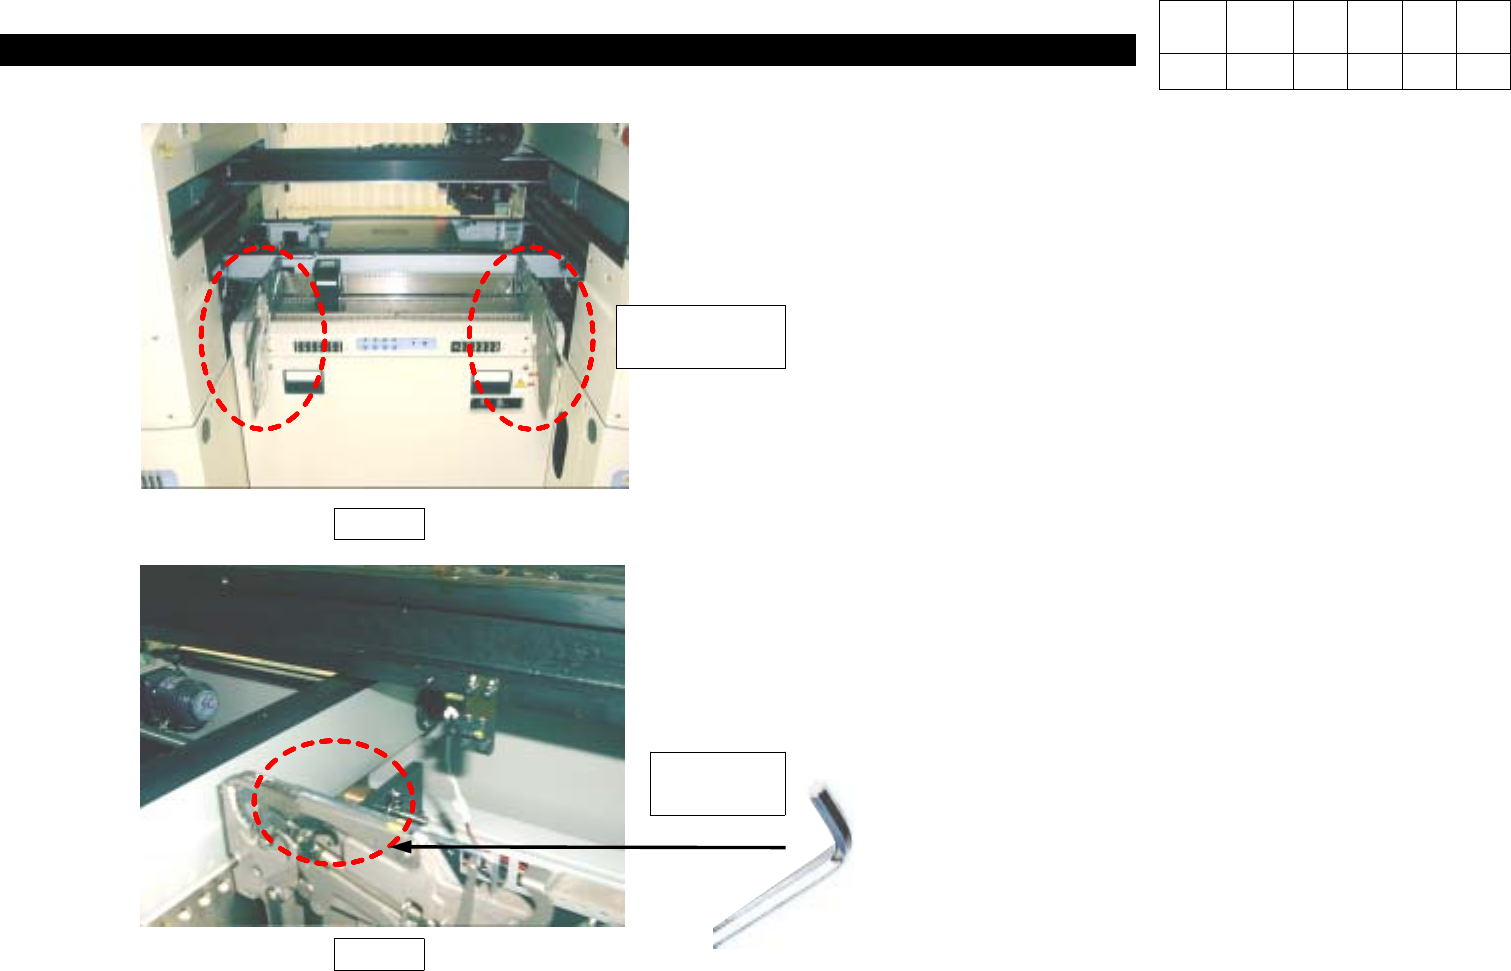
2. Feeder Unlock Sensor Height Setting
1) Install Two 8 mm Tape Feeders on Both Ends of
Feeder Base.
2) Adjust the Height of Light-Emitting/Receiving Parts
until Yellow LED of Light-Receiving Part is ON
(Refer to Fig. 3).
3) Install 2.5 mm L-Wrench on Feeder Guide of
Light-Receiving Part Front Feeder(refer to Fig. 4)
and Verify Yellow LED is OFF.
4) Adjust the Height until with L-Wrench Removed, LED
is ON and with L-Wrench Removed, LED is OFF.
Fig. 3
Fig. 4
2.5mm
L-Wrench
8mm
Tape Feeder
Version Date WA QA CA Note
00 Nov04 O O O
4. Feeder Base & ANC
(CP-40)
4-3-4. ANC Position Setting
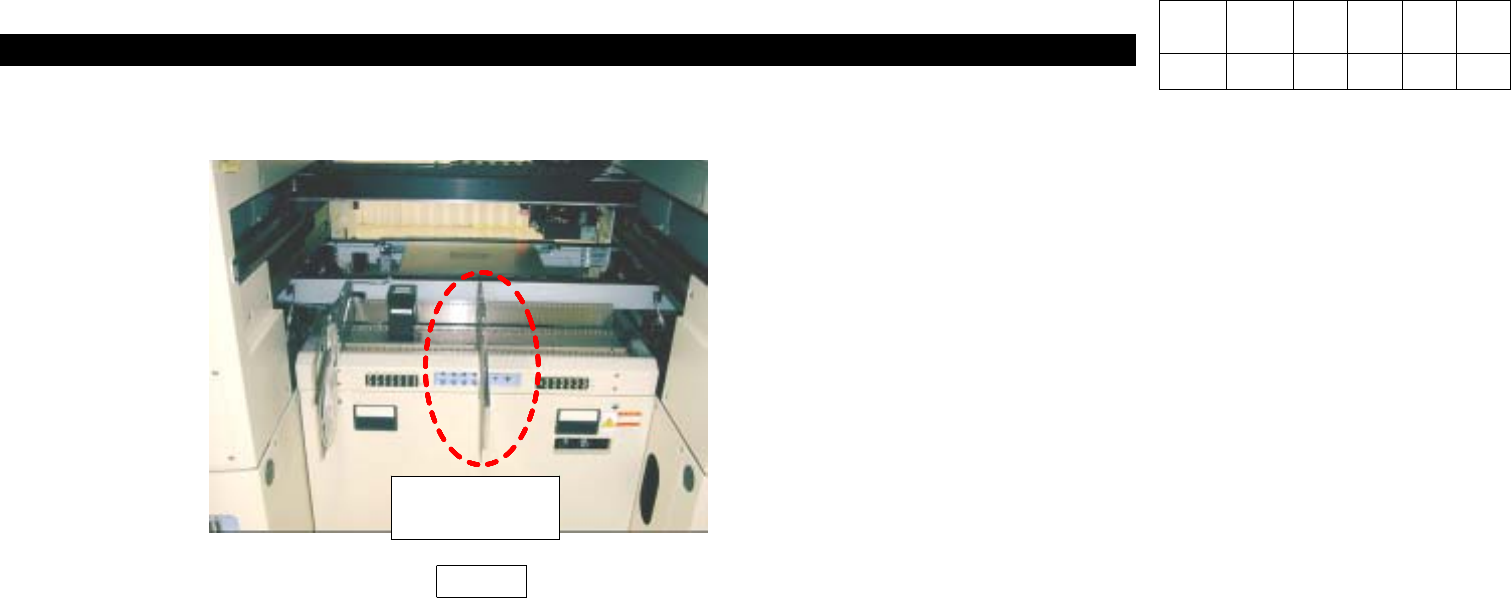
3. Feeder Unlock Sensor Check
1) Install Feeder on the Center(refer to Fig. 5) and
Verify Feeder Operates Properly Using L-Wrench.
Fig. 5
8mm
Tape Feeder
Version Date WA QA CA Note
00 Nov04 O O O
4. Feeder Base & ANC
(CP-40)
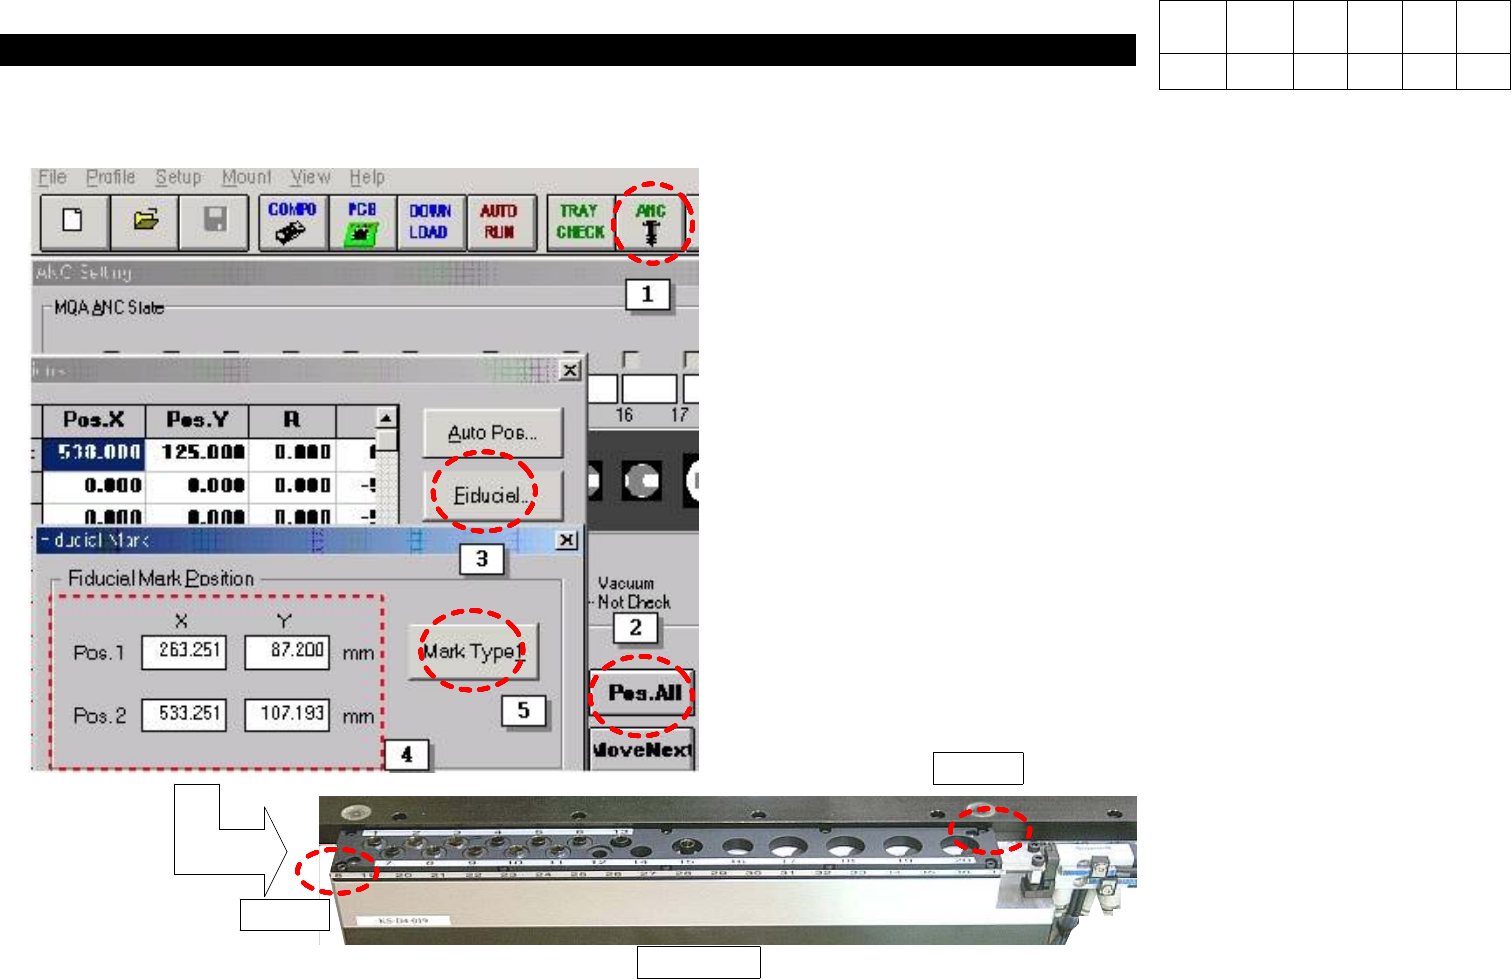
1) Select ANC Icon as Shown in the Left Figure.
2) When ANC Window is Appeared, Select "Position".
3) In ANC Position Window, Select "Fiducial".
4) In Fiducial Mark Window, Input Coordinates of Pos.1 and
Pos.2.
5) Select "Mark Type 1".
Pos. 1
Pos. 2
CP40 ANC
Version Date WA QA CA Note
00 Nov04 O O O