cp45ref.pdf - 第36页
Samsung Component Placer CP-45F(V)/FS Refer ence Manual 1-10 1.2.1.3. Coil T ube Inspection Operation of the equipment over a lo ng period of time m ight weak en the elasticity of the compliance coil tube, which in turn …
Preventive Maintenance
1-9
Solution
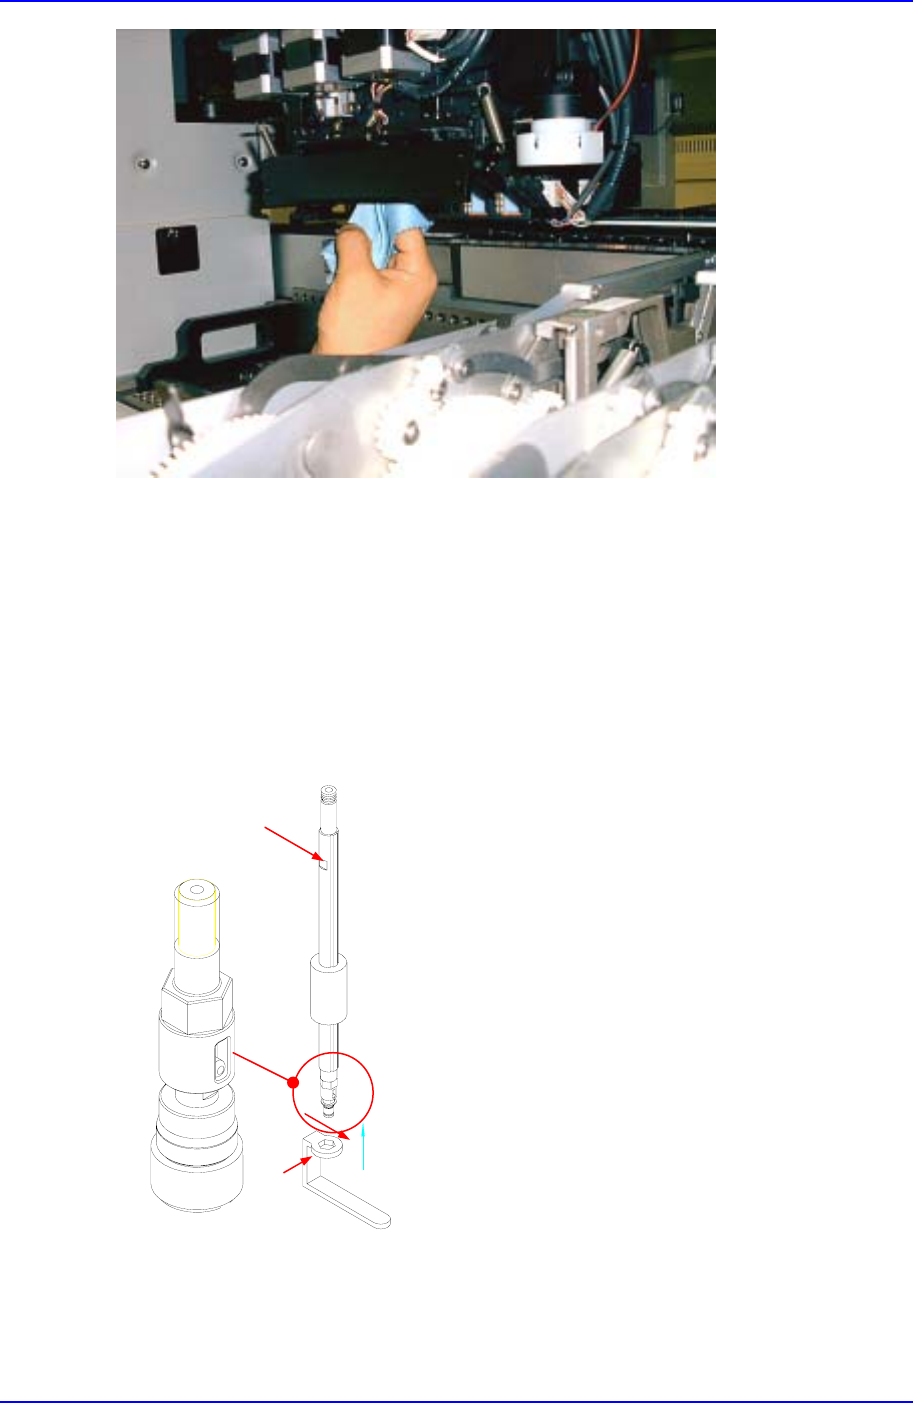
With a soft cloth, wipe off the top of the total reflection mirror.
Disassemble it by unscrewing the 4 bolts on the top, side, left and right of the mirror.
Assemble it again following the reverse order of disassembly.
1.2.1.2. Nozzle Holder
Inspection
The nozzle holder could be damaged or bent. Check the compliance assembly to make
sure the spring is moving properly and there is no bent.
Figure 1-2. nozzle holder
Solution
Unscrew the nozzle holder from the ball spline and replace it with a new one.
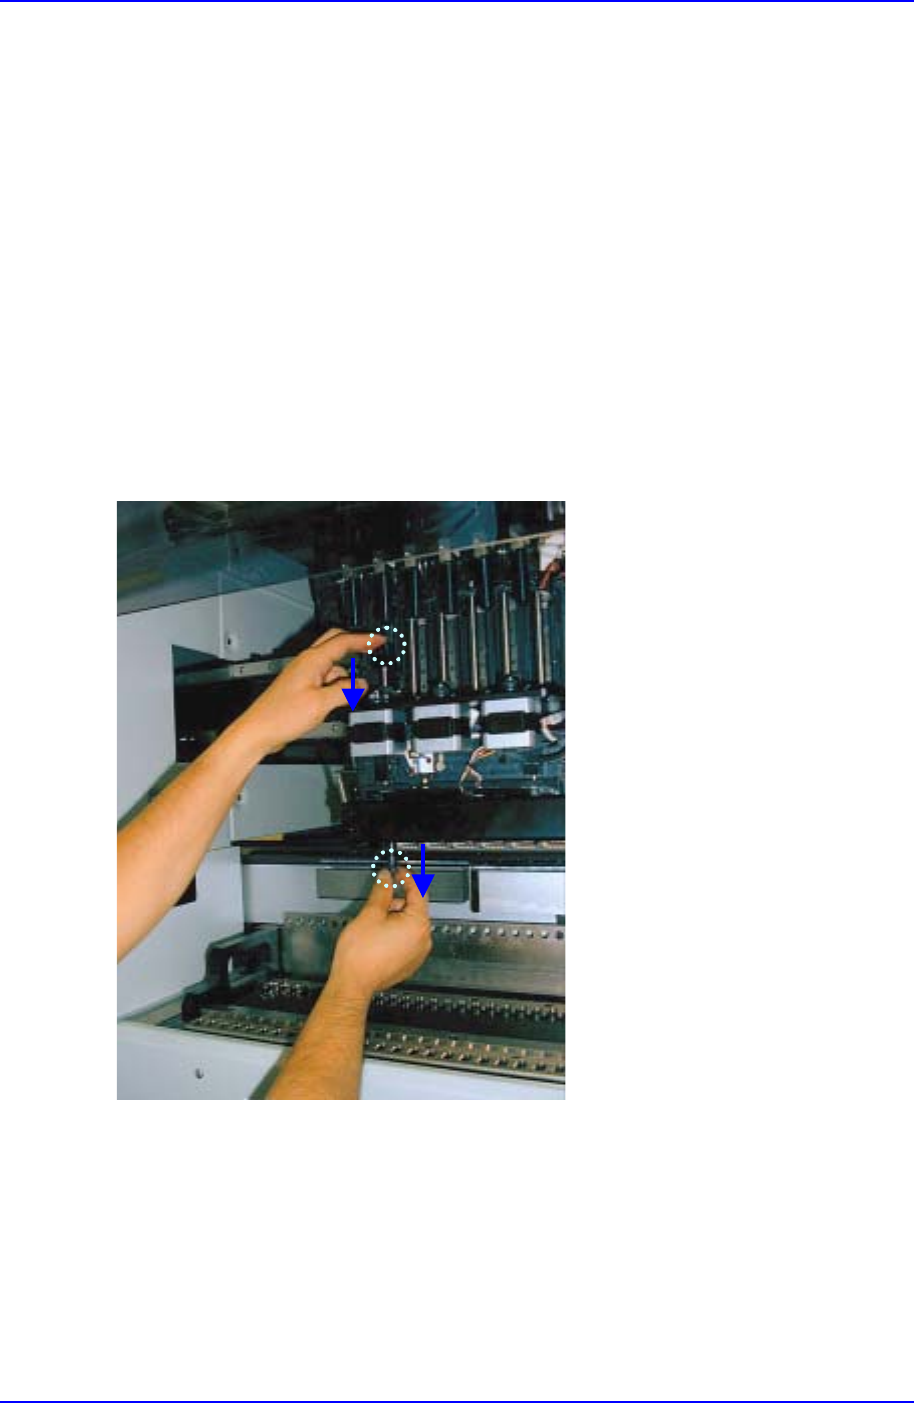
Disassembling the nozzle holder from the Head
① Grip the groove (A) on the upper side of head spline using a
spanner.
② Insert the nozzle holder assembling tool(B) into the nozzle
holder.
③ Loose the nozzle holder until it can be unscrewed manually
using the nozzle holder assembling tool.
④ Disassemble the nozzle holder manually.
Assembling the nozzle holder into the Head
① Insert the nozzle holder into the head and screw it
manually.
② Tighten the nozzle holder using the nozzle holder
assembling tool.
B
A
B
Samsung Component Placer CP-45F(V)/FS Reference Manual
1-10
1.2.1.3. Coil Tube
Inspection
Operation of the equipment over a long period of time might weaken the elasticity of the
compliance coil tube, which in turn could cause clamping errors during nozzle exchange,
therefore, check the tube frequently. When the coil tube is damaged, it might be torn, take
precautions so that it is not damaged.
Solution
If the coil tube is damaged, replace it with a new one.
1.2.1.4. Nozzle
Inspection
Check the nozzle to see if an excessive wear occurs or if the tip of the nozzle has been
altered due to impact. In addition, check to see if any contamination, such as solder paste
is clogging the nozzle.
Solution
Clean the nozzle with cleaning liquid in case of contamination, or replace the nozzle if an
excessive wear was detect.
Removing contaminant on the nozzle
Removing contaminant on the nozzle hole

Preventive Maintenance
1-11
Spray the recommended cleaning liquid on the nozzle hole by using a spray straw
After 1 minute, blow out the cleaning liquid from the tip of the nozzle by using
air pressure.
Blow out all the cleaning liquid from the nozzle hole.
If the contaminant is not removed by above method, repeat it once more.
If the contaminant still remains, contact us C/S.
Removing contaminant from the wings and tip of the nozzle.
Damp a piece of cloth with the recommended cleaning liquid by using a spray
straw.
Wipe the wings or tip of the nozzle with the dampened cloth.
Wipe off all cleaning liquid with a piece of clean cloth.
If the contaminant is not removed by above method, repeat it once more.
If the contaminant still remains, contact us C/S.
Recommended cleaning liquid: CHEMTECH Sticker Remover spray
Available at: Our company.
Precautions
Precautions for handling written on the container must be followed.
Do not spray toward a flame.
Keep away from heat, sparks, and open flame.
Do not keep it in the temperature of over 40 °C.
Do not use it in a closed space.
Do not dispose the container in the fire. Remove all gas and dispose it.
Do not inhale the vapor and avoid contact with skin, eyes, and clothes.
After use, turn the container upside down and spray the remaining liquid.
Keep it away from children.
Do not swallow it.
Do not use it for purposes other than cleaning the hole, wings, and tip of the
nozzle.
Please refer to Material Safety Data Sheets for details.
1.2.1.5. Vacuum Filter
Inspection
Problem to the vacuum can occur when the vacuum filter has been contaminated by dust
in the air or due to solder paste. Check the vacuum filter regularly to make sure the filter
is free from contamination.