UV-9+Cure+Module+7269348_B+Manual.pdf - 第100页
9. Remove the UV lam p from the two clips by pulling out si multaneous ly on both sides. To preserve the l amp characteristics, do no t touch the lamp wit h the skin. In case of accidental contact , wipe off the lamp w…

Figure 6-4 Holding the Module
WARNING! CAUTION!
DO NOT touch the lamp or reflector. The surface may be hot. To prevent burn
injuries, hold the module as shown in Figure 6-4.
7. Place the UV lamp module on a work bench.
8. Release the two screws (located on each side of the lamp) that connect the UV lamp to the
electrical network (Figure 6-5).
Figure 6-5 Release the Screws
Maintenance 6-5
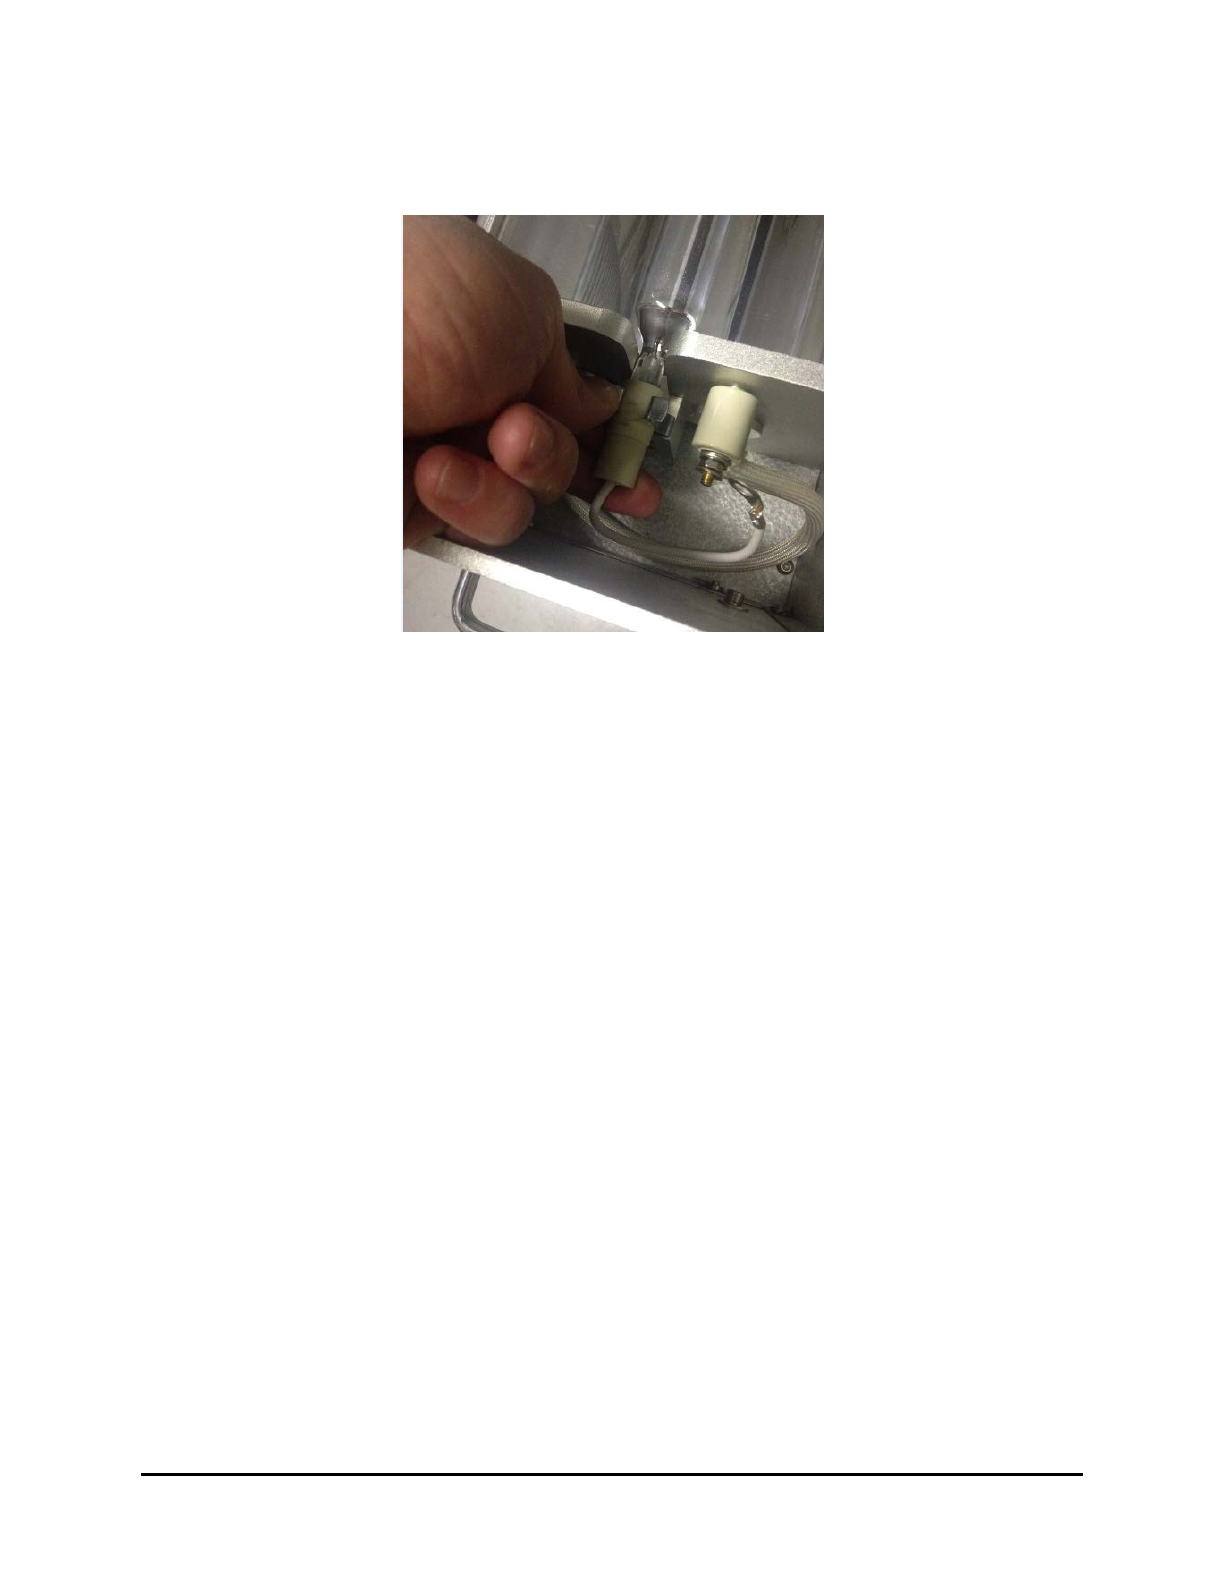
9. Remove the UV lamp from the two clips by pulling out simultaneously on both sides.
To preserve the lamp characteristics, do not touch the lamp with the skin. In case of
accidental contact, wipe off the lamp with the alcohol wipe supplied.
Figure 6-6 Removing the Lamp
10. To replace the UV lamp, perform Steps 1-8 above, in reverse order.
11. Repeat Steps 1-9 for the second lamp.
6-6 Maintenance
Maintenance 6-7
6.5.3 Conveyor Chain Lubrication
Tools and Materials Needed:
Stabigrease
®
BD2 (P/N 7277988, GREASE, CNVR, UV-9)
To lubricate the conveyor chains:
1. Press the
Start/Stop button on the Control Panel for 5 seconds to turn off the oven.
2. Disable the UV lamp (
Top Lamp > Parameters > Disable).
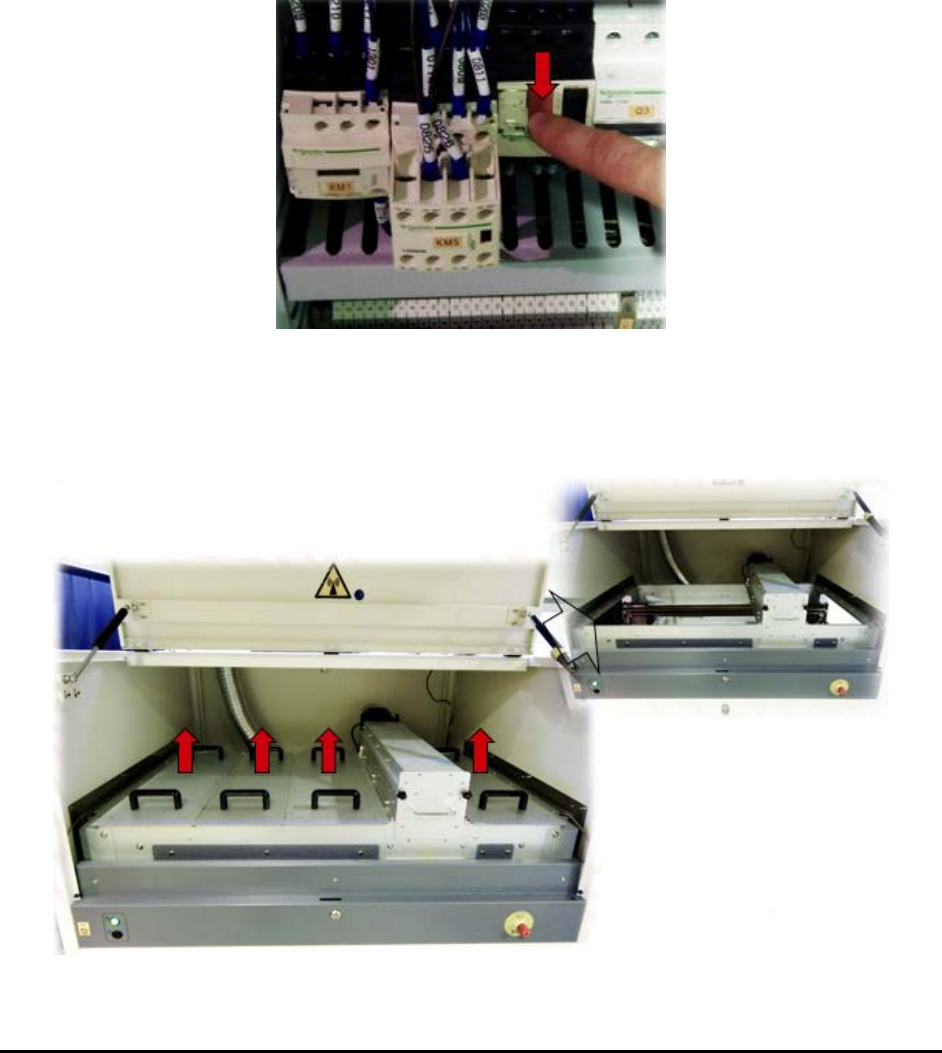
3. Open the electrical cabinet and turn off the top lamp’s circuit breaker (Figure 6-7).
Figure 6-7 Top Lamp Circuit Breaker
4. If the unit has a bottom lamp, turn off that circuit breaker also.
5. Remove the tunnel cover to access the conveyor (Figure 6-8).
Figure 6-8 Remove the Tunnel Cover