UV-9+Cure+Module+7269348_B+Manual.pdf - 第98页
6.5.2 UV Lamp Repl acement To remove and repla ce the UV lamp: 1. Shut down the UV - 9 C ure Module . See 2.11 Servi ce Shutdown . 2. Disconnect the p ower plug lo cated at the rear of th e upper UV lamp module ( Figure …
Maintenance Procedure
Recommended
Frequency
Instructions
Replace UV Lamp
(Mercury)
Bi-Monthly (1500h)
Replace the UV Lamp.
The lifespan of the UV lamp can in certain
cases be extended to double the rated
lifespan, but will need to be monitored
frequently after the recommended
replacement interval. See 6.5.2 UV Lamp
Replacement.
Replace UV Lamp
(Gallium-doped Mercury)
Bi-Monthly (1500h)
Replace UV Lamp
(Iron-doped Mercury)
Bi-Monthly (1500h)
Replace Conveyor Chains
Semi-Annually
(2000h)
Check the integrity of each link and that they
correctly engage into the sprocket teeth.
To check the links, make a mark on the first
link and visually inspect each link as you
manually move the chain.
Check Conveyor Sprockets
Semi-annually
(2000h)
Check that the sprockets freely turn and
there is not too much gap.
Replace them if the gap is too large.
Check Conveyor Rails Wear
Semi-annually
(2000h)
Check for wear of the conveyor rails. The
chains must freely move in the rails.
Chain and Rail Lubrication
Semi-annually
(2000h)
Lubricate the chain and the rail. See 6.5.3
Conveyor Chain Lubrication.
Clean Papst Fans Annually (4000h)
Check the function of the top and bottom
sides. Clean them if necessary.
Check Conveyor Speed Annually (4000h)
The maximum speed is 150 cm/min
A stopwatch and a tape measure are
necessary to measure the conveyor speed.
When the conveyor is running, record the
time to cover a distance, and then calculate
the speed. The calculated speed must be
close to the displayed speed (+/- 1 cm/min).
Recheck if necessary.
Maintenance 6-3
6.5.2 UV Lamp Replacement
To remove and replace the UV lamp:
1. Shut down the UV-9 Cure Module. See 2.11 Service Shutdown.
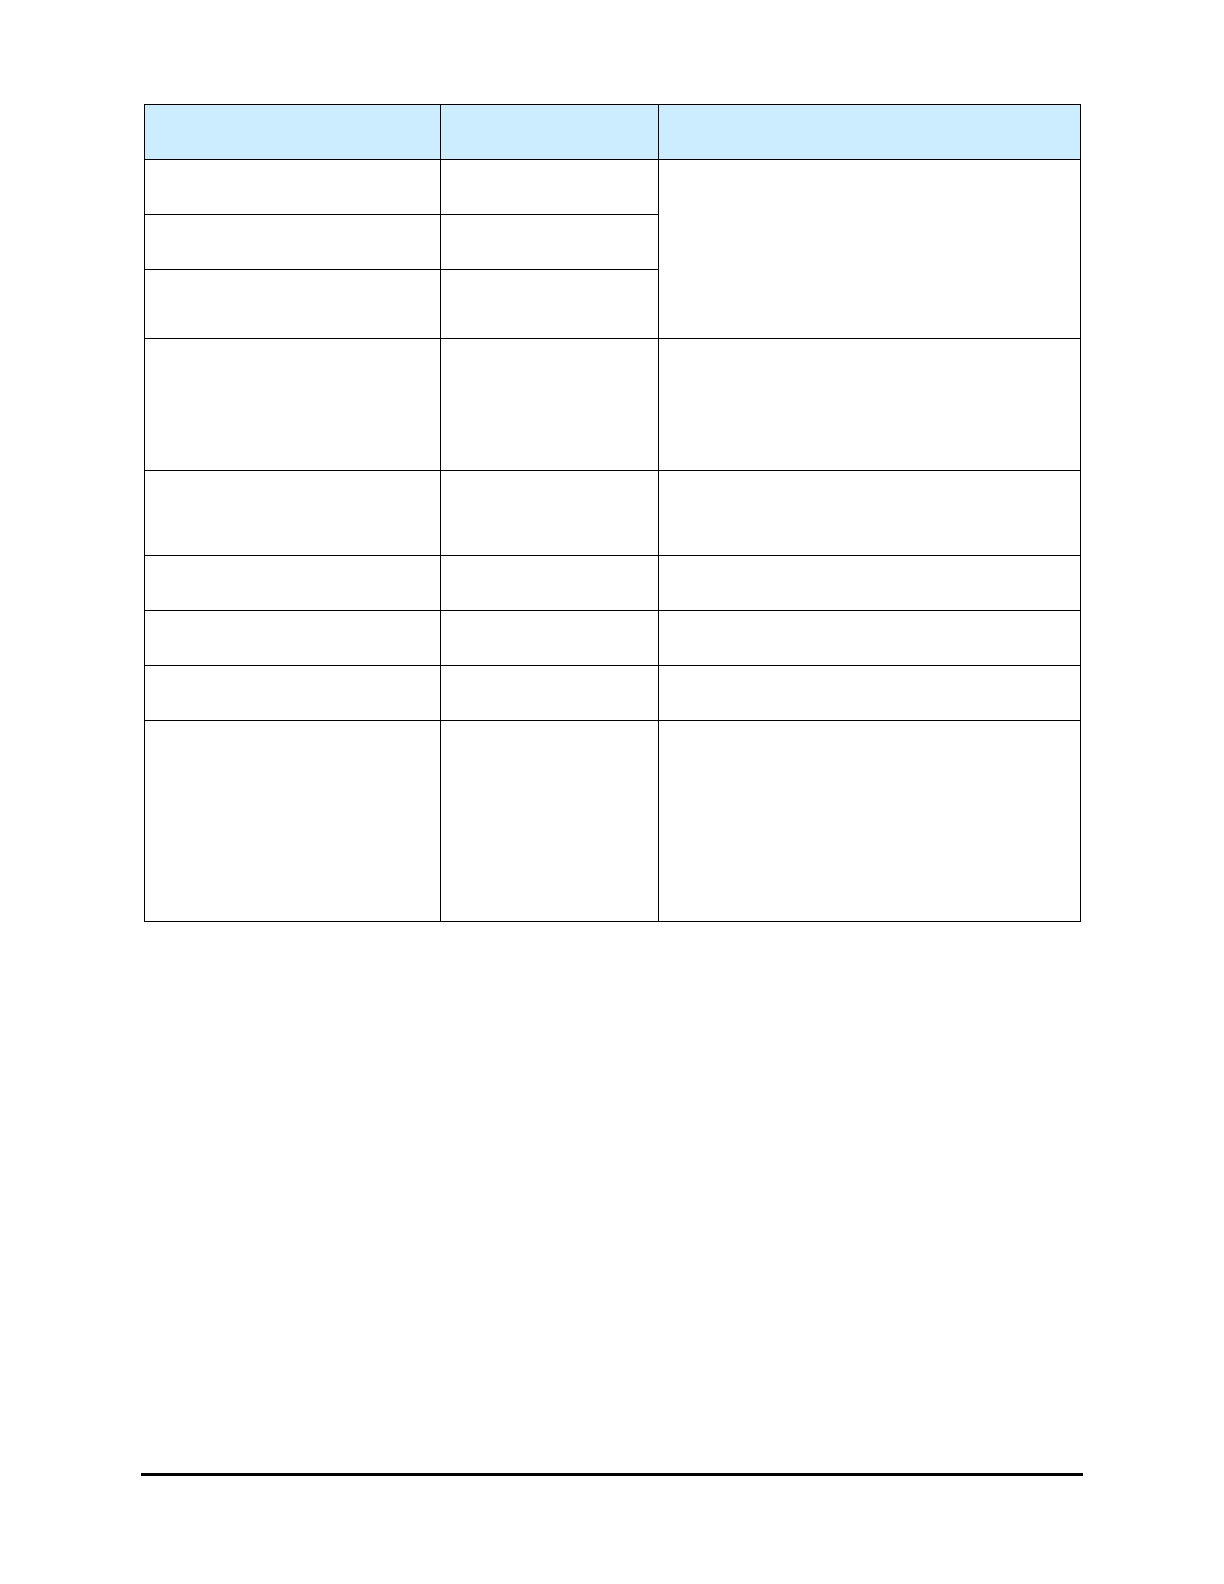
2. Disconnect the power plug located at the rear of the upper UV lamp module (Figure 6-1).
Figure 6-1 Upper UV Lamp Module – Rear
3. Open the front cover.
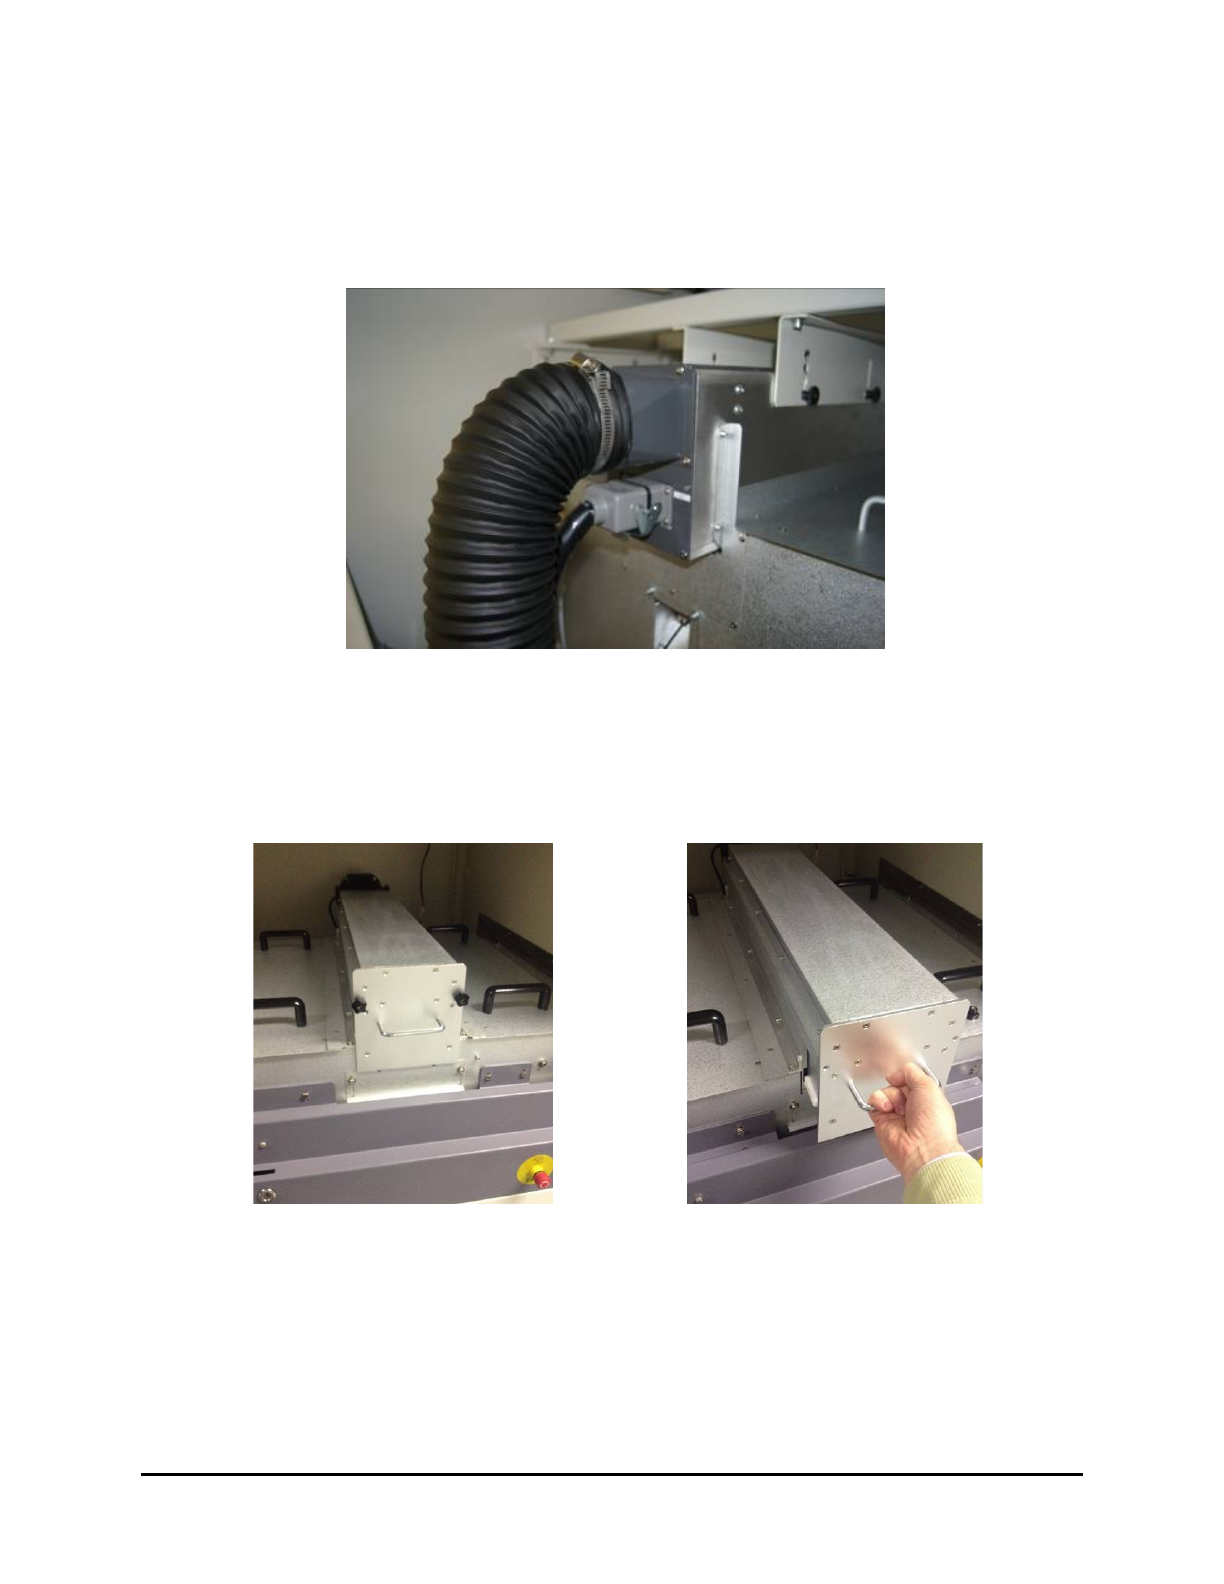
4. Remove the two nuts on the UV lamp module (Figure 6-2).
5. Use the handle to slide out the module (Figure 6-3).
Figure 6-2 Remove the Nuts from the Module
Figure 6-3 Slide out the Module
6. Hold the module by placing one hand on the handle and the other hand at the back of the
module (Figure 6-4).
6-4 Maintenance

Figure 6-4 Holding the Module
WARNING! CAUTION!
DO NOT touch the lamp or reflector. The surface may be hot. To prevent burn
injuries, hold the module as shown in Figure 6-4.
7. Place the UV lamp module on a work bench.
8. Release the two screws (located on each side of the lamp) that connect the UV lamp to the
electrical network (Figure 6-5).
Figure 6-5 Release the Screws
Maintenance 6-5