MR8740T_user_manual_eng_20191016H.pdf - 第105页
100 T rigger timing 5.3 T rigger timing > [T rigger] > [Common] ST ART Starts recording when the instrument is triggered, and stops the recording after the instrument has acquired the recording-length waveforms. …
99
Enabling the Trigger Function
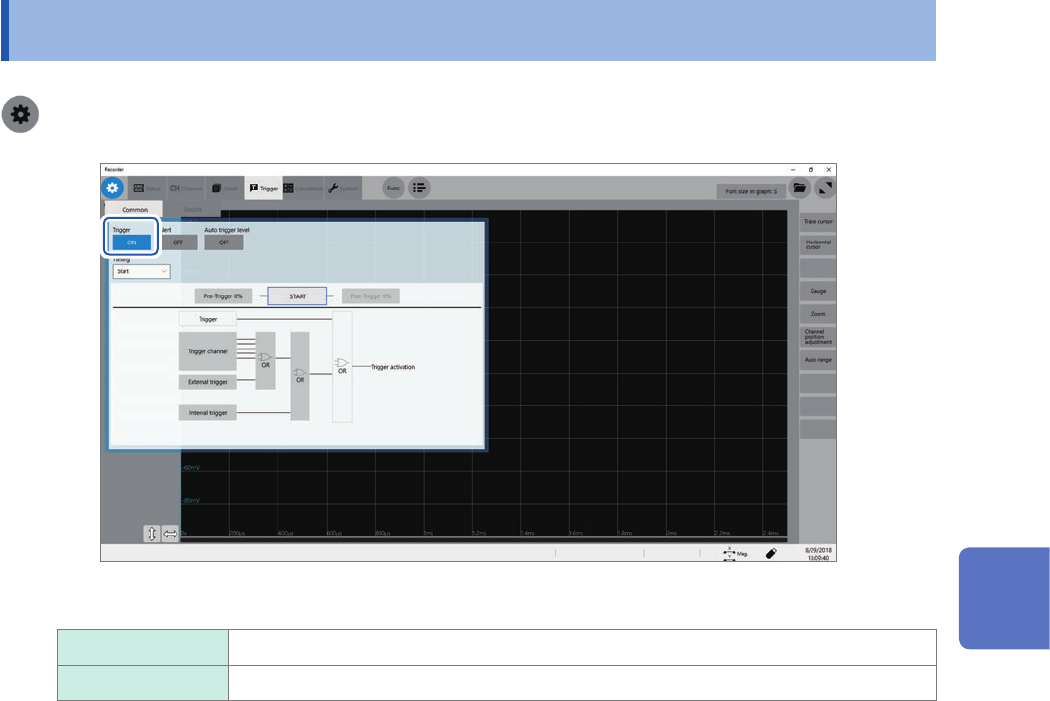
5.2 Enabling the Trigger Function
> [Trigger] > [Common]
Click the [Trigger] button to set it to [On].
On
Enables the trigger function.
Off Disables the trigger function.
To copy settings to other channels
You can copy settings on the analog trigger setting screen.
Refer to “3.5 Copying Settings (Copy Function)” (p. 45).
5
Conguring the Trigger Settings
100
Trigger timing
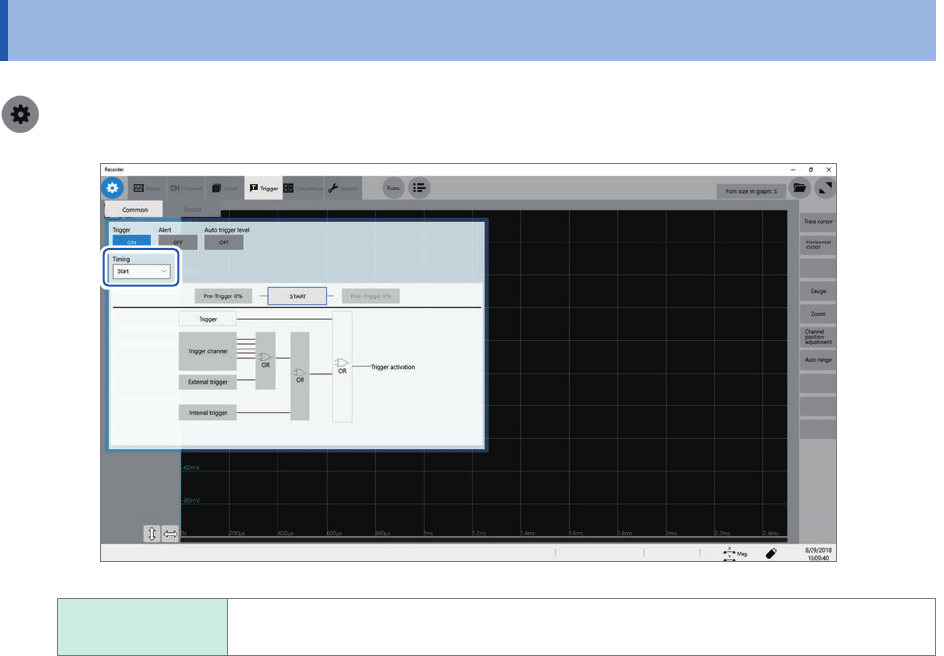
5.3 Trigger timing
> [Trigger] > [Common]
START
Starts recording when the instrument is triggered, and stops the recording after the
instrument has acquired the recording-length waveforms.
A displayed trigger point may lag behind the actual trigger point by some samples between one and
four when measuring modules include any one of the following modules: Model U8975 4ch Analog
Unit, Model MR8990 Digital Voltmeter, and Model U8991 Digital Voltmeter Unit.
101
Trigger timing
Trigger timing
Recording
[Start]
Starts recording
Starts recording when the instrument is triggered.
Stops the recording
When the mode is
set to [Single]
Stops the recording after the instrument has acquired the recording-length data.
When the mode is
set to [Repeat]
Starts recording, stops the recording after the instrument has acquired the
recording-length data, and then waits for a trigger.
When triggered again, starts recording, stops the recording after the instrument
has acquired the recording-length data, and then waits for a trigger (repeats this
sequence).
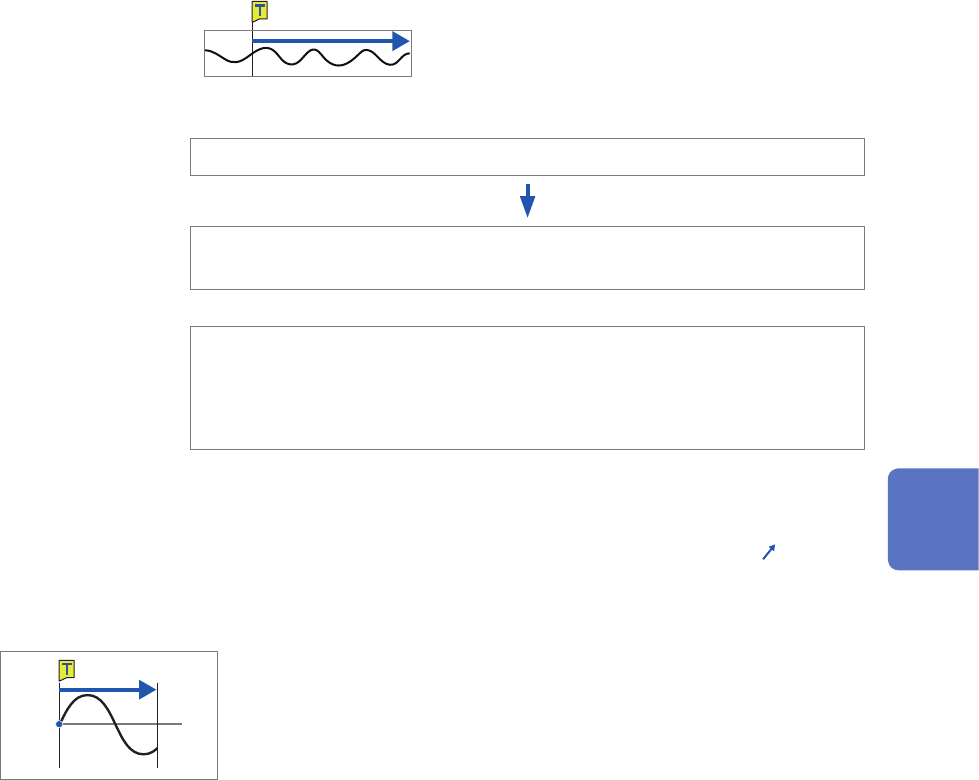
Example of trigger timing
When the trigger type is set to the level trigger; level, at 0.000 V; and slope, to positive [
]
Setting of [Timing]
[Start]
0 V
Records recording-length data.
The above processes are repeated when the trigger mode is set to [Repeat].
5
Conguring the Trigger Settings