CP-7-series Verification System Instruction manual(2.0E).pdf - 第103页
1 1. Using the FULL AUTO Mode Edition 2.0 92 CP-7-series V erification System Instruction Manual 1 1.7.2 When Using the Scanner When in the FULL AUTO mode, it is possible to change to the DC AUTO mode and begin a verific…
11. Using the FULL AUTO Mode
Edition 2.0 91 CP-7-series Verification System Instruction Manual
11.6.3 Device Check Procedure Using Scanner
Using the Scanner differs from using PDT-3100 in that there is no device comment list
display at the Handy Terminal screen.
When [Device Check] is selected at the machine control panel, the [Device Check] screen
displays, but the procedure from that point is the same as when performing a
verification from the PDT-3100 without using the “Device Check” command.
Note: When performing a FULL AUTO mode operation using the scanner, do not begin a device
check by reading the “1” barcode with the [Main Menu] displayed in the Handy Scanner
dialog box. If the “1” barcode is read, the device check will occur in the DC AUTO mode.
11.7 Changing to DC AUTO Mode
When a part related error (parts-out condition) occurs during quick verification mode
operation while using the feeder status monitoring function, the ID information (combination
information) must be re-registered at Fujitrax Verifier.
ID information (combination information) can be registered at Fujitrax Verifier on the machine
in the following two ways.
• By performing a DC AUTO mode operation.
• By creating the ID information (combination information) (by scanner only; see section 12.3).
The procedures for changing from the FULLAUTO mode to the DC AUTO mode is explained
below.
11.7.1 When Using the PDT-3100
When performing a quick verification mode operation with the device comment list
displayed at the PDT-3100, press the [ALPHP] button to enable an alphabetic input, then
enter [C] to change to the DC AUTO mode.
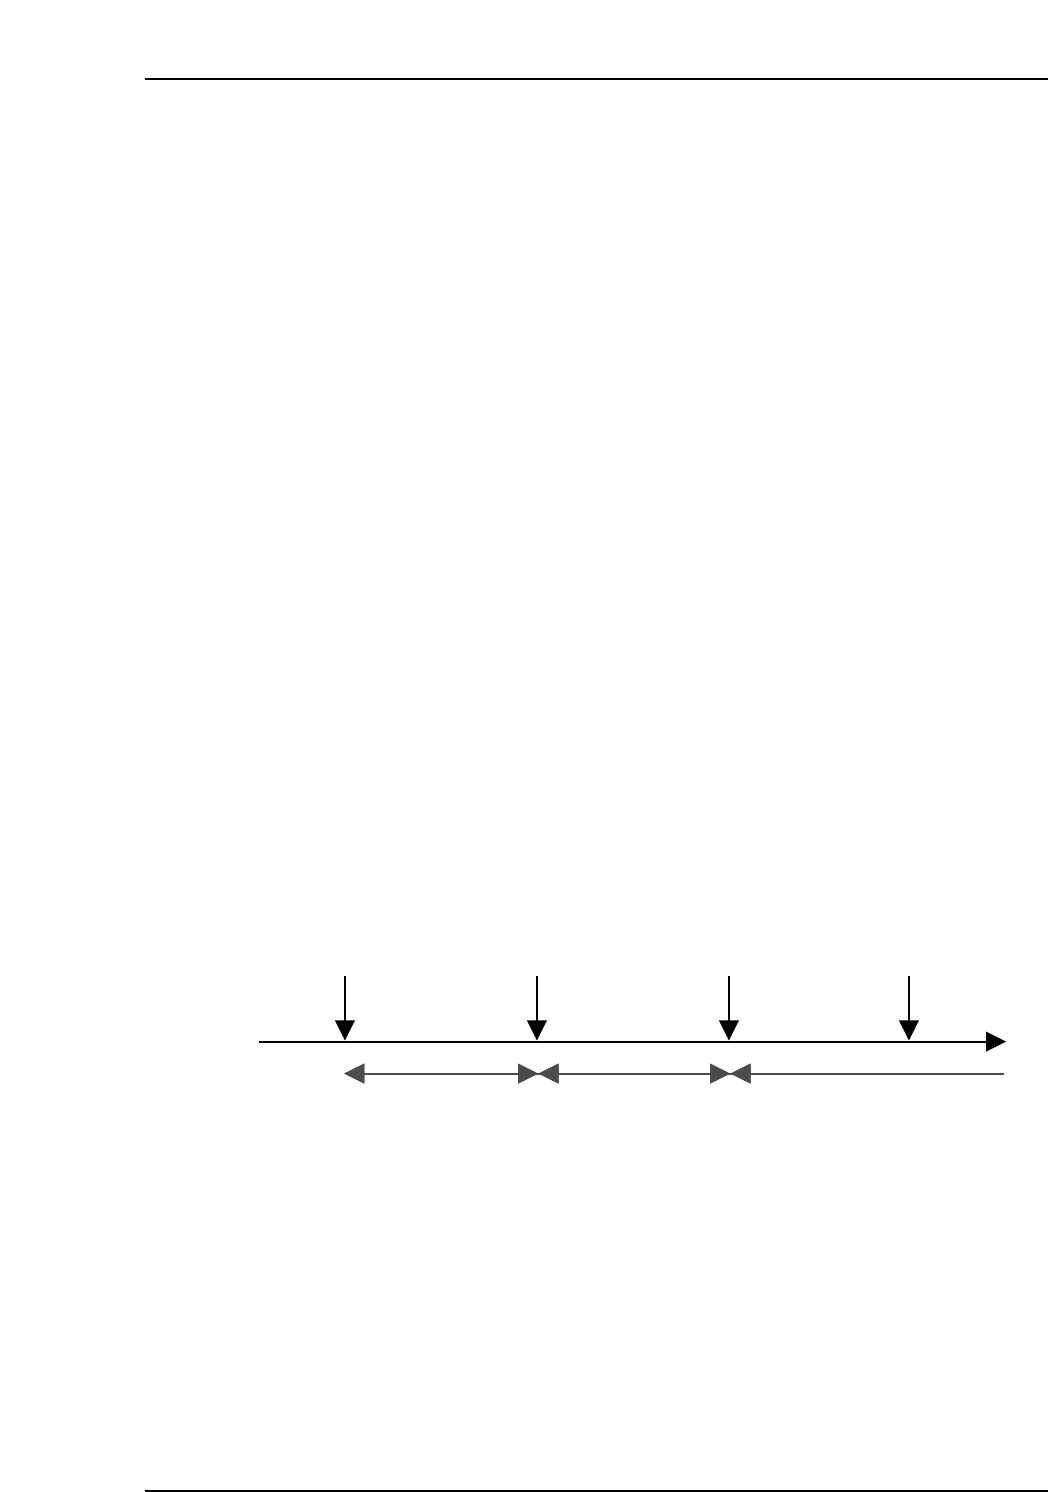
Once a change to the DC AUTO mode has occurred, it is only possible to return to the
FULLAUTO mode after verification has been completed or aborted.
Verification begins Verification completed Verification beginsChange to DC
AUTO mode
Quick verification
mode
Normal verification
mode
Quick verification
mode
CP7V0063E
11. Using the FULL AUTO Mode
Edition 2.0 92 CP-7-series Verification System Instruction Manual
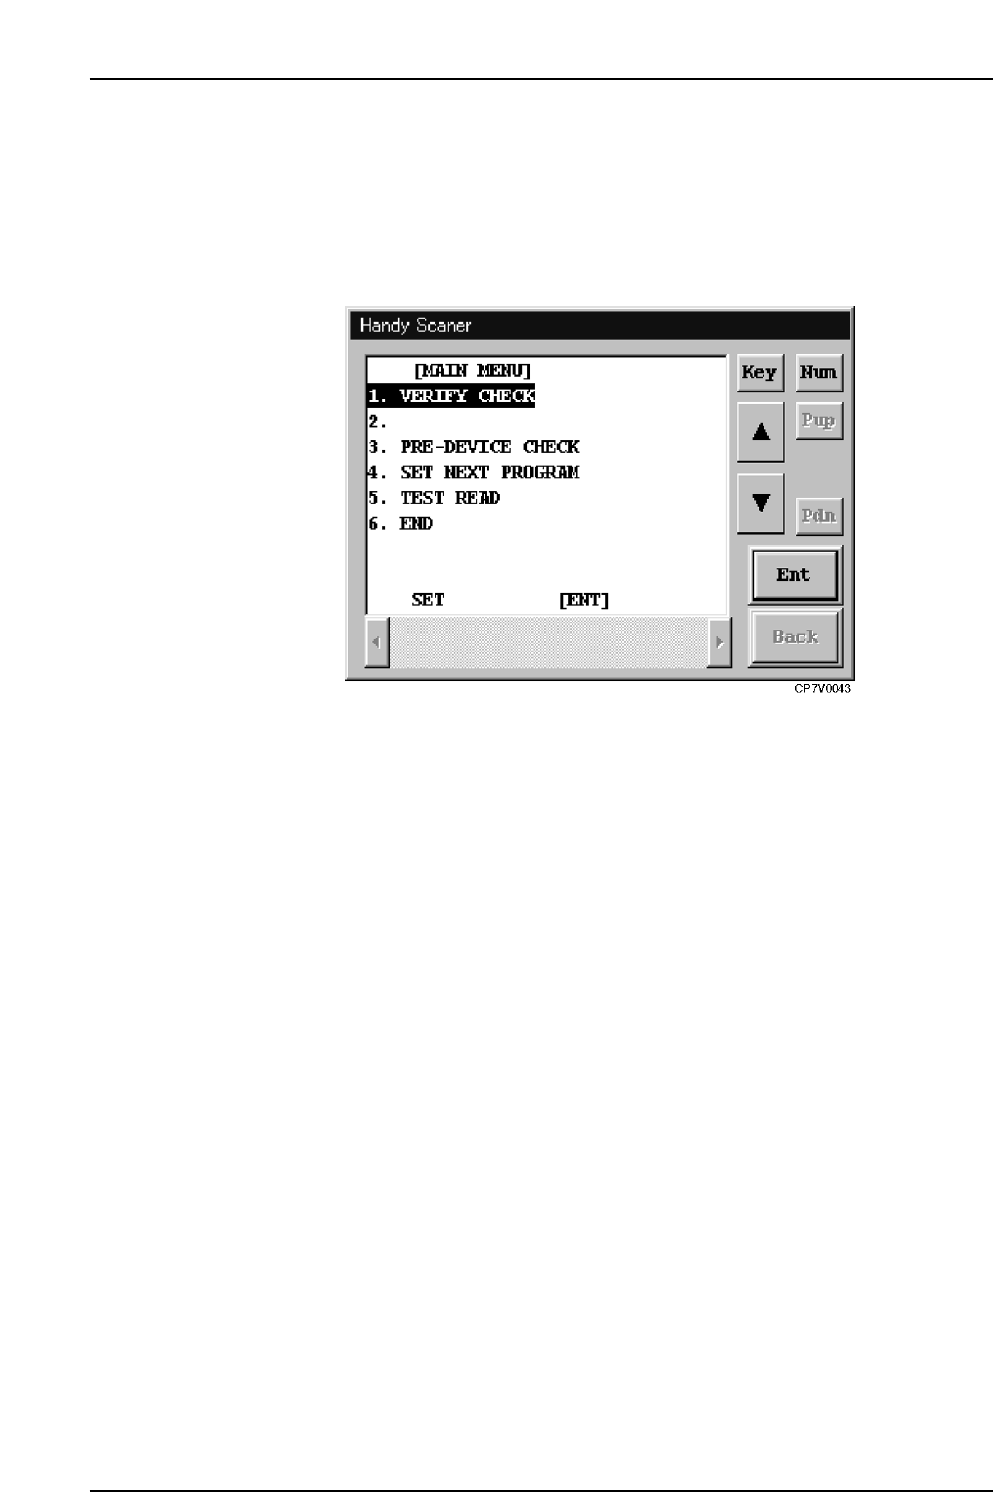
11.7.2 When Using the Scanner
When in the FULLAUTO mode, it is possible to change to the DC AUTO mode and
begin a verification operation simply by scanning the “1” barcode with the [Main Menu]
displayed in the Handy Scanner dialog box.
Once a change to the DC AUTO mode has occurred, it is only possible to return to the
FULLAUTO mode after verification has been completed or aborted.
Handy Scanner’s Main Menu

12. Next Production Verification
Edition 2.0 93 CP-7-series Verification System Instruction Manual
12. Next Production Verification
12.1 Overview
The "next production verification" function checks the offline device table which is to be used
next. This function is performed with the device table mode set to the "changeover" mode.
The "next production verification" operation begins by selecting the recipe scheduled for use in
the next production, and then, based on that recipe information, a Verification operation is
performed for the offline device table which is to be used.
At the next changeover, when switching to a recipe where a “next production verification” was
performed, automatic operation can be executed without performing a device check, thereby
reducing the changeover time.
However, these procedures can only be performed at the Handy Terminal.
12.2 Selecting the Next Production Recipe
12.2.1 Operation Conditions
• Part verification system settings must be specified as "With Handy Terminal".
• Communication with Handy Terminal must be established.
• The device table mode must be set to the "changeover" mode.
• The table mode for the next production recipe which is selected must be set to the
"changeover" mode.
12.2.2 Procedure
1. At the PDT-3100’s [Main Menu], select [SET VERIFY RECIPE].
At the Handy Scanner’s [Main Menu], select [SET NEXT RECIPE].
PDT-3100’s Main Menu
ENTER
[MAIN MENU]
1. VERIFY CHECK
2. PRE VERIFY CHECK
3. SET VERIFY RECIPE
4. PALLET SUPPLY
5. TEST READ
SELECT NO.=v
▼▲
CP7V0023