CP43操作手册.pdf.pdf - 第18页
Chapter 2 Operation of the Keys Part 1 • Inching Axis Selection Key [2] Inching axis display: D1 Z FQ Inching keys: [ M ] D1 axis, positive direction [ A ] D1 axis,negative dir ection [ J ] Z axis, positive direction [ F…
Part 1 Chapter 2 Operation of the Keys
2.2 Inching Keys
The inching keys are used to select the inching axes, and to carry out
inching along the selected axes.
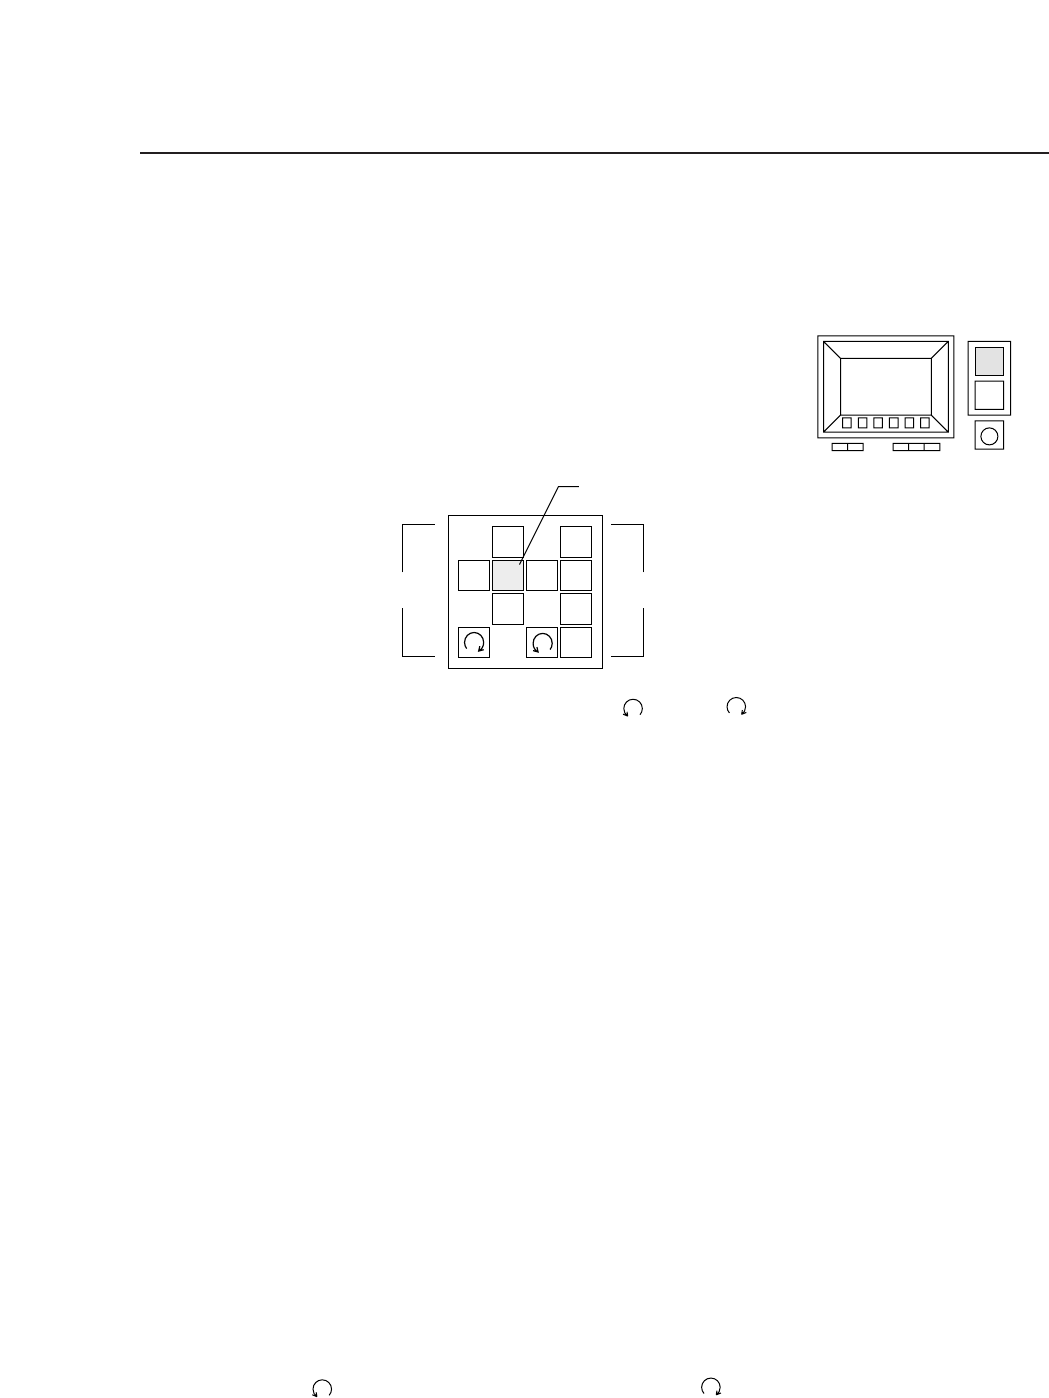
(a) Arrow keys ([J], [F], [A ], [M ], [ ], and [ ])
These keys are used to perform the inching operation. Some arrow
keys are invalid when certain inching axes are selected.
(b) Inching axis selection keys ([1] to [4])
These keys are used to select an axis for inching.
(c) Rapid inching key ([F])
Press this key and an inching key simultaneously to inch the axis
rapidly.
Inching can be carried out at any time except during machine operation or
Proper data measurement. However, it is not possible to inch all of the
axes at the same time. Only those axes which are currently selected by the
inching axis selection keys can be inched.
The axes selected by each of the inching axis selection keys and the
corresponding displays are listed below.
• Inching Axis Selection Key [1]
Inching axis display: X Y C
Inching keys:
[M] X axis, positive direction [A] X axis, negative direction
[J ] Y axis, positive direction [F ] Y axis, negative direction
[ ] C axis, positive direction [ ] C axis, negative direction
Be aware that if the cam axis is inched when parts have been picked
then these picked parts parts will be discarded
1
2
3
4
F
↑
←
↓
→
(a)
(b)
(c)
1 – 4Version 4.0
FCP IV-3 Operation
Chapter 2 Operation of the KeysPart 1
• Inching Axis Selection Key [2]
Inching axis display: D1 Z FQ
Inching keys:
[M] D1 axis, positive direction [A] D1 axis,negative direction
[J ] Z axis, positive direction [F ] Z axis, negative direction
[]Fθ axis, positive direction [ ] Fθ axis, negative direction
• Inching Axis Selection Key [3]
Inching axis display: D2
Inching keys:
[M] D2 axis, positive direction [A] D2 axis, negative direction
The inching speed may be set by selecting the [Set], [Servo] and [Inching
Speed] function command keys in that order.
Note: Be sure that nothing in the machine will interfere with the movements
during inching.
Using the Special Keys
The functions listed below can be carried out using the special
function keys. However, these functions can be carried out only
when the main operations of the inching keys are enabled (i.e. these
functions cannot be carried out when the inching keys have been
disabled due to machine operation or Proper data measurement).
• Program counter output to the printer.
Connect the MCS 30 computer printer to the machine CPU
board and perform the following steps:
(1)While holding down the fast inching key [F], press axis
change keys [3] and [1] simultaneously.
(2)Release the keys when the printer starts operating.
(3)A program counter list will be printed out.
Note: See Part 6, Section 6 "Trouble shooting" for further details.
1 – 5Version 4.0
FCP IV-3 Operation
Part 1 Chapter 2 Operation of the Keys
• Turning the light source for the mark camera on and off.
Perform the following steps:
(1)While holding down the rapid inching key [F], press axis
change key [4].
(2)The mark camera lamp turns on. Perform this operation
again to turn the mark camera off.
Note: Do not keep the light on for long periods of time, as the
lifespan of the bulb will decrease.
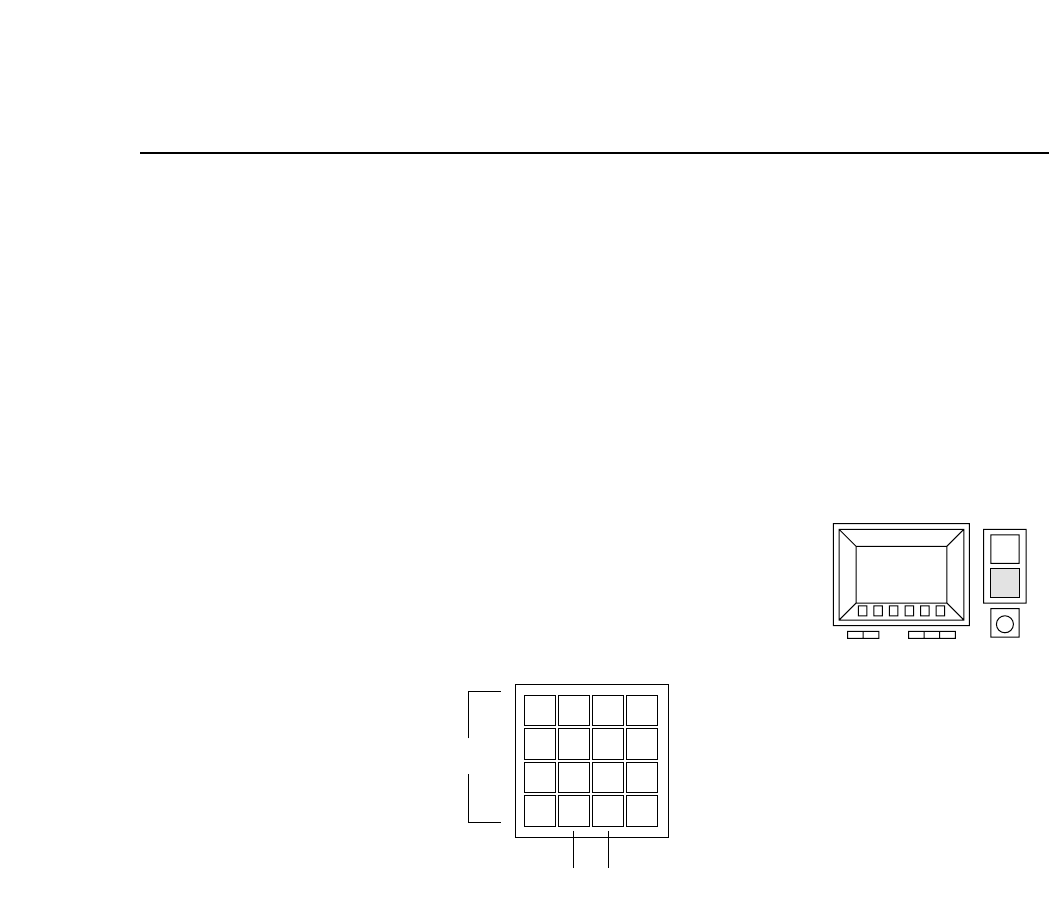
2.3 Numerical Input Keys
These keys are used to input numerical values
(a) Input keys (0 - 9, *, #, D, –)
The numerical keys are used to input numerical values such as
camera threshold levels or I.D. codes.
(b) Backspace key (BS)
When inputting numerical values this key is used to delete previously
input values. Press this key once to move the cursor backward a
single space.
(c) Carriage return key (CR)
This key is used to complete the entry of a numerical value. It may
also be pressed to take the machine out of numerical input mode.
56
7
8
9
D
#
–
1
2
3
4
✽
B
S
C
R
0
(a)
(b) (c)
1 – 6Version 4.0
FCP IV-3 Operation