1OM-1050-002.pdf - 第97页
2. Starting or Exiting from the Application 2 . 1 Getting Started (1) When the [POWER ON] button on the operation panel is pressed, it illuminates in yellowish green and the self-diagnostics function starts. (a) Press an…
1.2.2 Notes on Handling Touch Screens
(1) Since the touch screen uses the molecules in liquid crystals, handle
it like glass. Do not apply strong pressure to the touch screen.
CAUTION
Do not apply strong pressure to the touch screen.
Otherwise, it may easily break.
Do not press the touch screen with a force of 0.78
Ncm
2
(approx. 80 gf/cm
2
) or more.
(2) When temperature is low at power-up, the brightness of the back
light drops. The deterioration is not abnormal. The brightness re-
sumes normal after a few minutes.
When the back light is turned on or off repeatedly at low tempera-
ture, the life will be shortened.
(3) Cleaning of Touch Screen
CAUTION
Turn off the [POWER ON] button before cleaning. Oth-
erwise, the touch screen will react to your touch dur-
ing cleaning, resulting in data corruption.
When the surface of the touch screen is stained, use neutral de-
tergent for wiping.
CAUTION
Do not use acetone, thinner, benzene, alcohol, etc.,
to clean the touch screen.
If the surface is wiped with an organic solvent, the
surface of the touch screen may melt or get cloudy.
1.2 Touch Screens
0207-004 2 - 3 AFO01EOPP
2. Starting or Exiting from the Application
2.1 Getting Started
(1) When the [POWER ON] button on the operation panel is pressed, it
illuminates in yellowish green and the self-diagnostics function starts.
(a) Press and hold the [POWER ON] button for more than 1
second.
(b) It takes 2 to 3 minutes until the self-diagnostics operation
is completed. Please wait for a while.
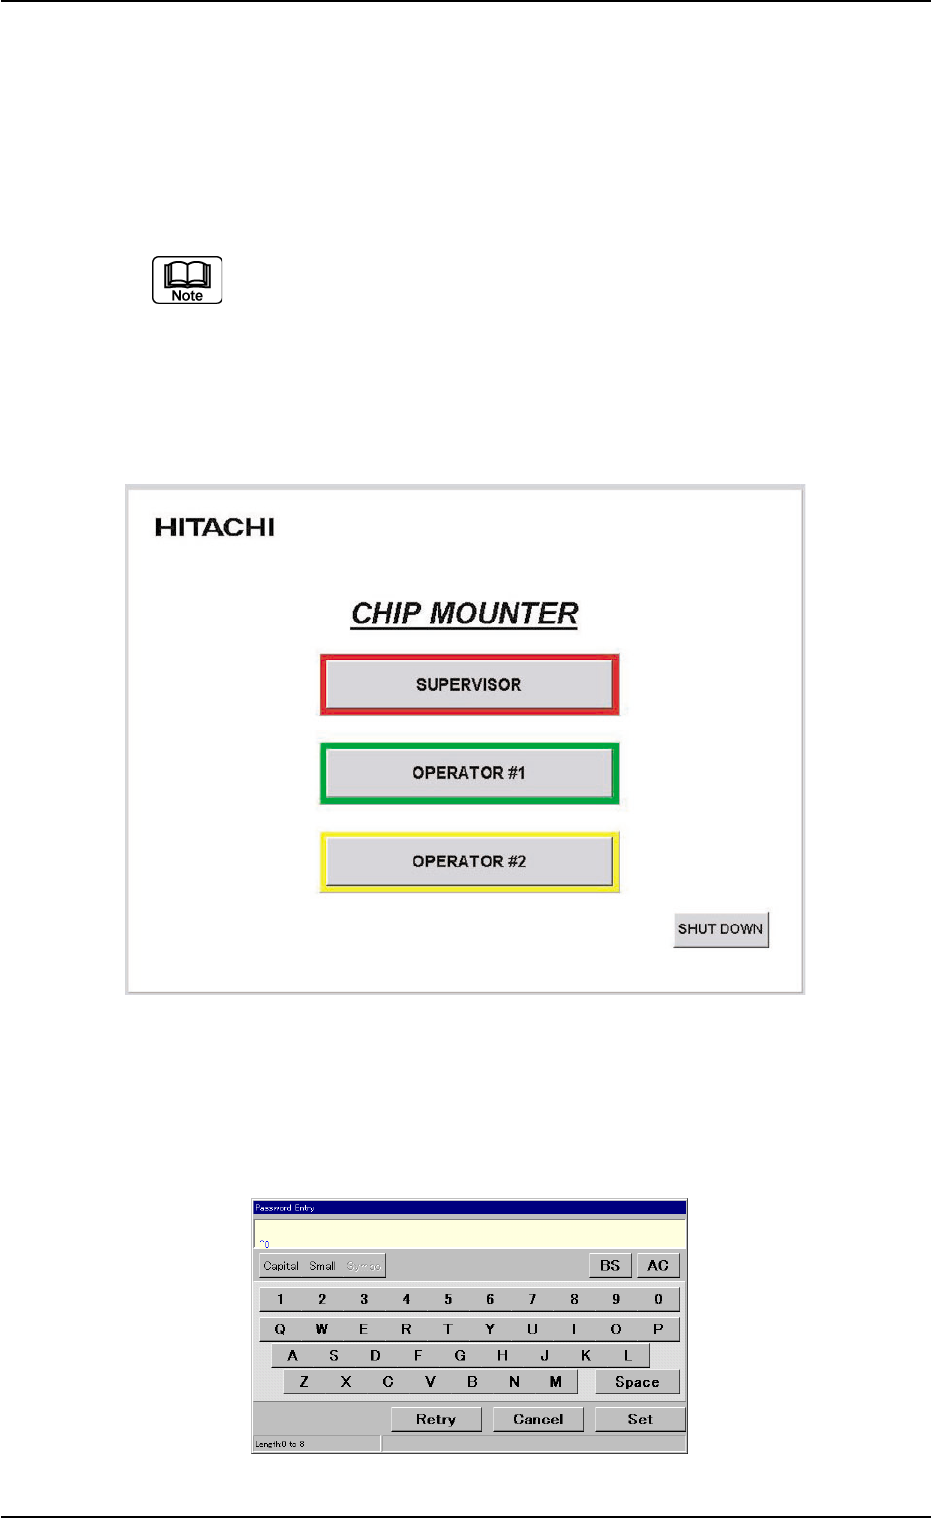
When the self-diagnostics operation is completed, the "Login Type Se-
lection" window appears on the touch screen.
Fig. 1B2 "Login Type Selection" Window
(2) Press the [SUPERVISOR], the [OPERATOR #1], or the [OPERA-
TOR #2] button according to the given authority.
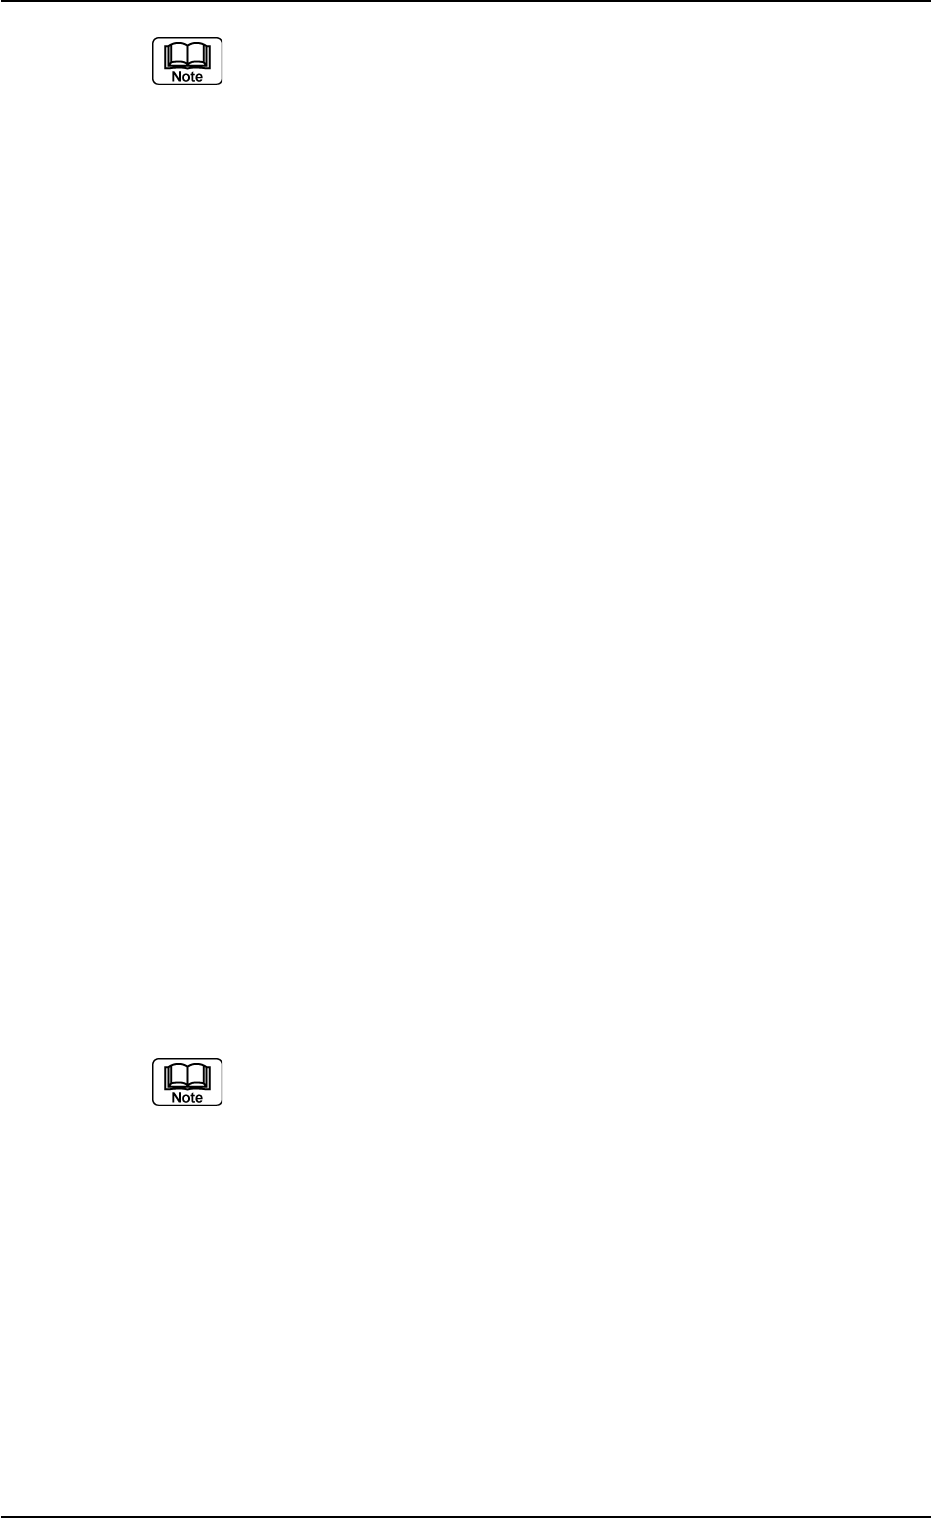
The "Password Entry" dialog box opens.
Fig. 1B3 "Password Entry" Dialog Box
0304-004 2-4 AFO01EOPP
2. Starting or Exiting from the Application
This machine is provided with a password function which pre-
vents various types of data groups from being deleted by mis-
take and keeps unauthorized user (third party) from operating
the machine.
The following three kinds of passwords are available and each
gives individually approved user’s access to the computer sys-
tem of the machine.
Refer to "Section 5 System Setting" in "Volume 3: Program-
ming and Machine Data" for details.
[SUPERVISOR] : Access can be gained by only the person
identified as "Supervisor".
[OPERATOR #1] : Access can be gained by only the person
identified as "Operator #1". For example, the
person identified as "Operator #1" is given
a permission to all machine operations in-
cluding data editing.
[OPERATOR #2] : Access can be gained by only the person
identified as "Operator #2". For example, the
person identified as "Operator #2" is limited
to only the operations related to the auto-
matic operation.
(3) Enter the password.
"*****" appears in the "Password Entry" dialog box.
(4) Press the [Set] button.
The "AUTO OPN." window opens on the touch screen. It is provided
with a main menu bar.
See Fig. 1B4 in "2.2 Structure of Operation Windows" for the dis-
played main menu bar and the "AUTO OPN." window.
When no password is set, press the [SUPERVISOR], the [OP-
ERATOR #1], or the [OPERATOR #2] button according to the
given authority. The "AUTO OPN." window opens.
0102-002 2 - 5
AFO01EOPP
2.1 Getting Started