YesAX V3.1.2 - Software User Manual.pdf - 第197页
A dvance Inspection Features 14 -11 The second step is to enable the feature in the Recipe Option. Select Vision>Recipe Option from the Main Menu. On the Extended Options 2 page, select the Logic OR layers for Non-1 s…

14-10 Advance Inspection Features
14.6 Reducing Inspection and Review Time for Non First Article
Inspection
The very first board that comes off a freshly setup line is considered the first article board. A first
article board requires the most stringent inspection because of the large possibility of setup errors.
This includes but is not limited to:
Incorrect material reel put on the placement machine
Incorrect programming of the placement machine
Incorrect version of the program loaded on the placement machine
Problem with the solder paste stencil screen
Problem with oven profile
Etc.
It is usually a standard practice to verify the correctness of the first article board before the rest
of the boards are built. If the first article board’s correctness is verified, the subsequent boards
have a much smaller possibility of defects. The defects on the subsequent boards are usually
machine related, such as a part dropped by a placement head of a pick-and-place machine, a
blocked stencil aperture resulting in an open solder, etc.
Based on this nature of the assembly process, the YesAX software has a feature to speed up the
inspection and review process of the non-first article boards. Here is the theory of its operation:
1. Inspect everything on the first article board. If there are defects, review every instance.
2. For non first article board if one instance of a part number (PN) is verified correct
(present, correct orientation and correct component), then the other instances of that PN
need to verify only present (and/or polarity if applicable).
3. If all instances of a PN failed during inspection and one instance is OKed during the
review process, then any instance of that PN which had been verified present is taken off
the review list.
14.6.1 Modifying Recipe to Utilize the Feature
There are 3 modifications needed to use this feature:
1. Modify the recipe to include inspections for nomenclature in one layer and present/absent
in another layer.
2. Enable the feature in Recipe Option.
3. In the Run dialog, indicate if the inspection is for a first article board or not.
The first step is the most time consuming. For each part number, 2 sets of markings need to be
trained: one for verifying nomenclature and the other for verifying present or absent.
For the templates to detect present or absent of the component, don’t-care-masks are used to
mask out the regions of the nomenclatures. The don’t mask is setup using the Edit Alternate
dialog from the marking pop-up menu (see Section 10.2.2). You are not limited to using template
matching algorithm for detection.
It is not necessary to add the 2 layer inspection onto every part number. Any part number with
only one layer will be inspected the same way: first article or not. Focus on adding the 2 layer
inspection onto the most abundant part numbers. That will achieve the most time savings.
Advance Inspection Features 14-11
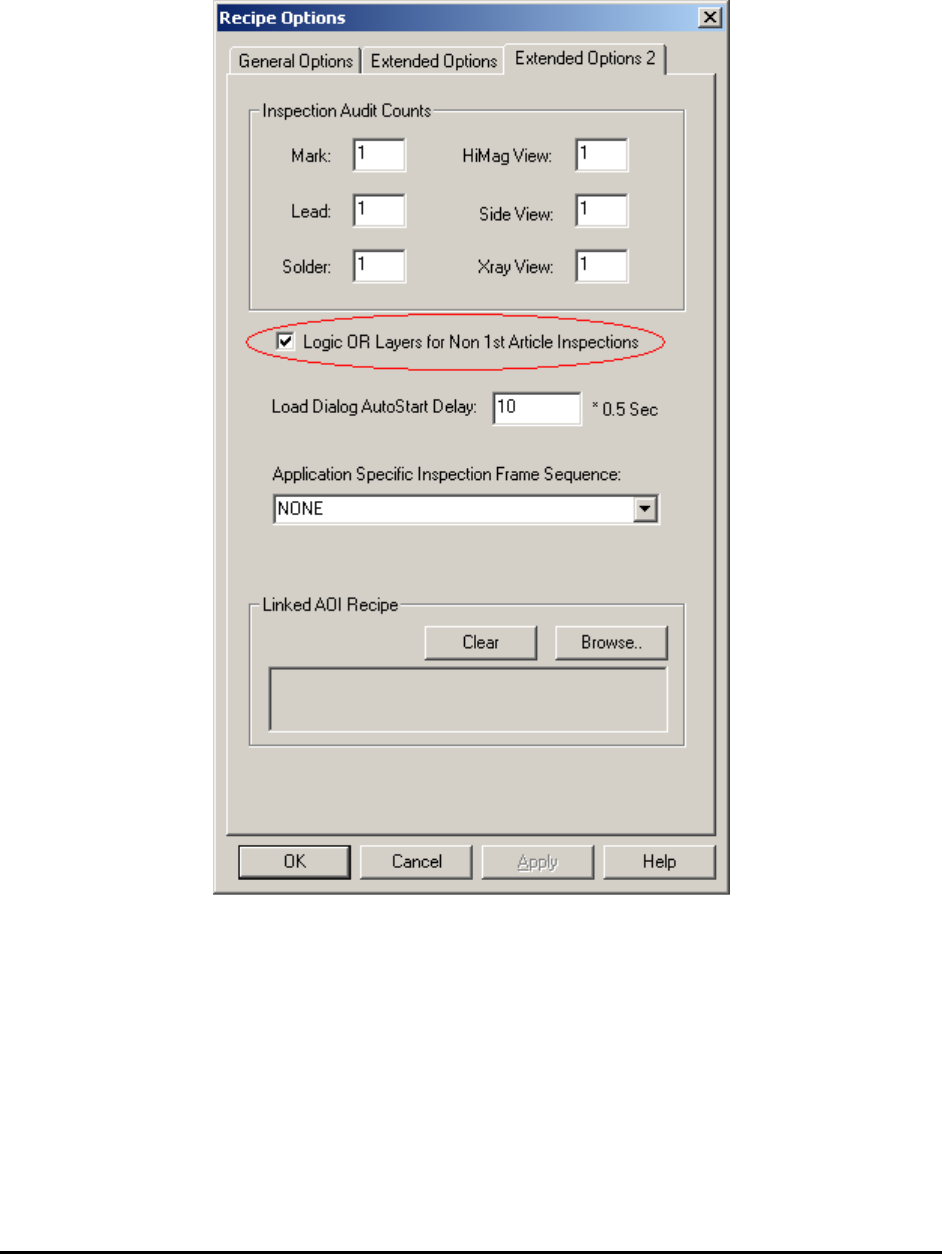
The second step is to enable the feature in the Recipe Option. Select Vision>Recipe Option
from the Main Menu. On the Extended Options 2 page, select the Logic OR layers for Non-1
st
Article Inspection checkbox to enable the feature for this recipe.
14-12 Advance Inspection Features
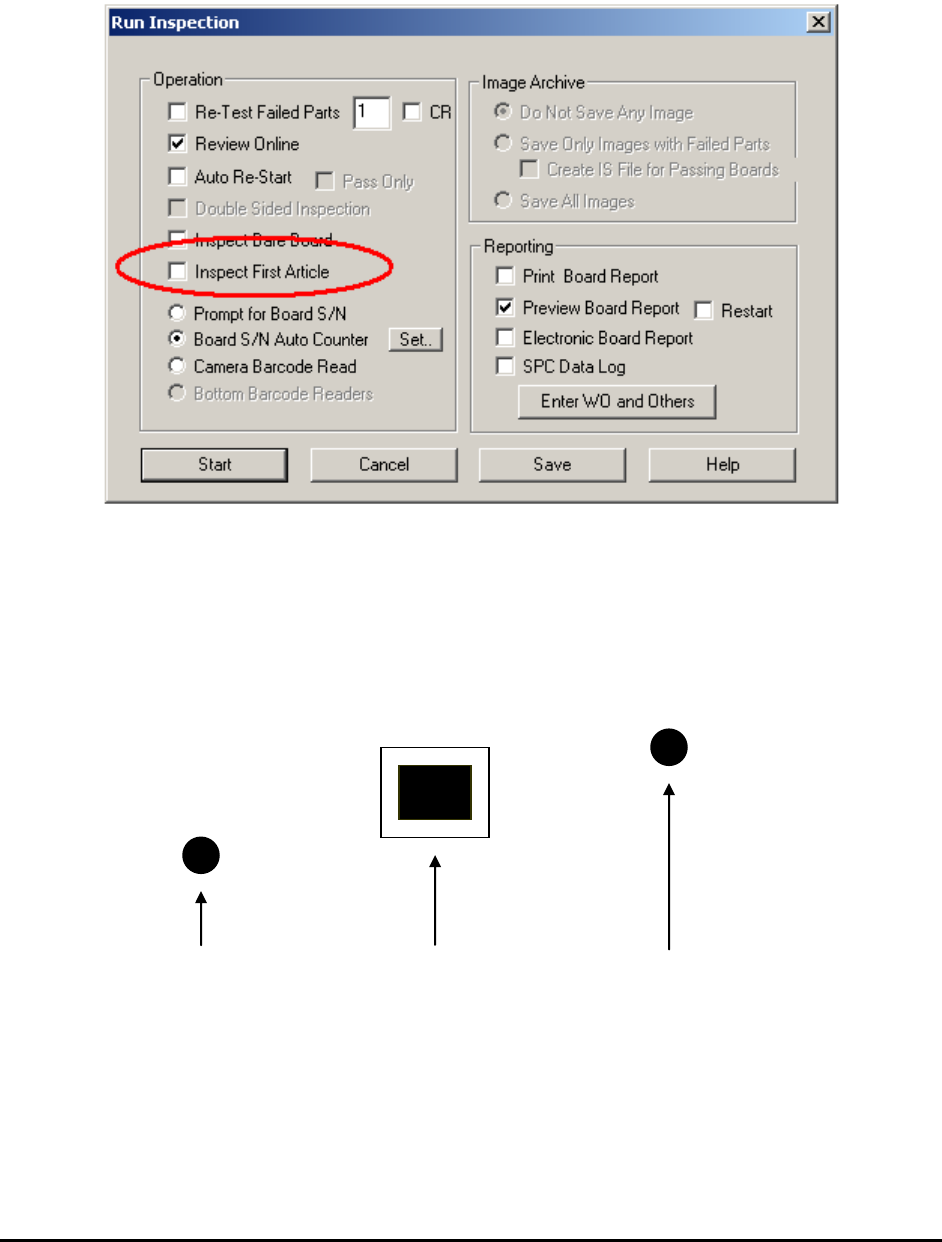
The last step is to indicate in the Run Inspection dialog whether the board being inspected is a
first article board or not.
Select File>Run Recipe from the Main Menu. The Run Inspection dialog opens.
For non-first article boards, the Inspect First Article checkbox should be un-checked.
14.7 Part Measurement Feature
This feature measures the part position relative to one or two reference points. For example, a
target part’s position needs to be determined relative to two reference marks.
Reference 1 Target Part Reference 2
Software determines the relative position from Reference 1 to Target Part and Reference 2 to
Target Part. Then it compares the relative distances to preset distances. If the difference between
the measured distance and the preset distance exceeds a predefined tolerance, a Fail status is
assigned to the target part; otherwise it is assigned a Pass status.