YesAX V3.1.2 - Software User Manual.pdf - 第86页
8-4 Tra in Part without CA D data The Skip Flags group shows the three skip flags for the part. They are Marks, Leads and Solders . The Type list box allows the user to select the part type for the part. The last edit bo…
Train Part without CAD data 8-3
8.1 Edit Part Parameters
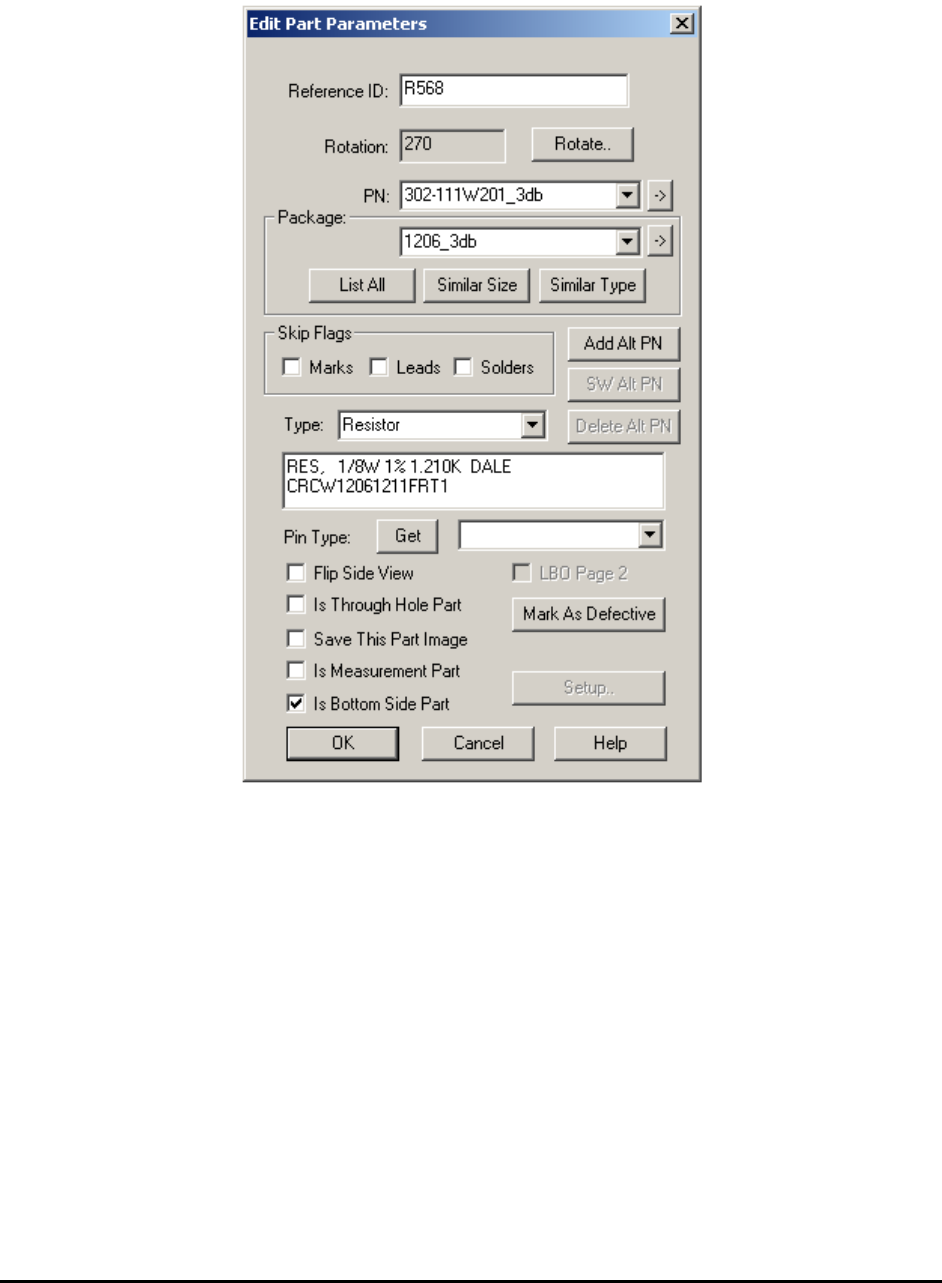
The Edit Part Parameters dialog allows you to customize part parameters.
The Reference ID shows the Reference designator of the part. Rotation indicates the part
rotation. When the Rotate button is pressed, the part rotates 90 degrees counter clockwise.
The PN list box displays the list of part number from the part library. To create a new part
number, type it into the box. Then use the part Update feature to add it into the part library.
The Package group contains one list box and three buttons. Use the list box to select a part
package. To enter an unlisted package, type it into the list box and then use the update feature to
add it into the package library. The package list can be quite long. Three buttons are provided to
make package selection easier. The List All button lists all the packages in the package library.
The Similar Size button lists only the packages that are approximately the same size as the
current part. The Similar Type button lists only the packages of the same or similar type.
The arrow buttons, on the right of the PN and Package name, will select the current PN or
package from the List View window. This allows easy access to the Walk Through functions for
the current PN or package.
8-4 Train Part without CAD data
The Skip Flags group shows the three skip flags for the part. They are Marks, Leads and
Solders. The Type list box allows the user to select the part type for the part. The last edit box
shows the description of the part.
The Pin Type combo box shows the Pin type of a BGA which corresponds to the Pin Library
feature (See Section 13.6). The Get button extracts pin information from the Pin library and
updates the part’s solder inspection boxes. The Pin Type feature is only applicable to BGA
devices.
The Flip Side View checkbox is for side angle inspection. The LBO Page 2 checkbox is used
only with Large Board Option (LBO) to identify parts on page 2. The Is Through Hole Part
checkbox works with the Create Bottom Partlist feature in through-hole inspection. The Is
Bottom Side Part specifies whether the part is on top side or not. This concept is different from
top and bottom part list. Once specified, you can toggle the show top/bottom buttons inside the
toolbar and program the board with less confusion.
8.2 Update Local Parts Libraries
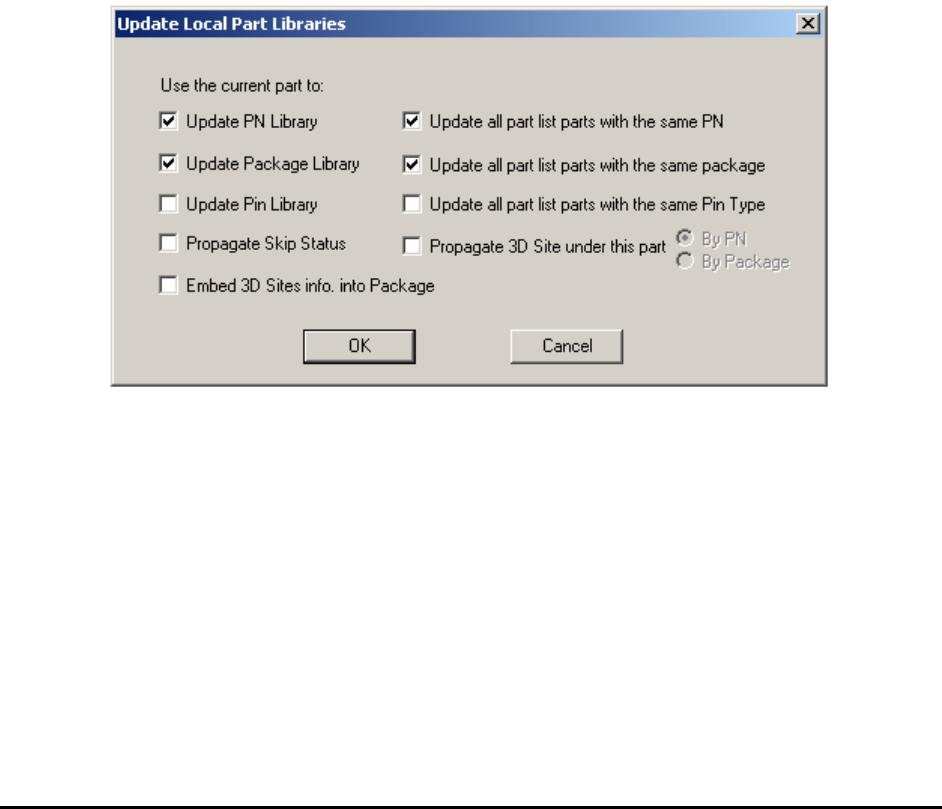
The Update Local Parts Libraries dialog allows you to update the part number, package or Pin
libraries using the current part as reference. The dialog can also be used to propagate Skip status.
For 3D systems, this dialog can also be used to propagate 3D site under the part.
8.3 Auto Repeat Mode and Quick Marking Check
A convenient way of adding multiple parts when there is no CAD data available is to utilize the
Auto Repeat Mode. In this mode, the Add Part function is repeated when you press the right
mouse button. In a scenario where you need to add many of the same part number all over a
board, the auto repeat mode saves a lot of mouse clicks.
During auto repeat mode, press the “R” key to rotate a part 90 degrees. Also in the auto repeat
mode, the Reference ID of a part increment each time a part is added.
For example, setup part R10 as the first part to add, then the second part added will be assigned
with a Reference ID of R11, and the third will be R12, etc.
Train Part without CAD data 8-5
The Quick Marking Check function is similar to the Auto repeat function in operation. It allows
you to quickly add template matching inspections without worrying about the part numbers or
reference IDs of the inspection. It also allows an inspection region to be set simply by drawing a
box on the screen.
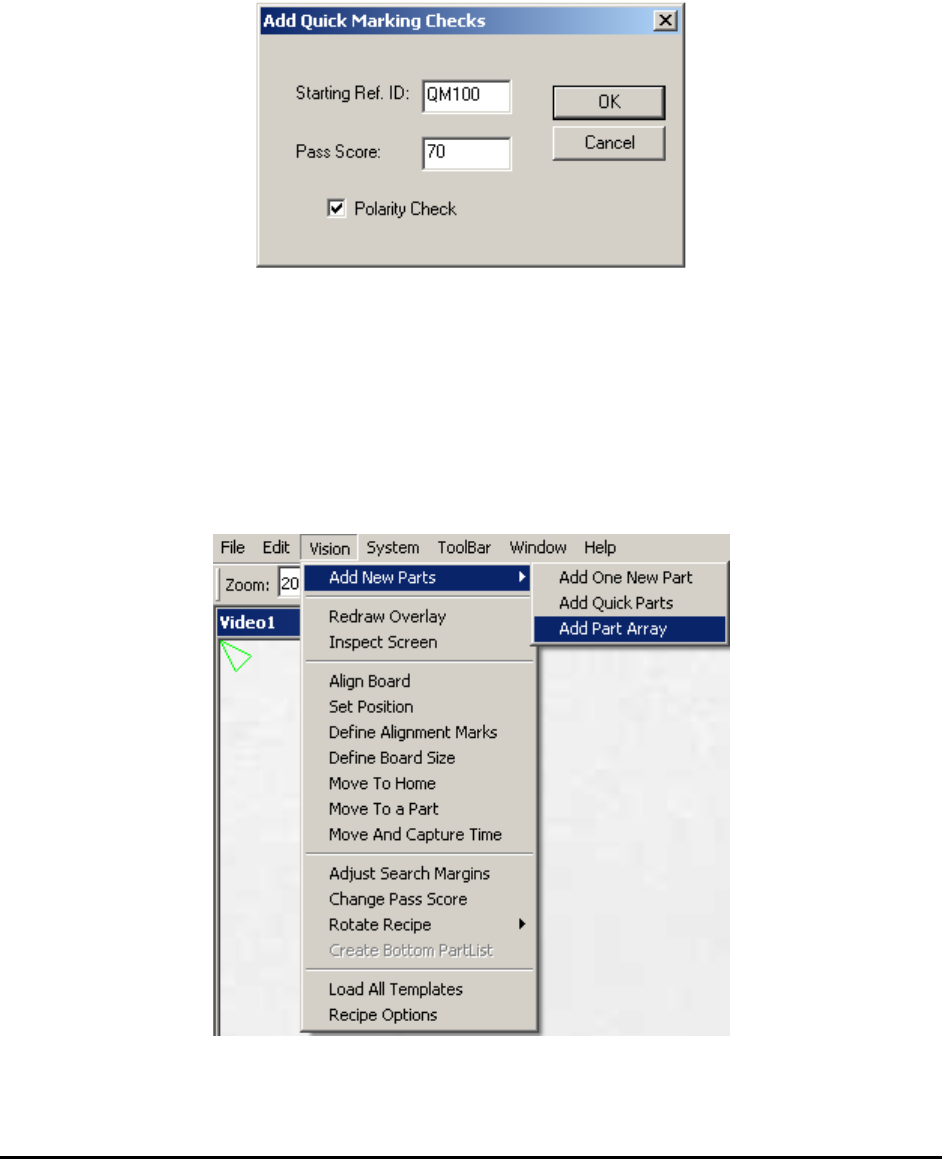
To start the Quick Marking Check function, select Vision>Add New Parts>Add Quick Parts
from the toolbar. The Add Quick Marking Checks dialog displays.
Enter the starting Reference ID, Pass Score and Polarity attribute.
Just like the auto repeat function, the Quick Mark Check function is repeated by pressing the
right mouse button.
8.4 Add Part Array
If parts of same kind are evenly located in an array, either in rectangle or circular area, it is
possible to add these parts all together by using the Add Part Array function. To start, select
Vision>Add New Parts>Add Part Array from the main menu.
The Add Part Array dialog displays.