SYS-CP842-1.1E.pdf - 第97页
3.Machine System SYS-CP842-1.1E 88 CP-842E / CP-842ME System Reference Specifying A Seq uence The vicinity of the specified sequen ce part can be displaye d by using the cursor movement buttons, by touching the screen di…

SYS-CP842-1.1E 3.Machine System
CP-842E / CP-842ME System Reference 87
Screen Button Explanations
A. [Sequence Number]: Displays a ten-key pad where the desired sequence
number (search object) can be entered.
B. [Reference Designator
Search]:
Displays a ten-key pad where the desired reference
designator (search object) can be entered.
C. [ ] (Leftward cursor
movement):
If the part for the specified sequence is not
displayed, this key changes the sequence number
to that of the upper right part. If the specified
sequence part is displayed, this key changes the
sequence number to that of the part to the left. If
there is no part to the left, the sequence number is
changed to that of the lower right part. If the
sequence number of the lower left part is specified,
this key changes the sequence number to that of the
upper right part again.
D. [ ] (Rightward cursor
movement):
If the part for the specified sequence is not
displayed, this key changes the sequence number
to that of the upper right part. If the specified
sequence part is displayed, this key changes the
sequence number to that of the part to the right. If
there is no part to the right, the sequence number is
changed to that of the upper left part. If the
sequence number of the top right part is specified,
this key changes the sequence number to that of the
bottom left part.
E. [Horizontal scroll box]: Scrolls through the modeling display area in the
horizontal direction. A drag-and-drop can be
performed to scroll to a desired position.
F. [Horizontal scroll left arrow]: Scrolls through the modeling display area in 1mm
units in the left horizontal direction.
G. [Horizontal scroll gray
pattern]:
Scrolls through the modeling display area in the
horizontal direction in 1-screen units.
H. [Horizontal scroll right arrow]: Scrolls through the modeling display area in 1mm
units in the right horizontal direction.
I. [Vertical scroll box]: Scrolls through the modeling display area in the
vertical. A drag-and-drop can be performed to scroll
to a desired position.
J. [Vertical scroll up arrow]: Scrolls through the modeling display area in 1mm
units in the upward vertical direction.
K. [Vertical scroll gray
pattern]:Scrolls through the
modeling display area in the
vertical direction in 1-screen
units.
L. [Vertical scroll down arrow]: Scrolls through the modeling display area in 1mm
units in the downward vertical direction.
M. [ZOOM +]: Zooms in on the modeling object.
N. [ZOOM -]: Zooms out from the modeling object.

3.Machine System SYS-CP842-1.1E
88 CP-842E / CP-842ME System Reference
Specifying A Sequence
The vicinity of the specified sequence part can be displayed by using the cursor movement
buttons, by touching the screen directly, by using the horizontal scrollbar, or by using the
zoom buttons. After displaying the part vicinity, the specified sequence part can be
displayed by using cursor movement buttons or by touching the screen directly. The
specified part displays in red.
O. [Close]: Returns to either the simulation or the test
placement screen (returns to the screen from which
this screen was accessed).
SYS-CP842-1.1E 3.Machine System
CP-842E / CP-842ME System Reference 89
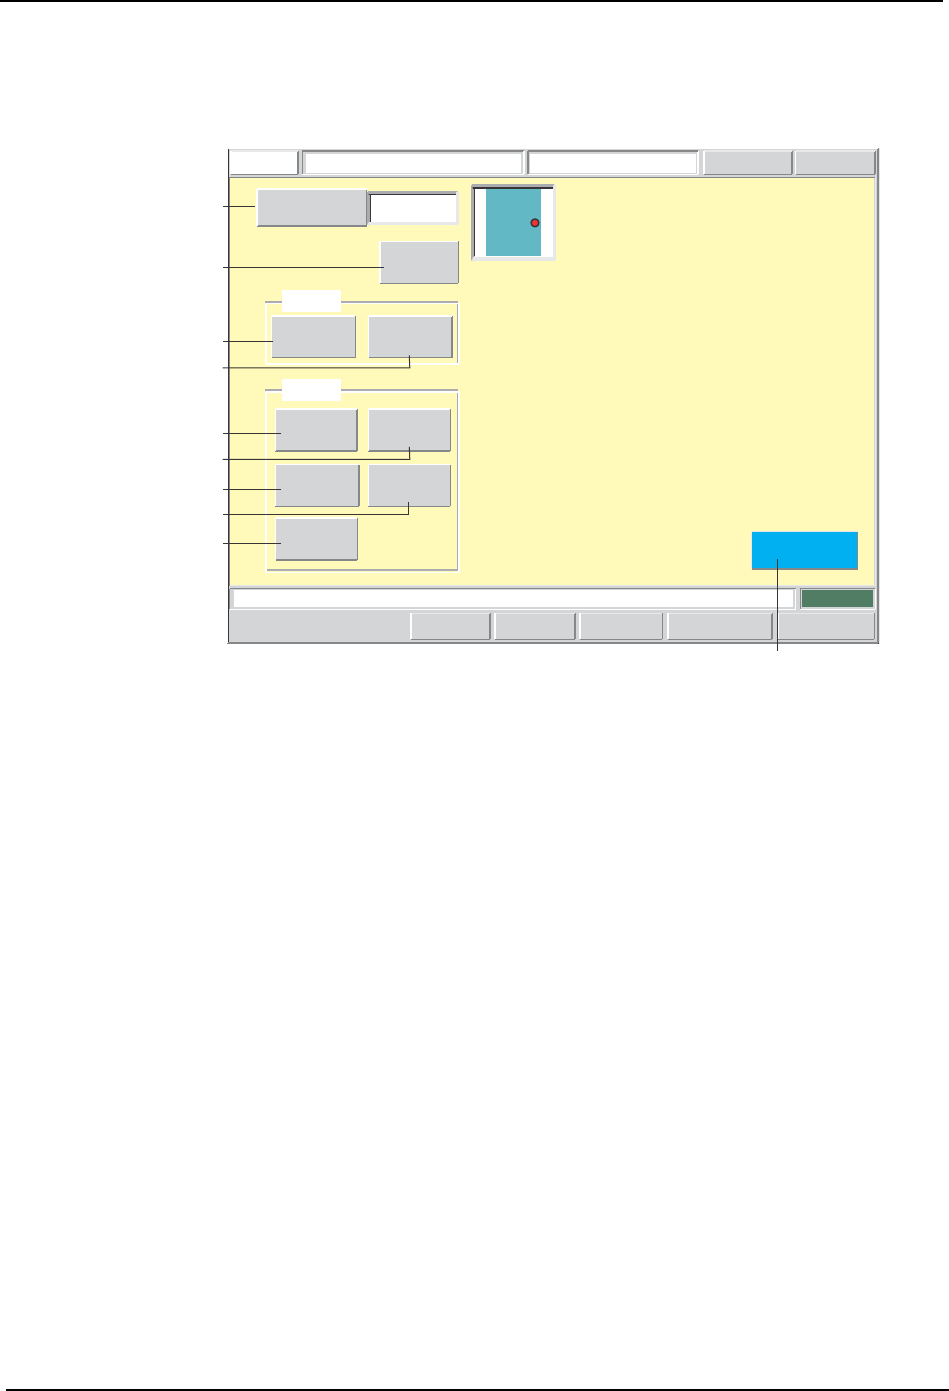
Production Program Editing Screen
Production programs can be edited from this screen.
Screen Button Explanations
Press the START button.
FUJI
Error
Operator
JOG:X Y CAM
Servo CountGEMCCD Monitor
Production Program EditorFUJI_CP7_2001
Front
Close
1
Sequence Number
Pickup
Sequence
Body
Lead
Element
Vision
BS Mark
F Mark
Mark
Set
Set Switch
CP7S2012E
A
C
D
F
B
E
H
G
I
J
A. [Sequence No.]: Switches to the sequence search screen.
B. [Sequence]: Switches to the sequence data editing screen.
C. [Fiducial]: Switches to the F-mark data editing screen.
D. [Block Skip]: Switches to the BS-mark data editing screen.
E. [Body]: Switches to the body data editing screen.
F. [Lead]: Switches to the lead data editing screen.
G. [Element]: Switches to the element data editing screen.
H. [Vision Type]: Switches to the vision type editing screen.
I. [Pickup]: Switches to the pickup data editing screen.
J. [Close]: Returns to either the simulation or the test placement screen
(returns to the screen from which this screen was accessed).