FlexTRAK 2MB Material Handler Addendum Rev 05.pdf - 第78页
FlexTRAK Series 2MB Mater ial Handler Adden dum Tour of HMI Softw are for the Material Handler 5-12 © 2023 Nordson Corporation Control Description AXIS SPEEDS Z SPEED Displays the current spe ed of the Z-axis. Y SPEED Di…
FlexTRAK Series 2MB Material Handler Addendum Tour of HMI Software for the Material Handler
© 2023 Nordson Corporation 5-11
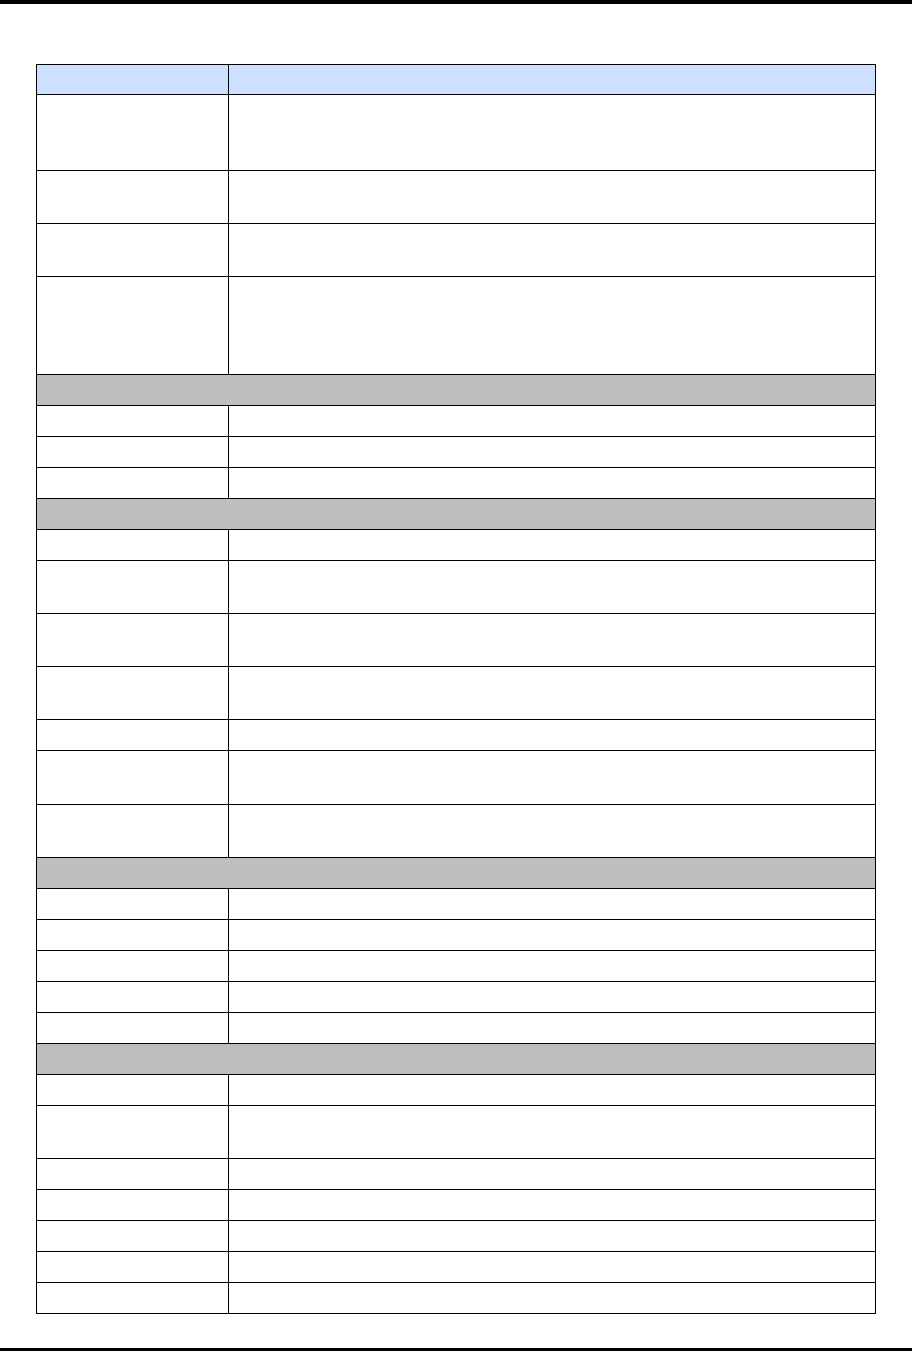
Table 5-8 Axis Status Screen Controls and Indicators
Control Description
TEACH
This button places the system into a teaching mode where adjustments
to each of the five axis positions can be taught and saved, see 5.5.1.1
Teach Pad.
SEQUENCE
STATUS
Click the SEQUENCE button to view the current PLC status of the
conveyor, shuttler, and chamber, see 5.5.1.2 Sequence Status.
SHUTTLE MOVE
Click the SHUTTLE MOVE button to access the manual commands to
manipulate the shuttler, see 5.5.1.3 Shuttler Move.
PCM CONTROL
Click the PCM CONTROL button to view the Process Cycle Mode dialog
box which is used to simulate the presence of a material handler for
testing and troubleshooting purposes, see 5.5.1.4 Process Cycle Mode
(PCM) Control.
POSITION
TOP Indicates the upper gripper position along the Y- and Z- axes.
BOTTOM Indicates the lower gripper position along the Y- and Z- axes.
CONVEYOR Indicates the conveyor position along the Y-axis.
TOP AXES
Z TOP READ Displays the current Z-axis position of the upper gripper.
Z TOP @ UP
Displays the teachable Z-axis position of the upper gripper at the up
(swap) position.
Z TOP @ CONV
Displays the teachable Z-axis position of the upper gripper at the
conveyor.
Z TOP @ CHAMB
Displays the teachable Z-axis position of the upper gripper at the
chamber.
Y TOP READ Displays the current Y-axis position of the upper gripper.
Y TOP @ CONV
Displays the teachable Y-axis position of the upper gripper at the
conveyor.
Y TOP @ CHAMB
Displays the teachable Y-axis position of the upper gripper at the
chamber.
CONVEYOR AXIS
CONV AXIS READ Displays the current axis position of the conveyor.
CONV @ GRIP Displays the teachable axis position of the conveyor at the gripper.
CONV @ CONVEY Displays the teachable axis position of the conveyor at the conveyor.
CONV @ LANE1 Displays the teachable axis position of the conveyor at Lane 1.
CONV @ LANE2 Displays the teachable axis position of the conveyor at Lane 2.
BOTTOM AXES
Z BOT READ Displays the current Z-axis position of the bottom gripper.
Z BOT @ UP
Displays the teachable Z-axis position of the bottom gripper at the up
(swap) position.
Z BOT @ CONV Displays the Z-axis position of the bottom gripper at the conveyor.
Z BOT @ CHAMB Displays the Z-axis position of the bottom gripper at the chamber.
Y BOT READ Displays the current Y-axis position of the bottom gripper.
Y BOT @ CONV Displays the Y-axis position of the bottom gripper at the conveyor.
Y BOT @ CHAMB Displays the Y-axis position of the bottom gripper at the chamber.
FlexTRAK Series 2MB Material Handler Addendum Tour of HMI Software for the Material Handler
5-12 © 2023 Nordson Corporation
Control Description
AXIS SPEEDS
Z SPEED Displays the current speed of the Z-axis.
Y SPEED Displays the current speed of the Y-axis.
CONV SPEED Displays the current speed of the conveyor.
INTERLOCK
BYPASS; SLOW
SPEED MODE
This LED indicates Bypass mode is active. The LED is green when the
sensor is active.
?
NOTE
the axis speeds have all
been reset to 25mm/sec.
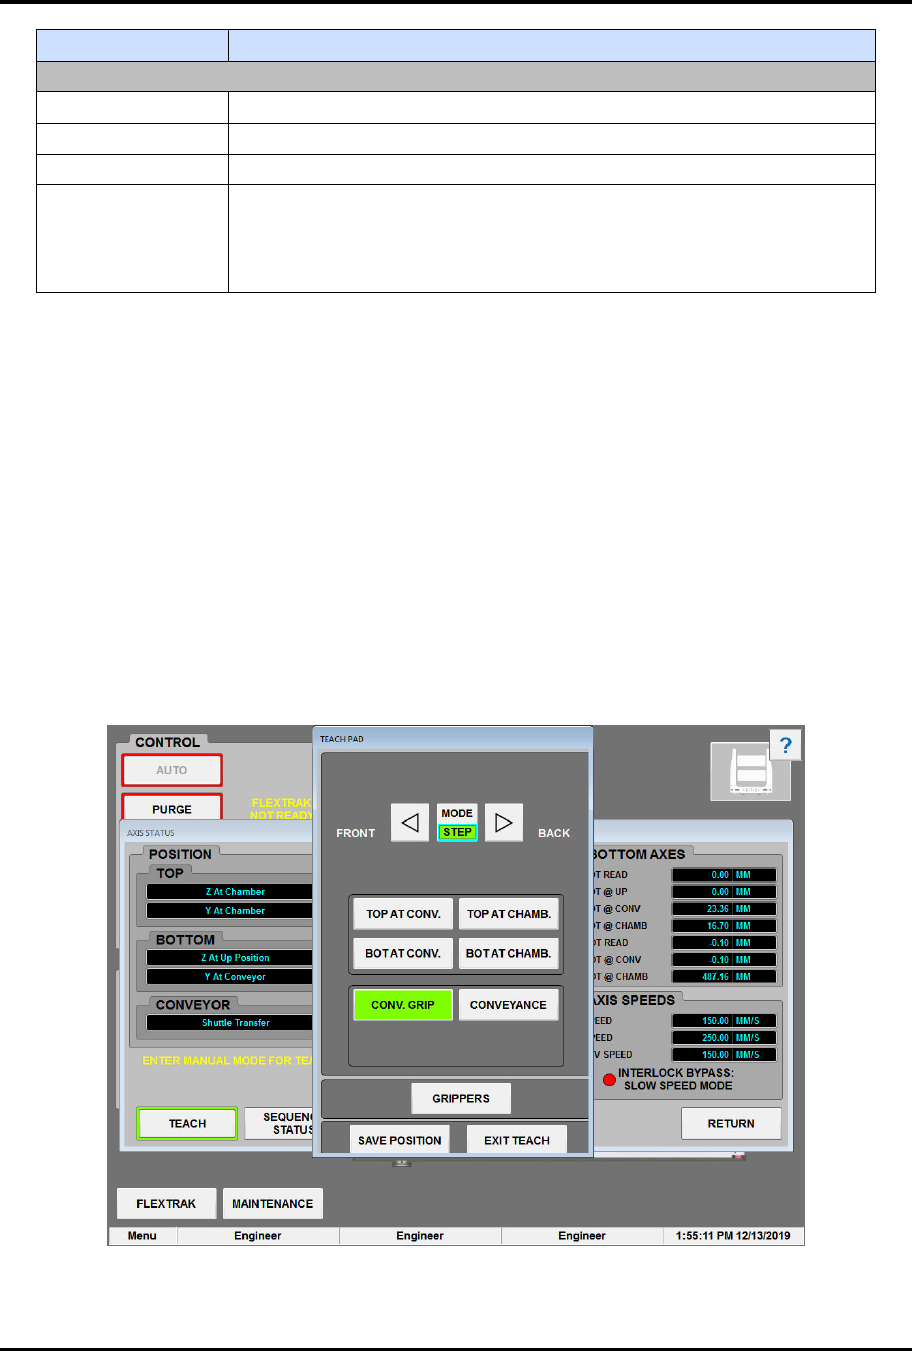
5.5.1.1 Teach Pad
The Teach Pad screen is used to teach the axis positions on the shuttler (Figure 5-7).
To access the teach pad:
1. Touch the MAINTENANCE button on the MH Overview screen to access maintenance
commands.
„ The Maintenance Master screen opens (Figure 5-5).
2. Touch the SHUTTLER button.
„ The Axis Status screen opens (Figure 5-6).
3. Touch the TEACH button.
„ The Teach Pad screen opens (Figure 5-7). Teach Pad commands are described in
Table 5-9, see 7.1 Teaching MH Axis Position.
Figure 5-7 Teach Pad Screen
FlexTRAK Series 2MB Material Handler Addendum Tour of HMI Software for the Material Handler
© 2023 Nordson Corporation 5-13
Table 5-9 Teach Pad Screen Controls and Indicators
Control Description
MODE
Touch the MODE button to select the mode to control the speed of the
drive being taught. There are two modes: STEP and JOG. The green
highlighted text indicates which mode is active. Press once or hold down a
directional arrow button to move the assembly in the desired direction.
FRONT UP DOWN BACK
STEP: equals .05 mm per touch.
FRONT UP DOWN BACK
JOG: equals 5 mm per sec.
TOP AT CONV.
Touch to teach the top gripper at the conveyor to pick or place process
carriers.
BOT AT CONV.
Touch to teach the bottom gripper at the conveyor to pick or place process
carriers.
TOP AT CHAMB.
Touch to teach the top gripper at the chamber to pick or place process
carriers.
BOT AT
CHAMB.
Touch to teach the bottom gripper at the chamber to pick or place process
carriers.
CONV. GRIP
Touch to teach the position of conveyor Lane 2 so that a gripper can pick
or place process carriers.
CONVEYANCE
Touch to teach the position of conveyor Lane 2 so that the machine can
accept process carriers from an upstream machine.
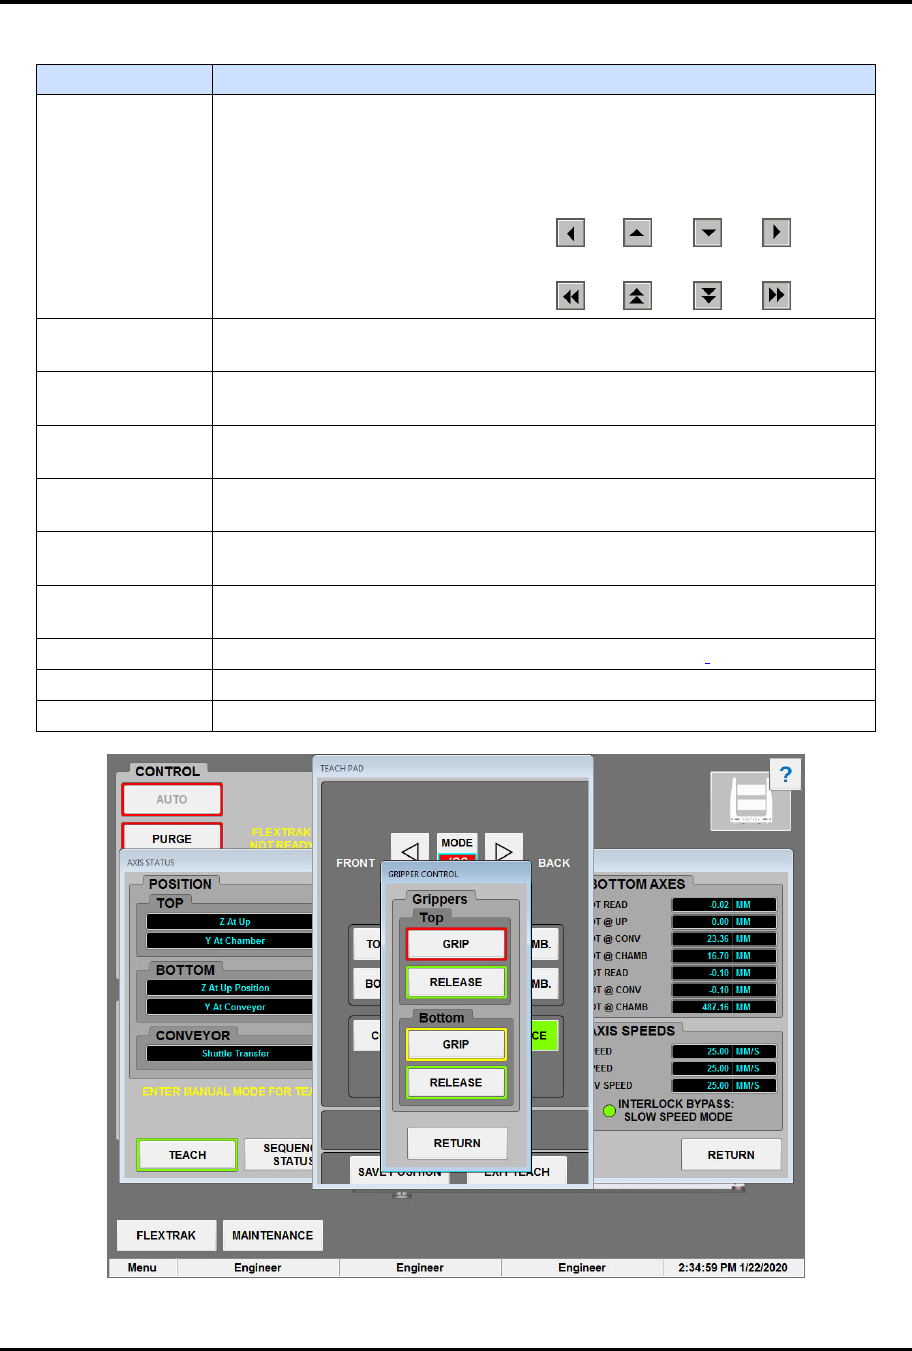
GRIPPERS Touch to gain access to the gripper controls (Figure 5-8).
SAVE POSITION Touch to save new teach points and overwrite existing values.
EXIT TEACH Touch the EXIT TEACH button to exit the teach mode.
Figure 5-8 Gripper Control Screen