3OM-1050-002.pdf - 第147页
2.3.7 Property of Component ID (1) Select the component ID to view its property . The selected component ID turns blue, indicating that it is selected. (2) Press the [Property ...] button. The "Property" window…
(3) Enter a link ID to be created in the "New Component ID After
Linking" text box and press the [OK] button.
A new link ID is created.
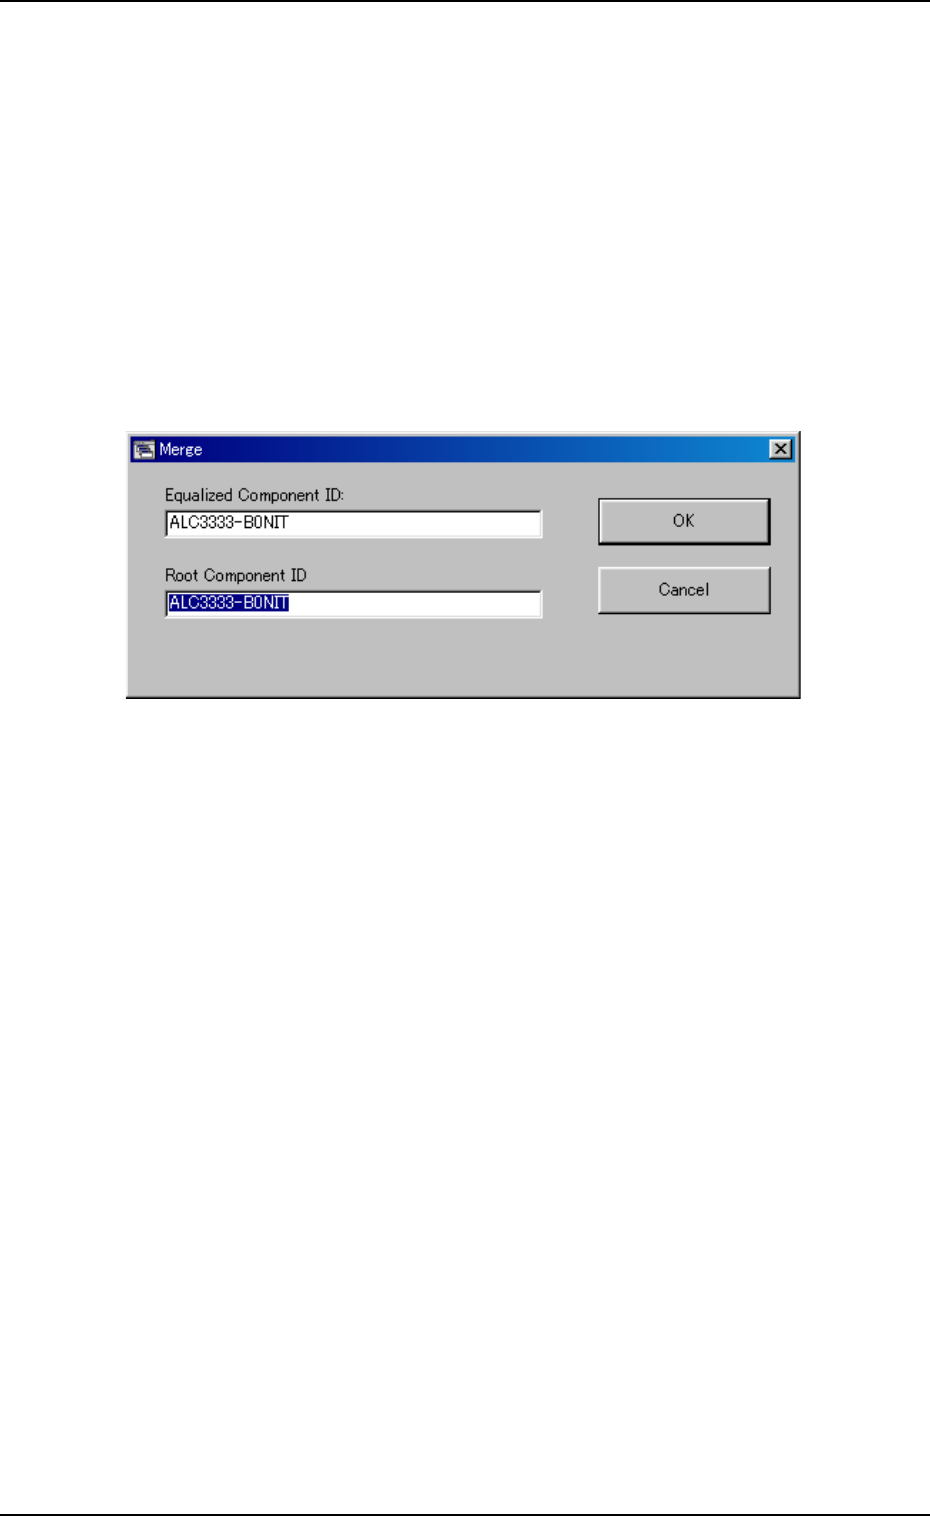
2.3.6 Merging Component IDs
(1) Select the component ID to be merged.
The selected component ID turns blue, indicating that it is se-
lected.
(2) Press the [Merge...] button.
The "Merge" dialog box opens.
Fig. 3C5-5
(3) Enter a component ID to be linked in the "Root Component ID"
text box and press the [OK] button.
The component ID is merged.
2.3 Basic Usage of the "Selection of component ID" Window
0207-004 3-10 AFO01EDTP
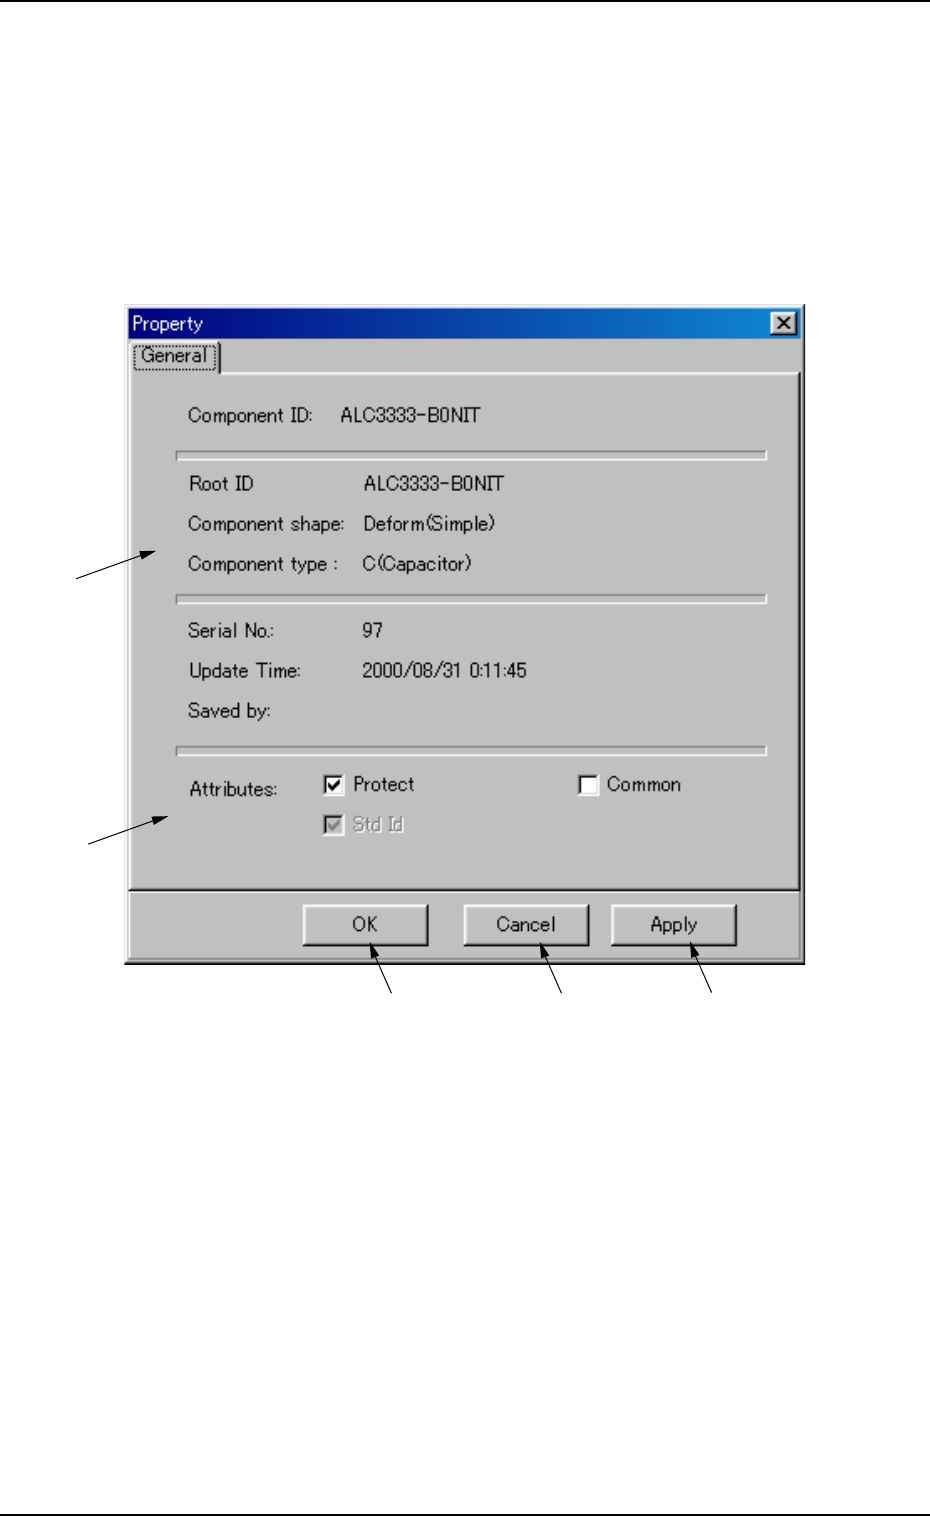
2.3.7 Property of Component ID
(1) Select the component ID to view its property.
The selected component ID turns blue, indicating that it is selected.
(2) Press the [Property...] button.
The "Property" window appears.
Fig. 3C6 "Property" Window
• Composition of "Property" Window
*1 Component ID, Root ID, Component shape, Component type,
Serial No., Update Time, Saved by
The property of the component ID is displayed.
*2 Protect, Common, Std Id
The attributes of the component ID are displayed.
The check boxes enable the operator to change the corresponding
attributes.
0207-004 3-11
AFO01EDTP
*1
*2
*3
*4
*5
2.3 Basic Usage of the "Selection of component ID" Window

01 10-003 3-12 AFO01EDTP
Check Boxes
: The check box is marked, indicating that the function is used or
enabled.
: The check box is not marked, indicating that the function is not
used or disabled.
Turning on or off a check box
When is pressed, it changes to .
When
is pressed, it changes to .
• "Protect"
When this check box is turned on (checked), this component ID
is specified as "Protected", making it impossible to edit the data
of the component ID.
• "Common"
When this check box is turned on (checked), this component ID is
registered as "Common".
• "Std Id"
When this check box is turned on (checked), this component ID is
specified as "Standard ID".
*3 [OK] Button
When this button is pressed, the changed attributes are applied if
any and the "Property" sheet closes.
*4 [Cancel] Button
The changed attributes are not applied and the "Property" sheet
closes.
*5 [Apply] Button
The changed attributes are applied.
2.3 Basic Usage of the "Selection of component ID" Window