Dek-265GSX-User-Manual.pdf.pdf - 第138页
The menu bar changes to the following: The message ‘Select a directory to become the current location for Process Program files.’ is displayed in the message bar. Use the Up and Down keys to scroll up and down the highli…
PREFERENCES
Data File Locations Allows the user to create individual directories for product and data files. Once
created the individual directories become the current locations for all future
product and data files.
Before changing the product anddata filelocations, usethe copydata functionin
House Keeping, to copy any existing product and data files to floppy disk. After
changing the product and data file locations, use the copy data function in House
Keeping, to copy any existing product and data files from the floppy disk to the
new directories.
NOTE
When Load Data is selected from the setup menu only the files in the current
location are displayed.
The default location is:
D:\Program Files\DEK\MachineControl\Printer
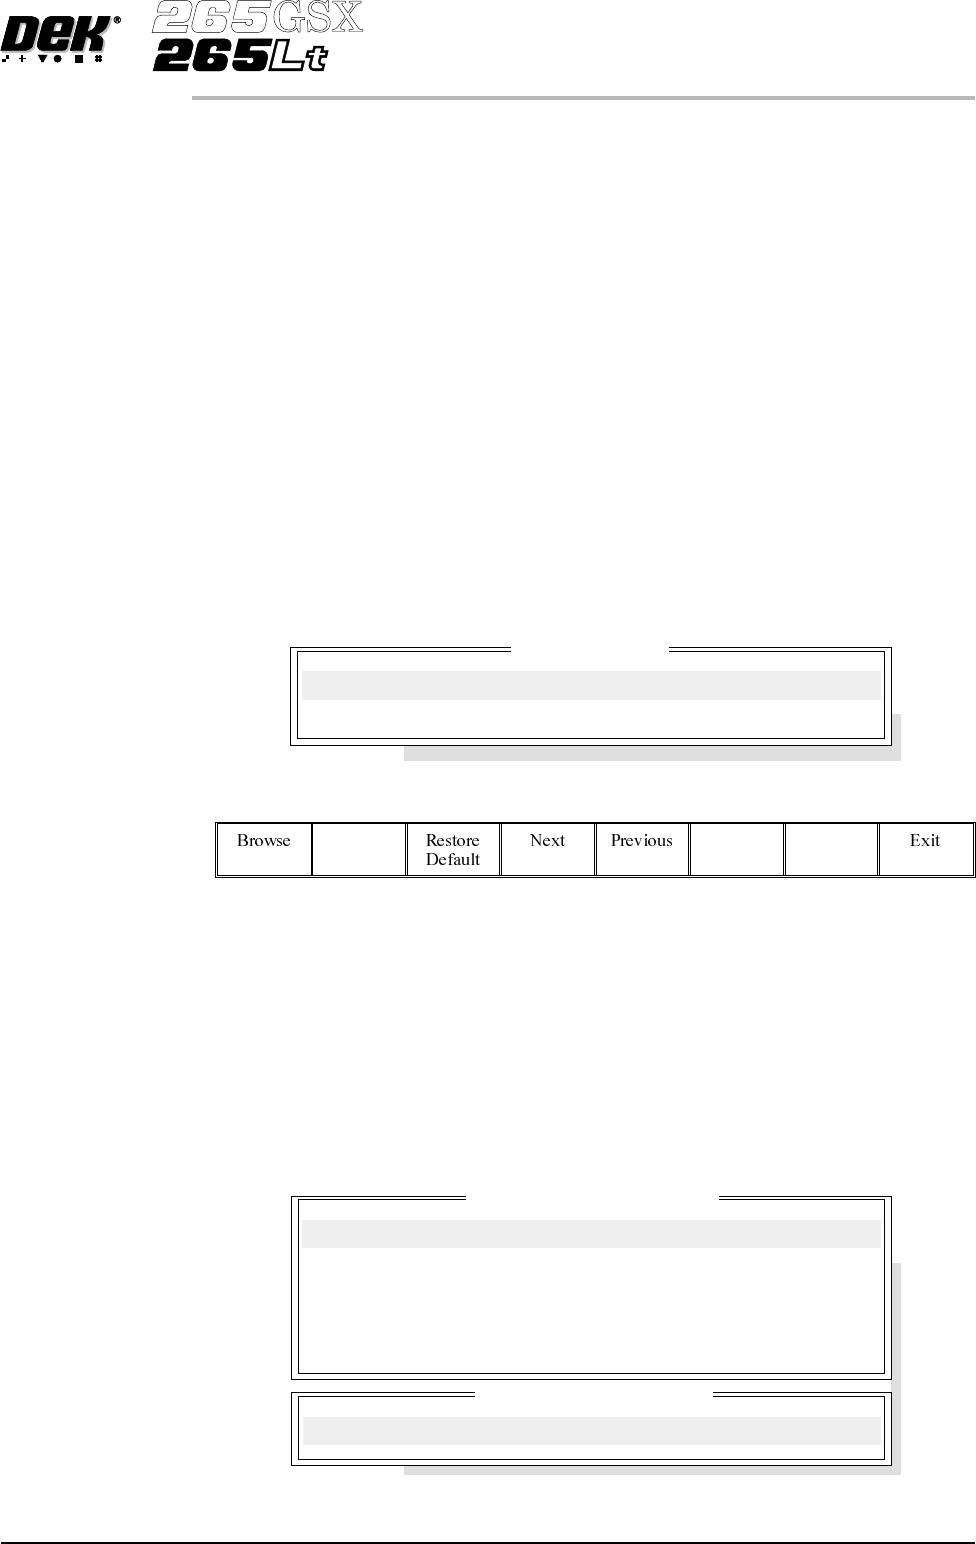
Selecting the Incr. or Decr. key with data file locations highlighted opens the
following window:
The menu bar changes to the following:
NOTE
Restore default is only available while the highlighted directory is not already at
the default location.
Use the Next and Previous keys to move between the different directories.
Use the Exit key to close the File Locations window.
Use the Restore Default key to change the path, for files associated with the
highlighted directory, from the current location to the default location.
Selecting the Browse key opens the following window:
Software Version 6 User Manual 2.3
SET PREFERENCES
PREFERENCES
File Locations
Product Directory:
Data Directory:
Directory Structure On Drive
..
Current Directory Location
D:\Program Files\DEK\MachineControl\Printer
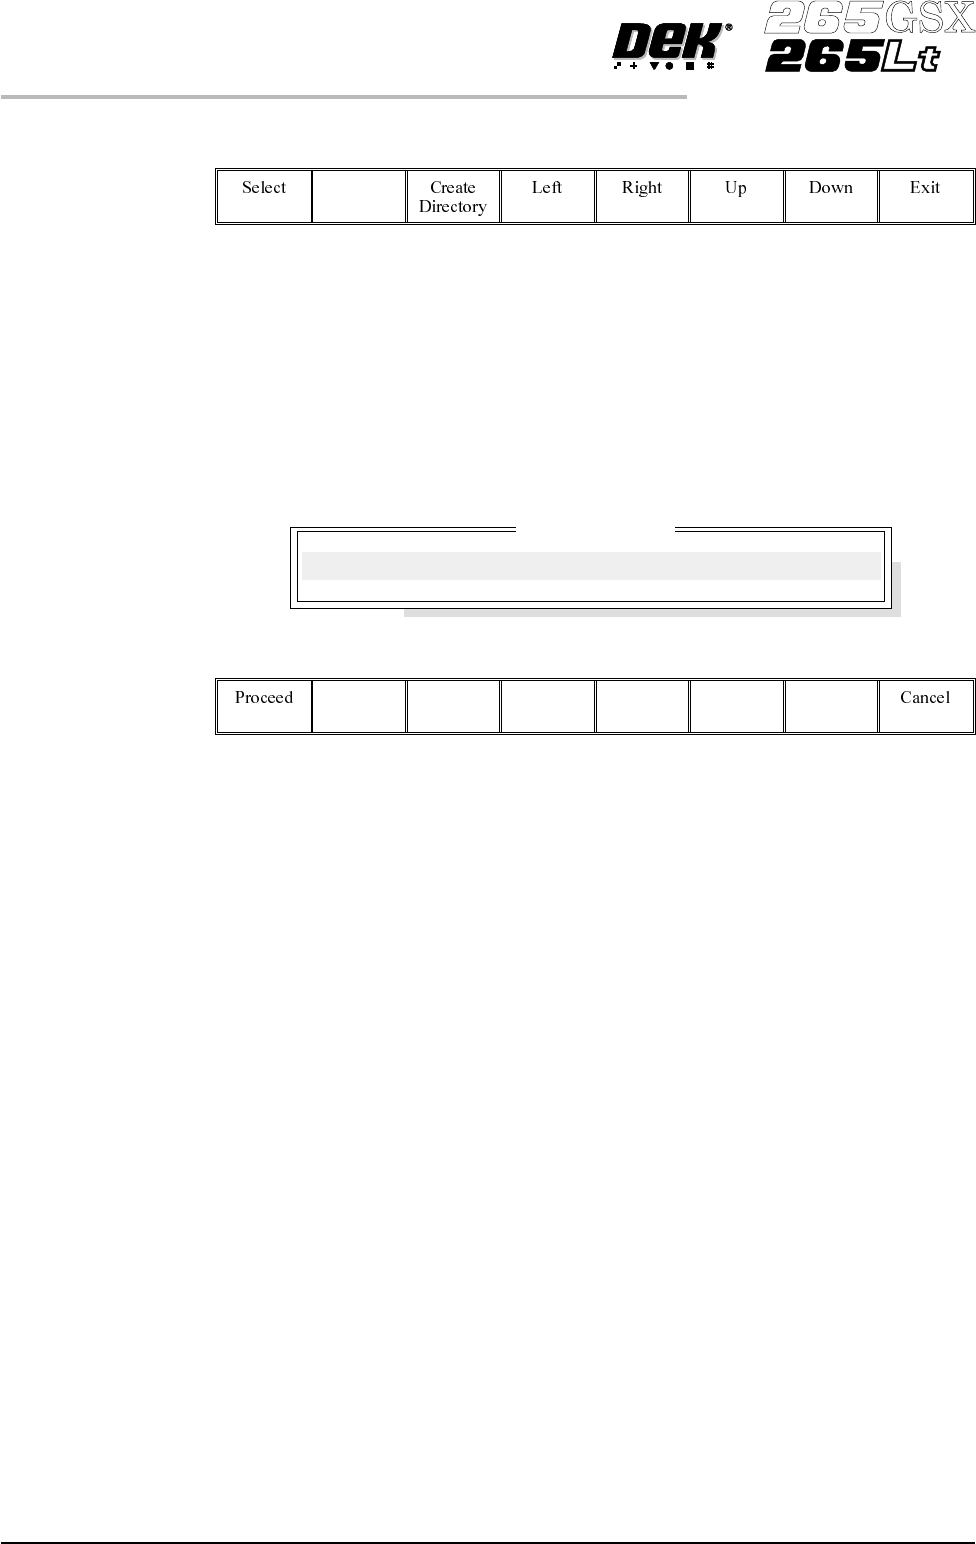
The menu bar changes to the following:
The message ‘Select a directory to become the current location for Process
Program files.’ is displayed in the message bar.
Use the Up and Down keys to scroll up and down the highlighted column.
Use the Left and Right keys to move between columns.
Use the Exit key to close the Directory Structure On Drive window.
Selecting the Create Directory key opens the following window:
The menu bar changes to the following:
Use the keyboard to type the name of the new directory.
Select the Proceed key, a new directory is created providing:
• The string entered constitutes a valid name for a directory.
• A file or directory of that name does not already exist.
• The current directory is accessible for writing.
Transport Mode Sets the input and output side of the printer, options are:
Left to Right; Right to Left; Right to Right, Left to Left, No Transfer.
The default is Left to Right.
Machine Units Sets the unit of measurement, options are:
Metric; Imperial units.
The default is Metric.
Upline Protocol Sets the protocol for transferring boards from adjacent machines, options are:
NO FMI; SANYO; SANYO FLOWOUT; SMPI; SMEMA; FUJI; DYNA
(Dynapert); SIEMENS; PANASONIC; TDK; MANUAL; SMEMA2
The default is specified by customers requirements.
2.4 User Manual Software Version 6
SET PREFERENCES
PREFERENCES
Create Directory
New Name:

Downline Protocol Sets the protocol for transferring boards to adjacent machines, options are:
NO FMI; SANYO; SANYO FLOWOUT; SMPI; SMEMA; FUJI; DYNA
(Dynapert); SIEMENS; PANASONIC; TDK; MANUAL; SMEMA2
The default is specified by customers requirements.
Transfer Period Sets a programmable time periodusedbycertaintransfer protocols, options are:
Min 0 sec
Max 99 sec
Increments 1 sec
The default is 20 seconds.
PeriodofTransfer Time - This is the period of time which the machineallows for
a transfer of a board before displaying a ‘Board Transfer Error’ for upline or
downline.
Period of Waiting Time - This is the period of time which the machine allows
when waiting for the upline or downline machine to request a board for transfer
before displaying a message of ‘Waiting for Upline/Downline’.
Selective Print/Pass Sets whether the facility to selective print or pass through a board is to be used,
options are:
Enabled; Disabled
The default is Disabled
This feature is protected by Feature Licence Authentication.
When enabled the identity of the incoming board is checked using a separate
fiducial on the board only, called a Select Mark. If the identity of the board
matches the current product file the board is printed. If the board is different or
cannot be recognized, it is passed through without printing.
Paste Dispense
Position
Sets the position from which paste is dispensed, in relation to the screen image,
options are:
Front; Rear; Auto
The default is Auto.
When exiting Set Preferences after setting option to either Rear or Auto the
following window is displayed:
Software Version 6 User Manual 2.5
SET PREFERENCES
PREFERENCES
Please confirm that there will be no obstruction
when your paste dispenser dispenses paste at the
rear of the image
Paste Dispense Position