Dek-265GSX-User-Manual.pdf.pdf - 第70页
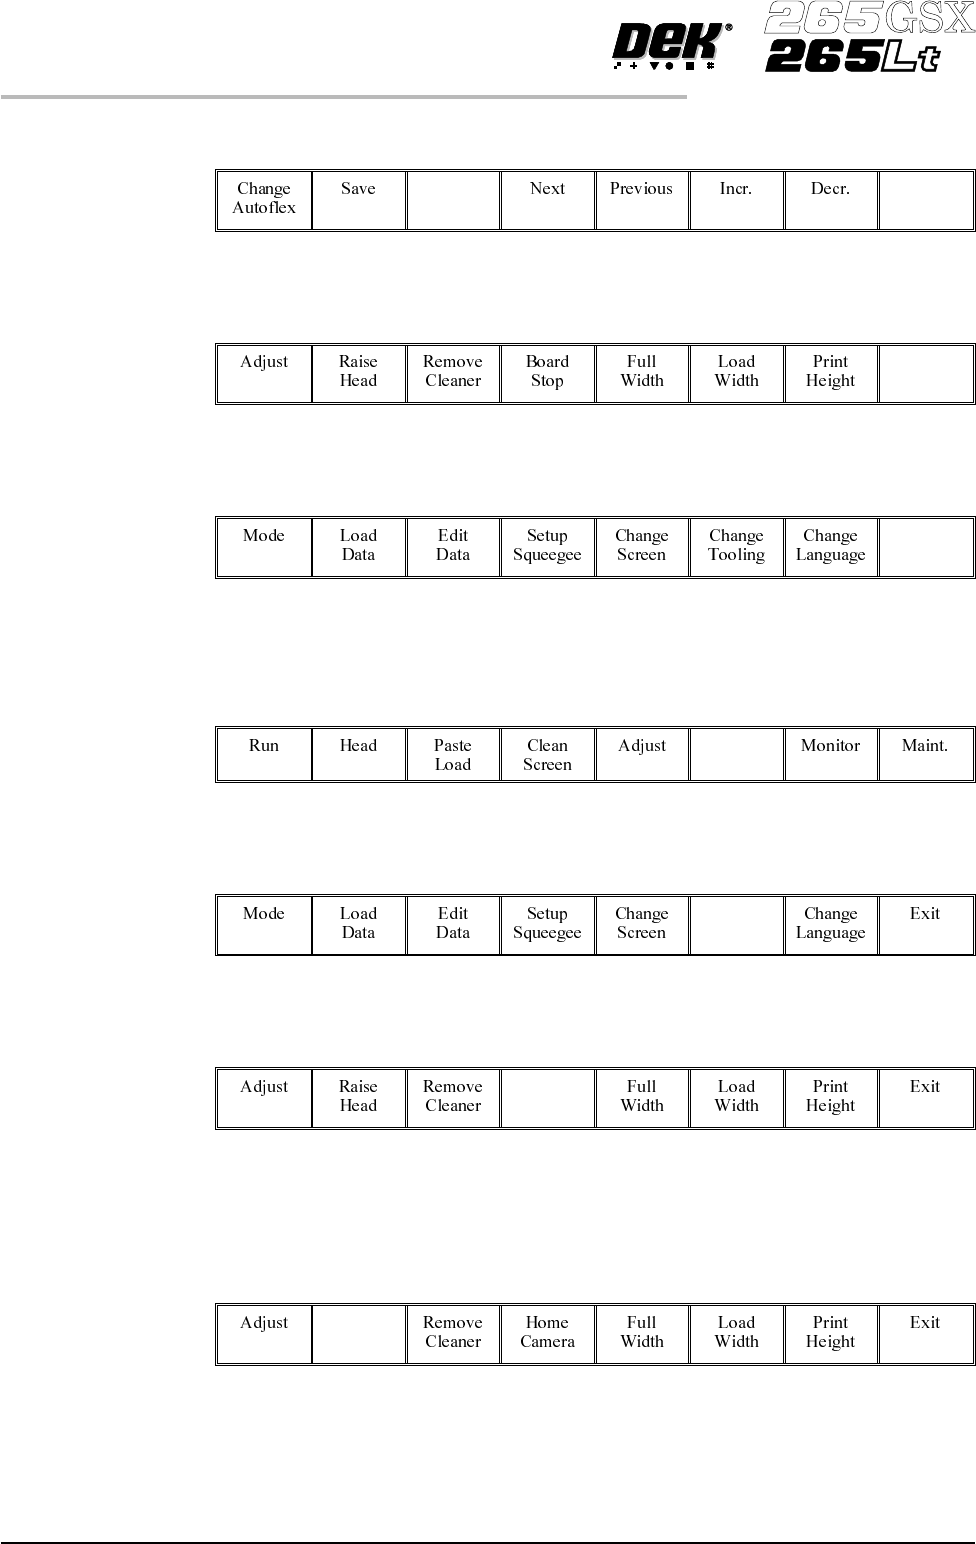
8. Select Exit (F8). Exit 9. Select Exit (F8). Exit 10. Select Exit (F8). Exit The rail moves to the board width and the selected Autoflex pins rise. 11. Select Setup (F6). Setup 12. Select Change Tooling (F6). Change To…
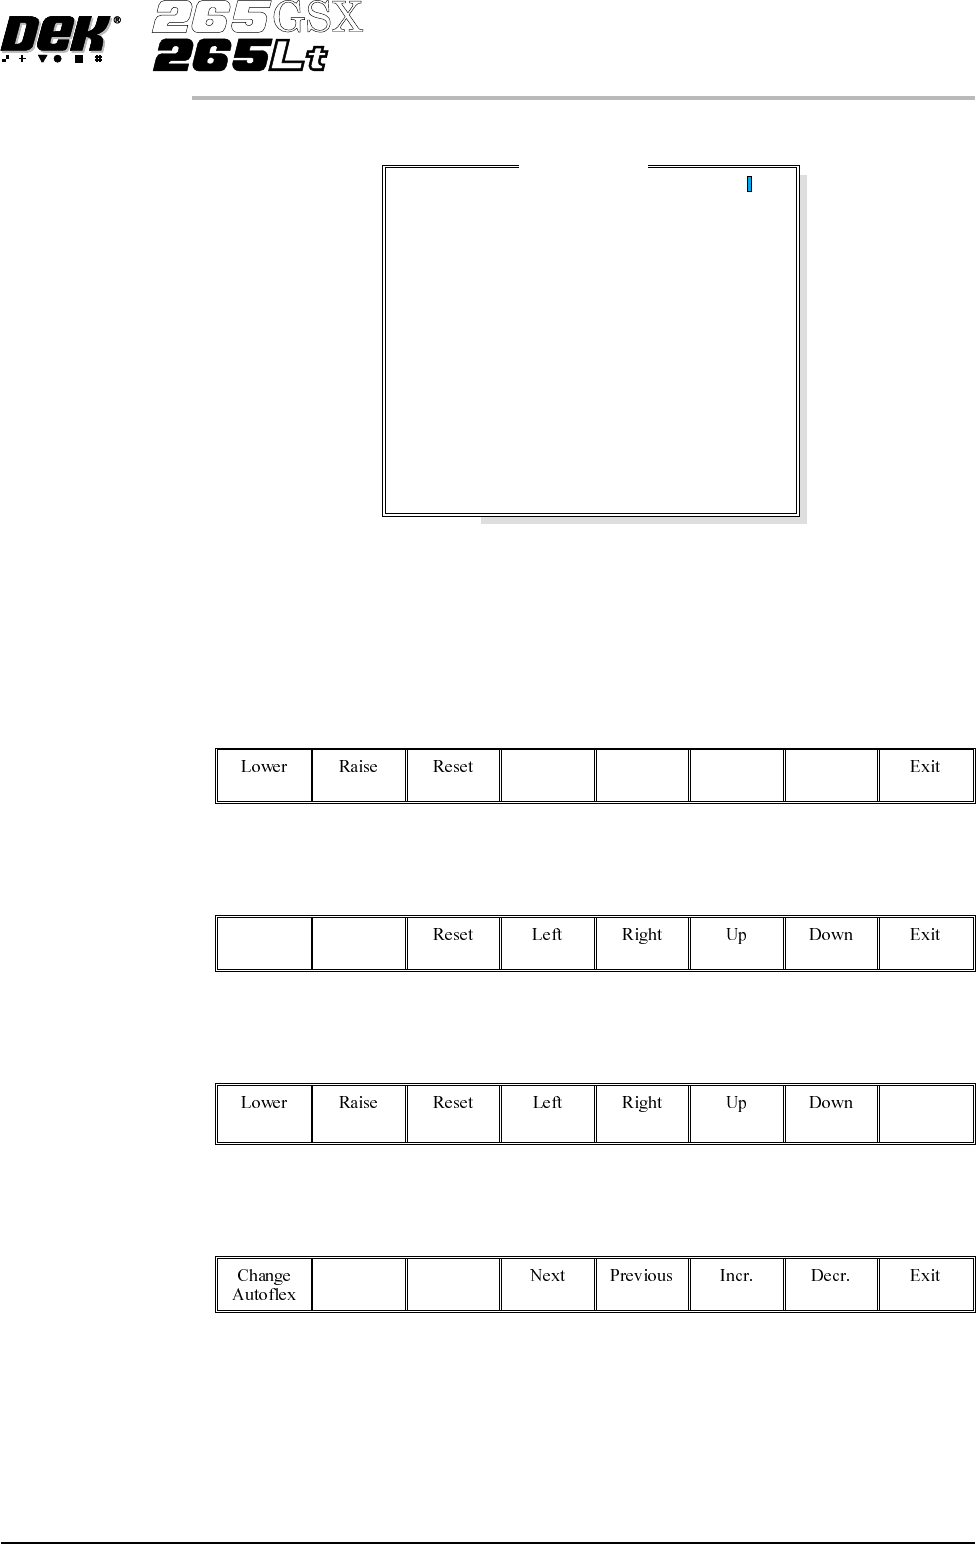
The Autoflex Matrix window is displayed:
The Autoflex pin matrix has already been setup for this product from the board
dimensions.
4.
Use the Left, Right, Up and Down keys (F4 -F7), to select the pin positions
required for editing.
Left Right Up Down
5.
Use the Lower and Raise keys (F1 - F2), to select or deselect the pins.
Lower Raise
6.
Select Exit (F8).
Exit
7.
Select Save (F2).
Save
Software Version 6 User Manual 1.53
MACHINE PROGRAMMING
STAGE 6E
Autof
l
ex Matr
i
x
14
13
12
11
10
9
8
7
6
5
4
3
2
1
A
B
C
D
E
F
G
H
I
J
K
L
M
N
O
---------------
---------------
---------------
---------------
---------------
---------------
---------------
---------------
---------------
---------------
---------------
---------------
---------------
---------------
8.
Select Exit (F8).
Exit
9.
Select Exit (F8).
Exit
10.
Select Exit (F8).
Exit
The rail moves to the board width and the selected Autoflex pins rise.
11.
Select Setup (F6).
Setup
12.
Select Change Tooling (F6).
Change
Tooling
13.
Select Board Stop (F4).
Board
Stop
The camera moves to the board stop position. The board stop on the camera
extends.
14.
Select Raise Head (F2).
Raise
Head
1.54 User Manual Software Version 6
MACHINE PROGRAMMING
STAGE 6E
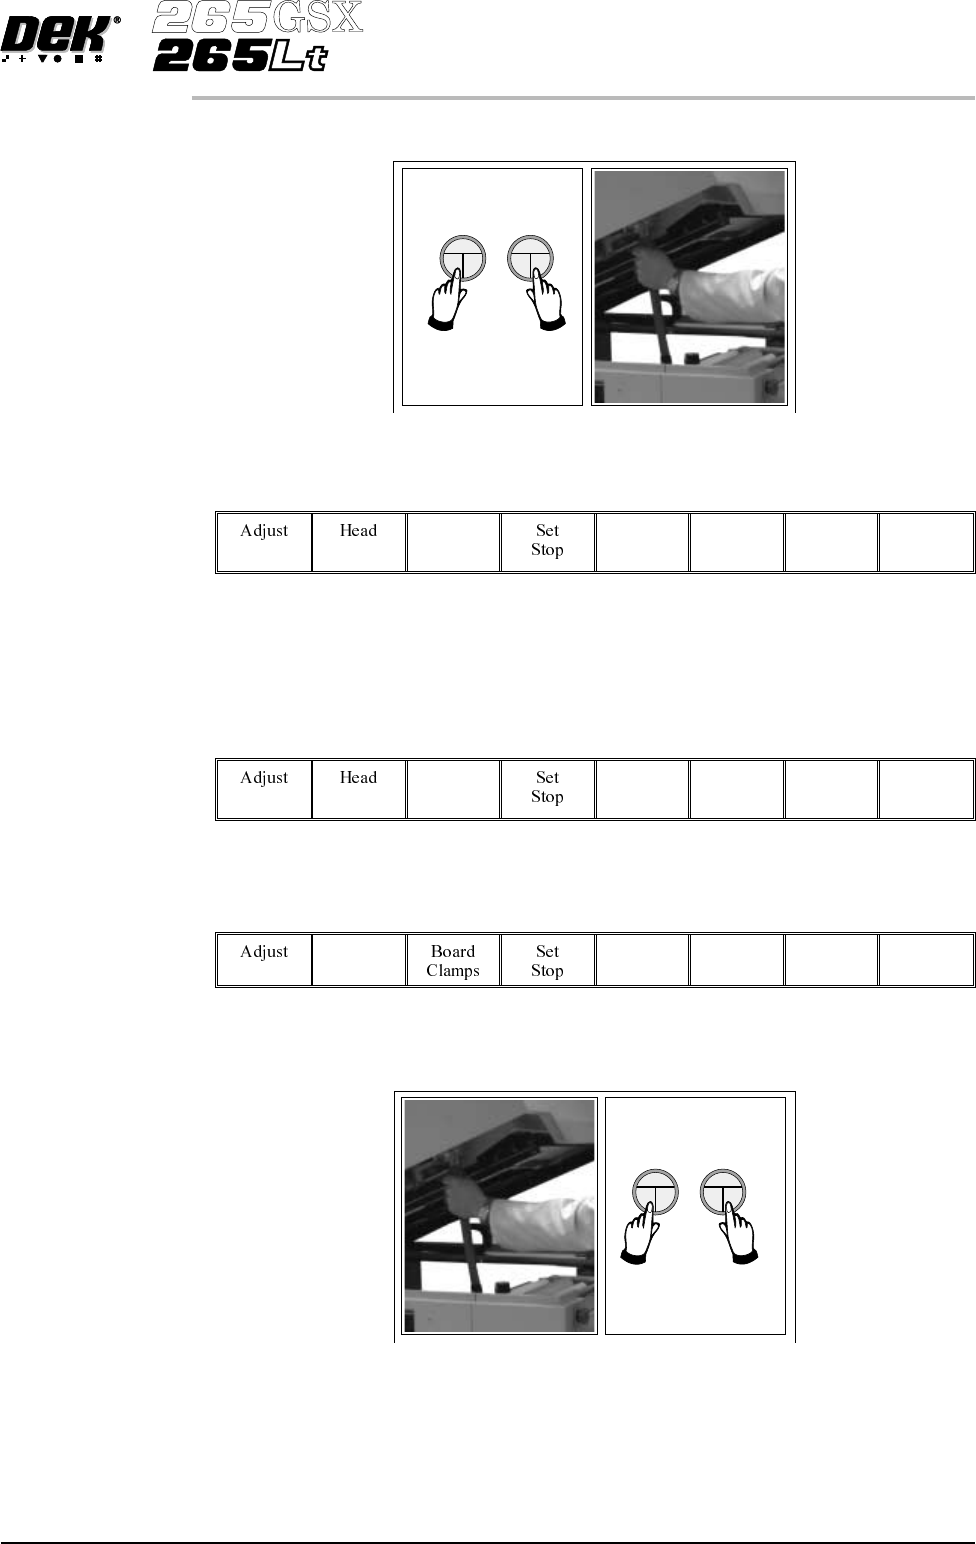
15. Raise the printhead using two button control. Fit the head prop.
16.
Select Board Clamps (F3), to open the clamps.
Board
Clamps
17. Slide a board along the rails to abut the board stop.
18.
Select Board Clamps (F3), to close the clamps.
Board
Clamps
19.
Select Head (F2).
Head
20. Remove the head prop. Lower the printhead using two button control.
Software Version 6 User Manual 1.55
MACHINE PROGRAMMING
STAGE 6E