Dek-265GSX-User-Manual.pdf.pdf - 第56页
13. Raise the printhead using two button control. Fit the head prop. 14. Select Board Clamps (F3), to open the clamps. Board Clamps 15. Slide a board along the rails to abut the board stop. 16. Select Board Clamps (F3), …
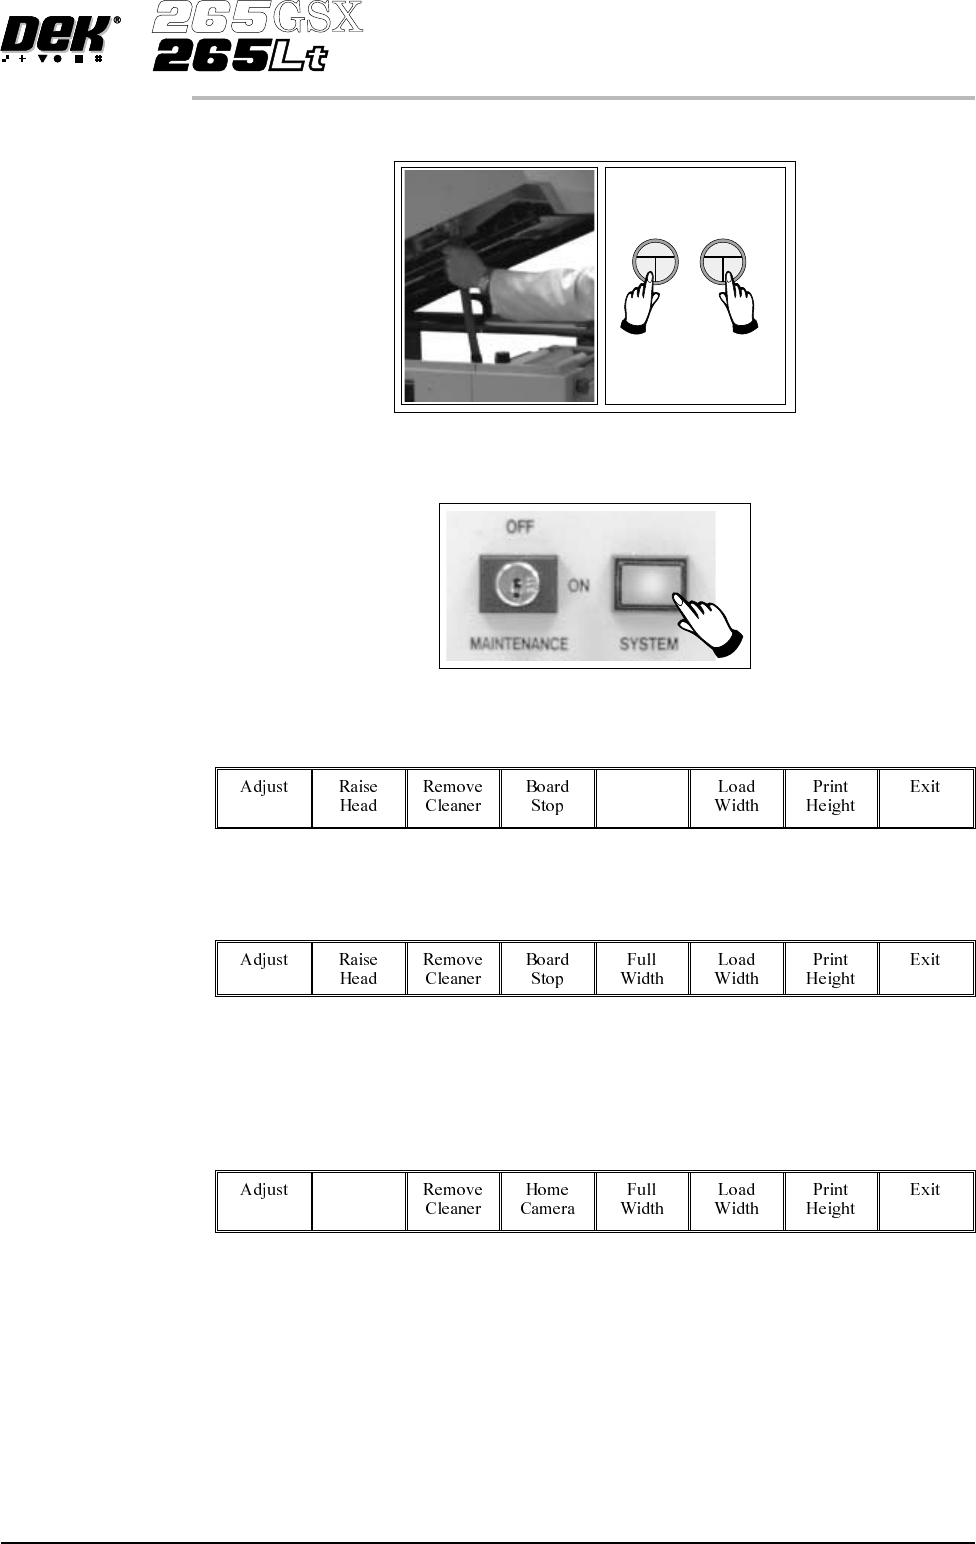
8. Remove the head prop. Lower the printhead using two button control.
9.
Press the System button.
10.
Select Board Width (F5).
Board
Width
11.
Select Board Stop (F4).
The camera moves to the board stop position. The board stop on the camera
extends.
12.
Select Raise Head (F2).
Raise
Head
Software Version 6 User Manual 1.39
MACHINE PROGRAMMING
STAGE 6C
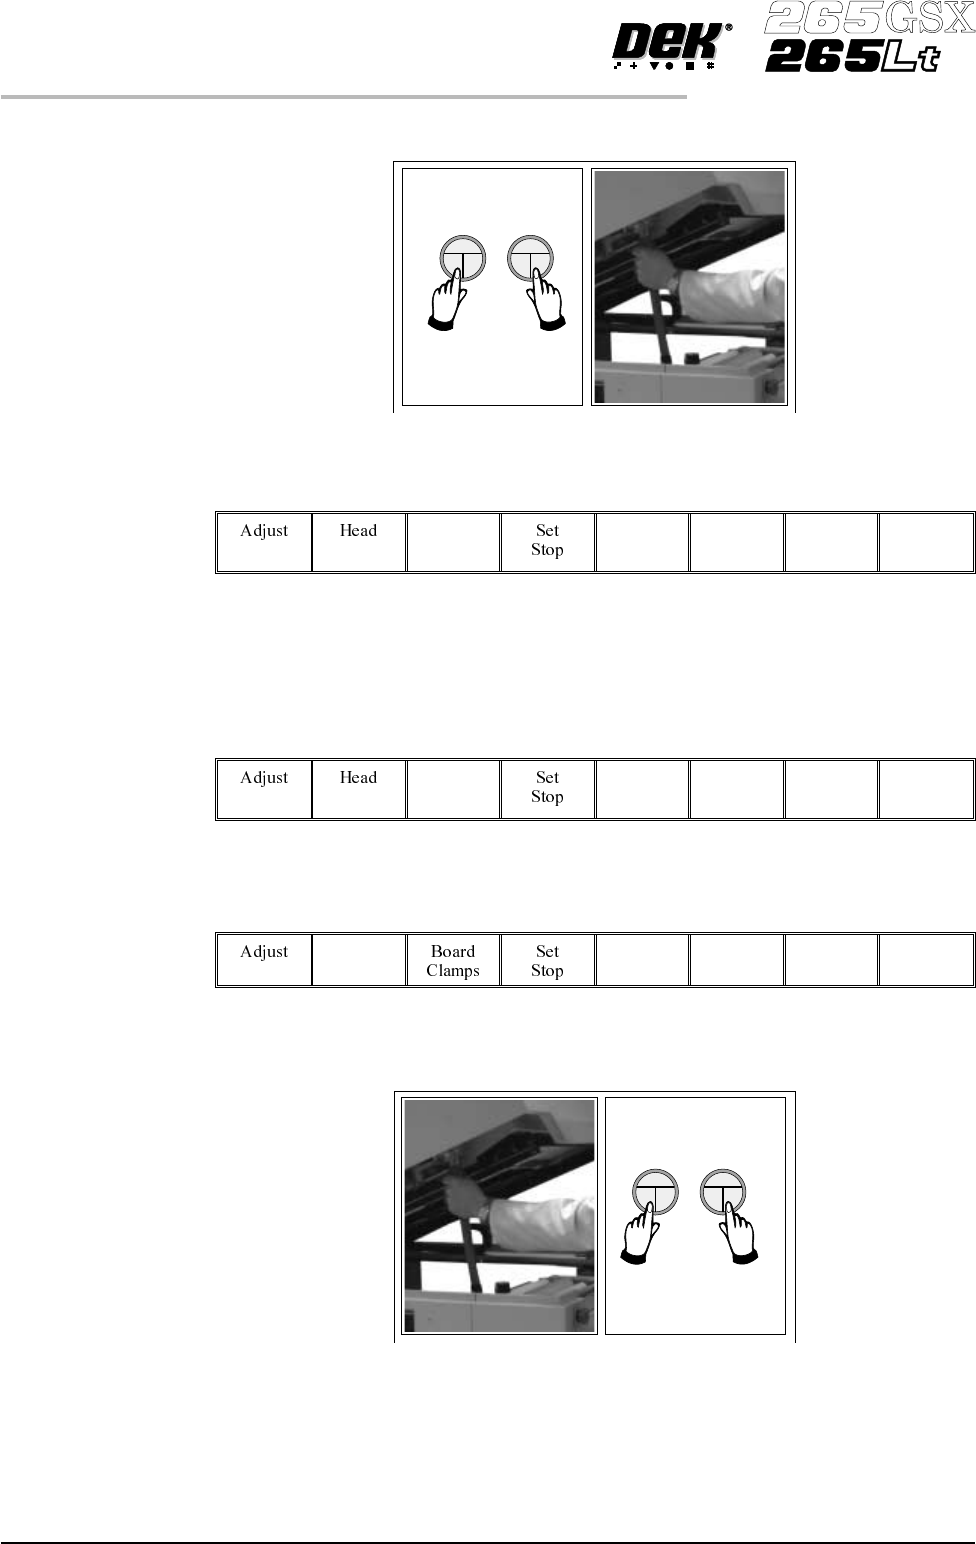
13. Raise the printhead using two button control. Fit the head prop.
14.
Select Board Clamps (F3), to open the clamps.
Board
Clamps
15. Slide a board along the rails to abut the board stop.
16.
Select Board Clamps (F3), to close the clamps.
Board
Clamps
17.
Select Head (F2).
Head
18. Remove the head prop. Lower the printhead using two button control.
1.40 User Manual Software Version 6
MACHINE PROGRAMMING
STAGE 6C
19.
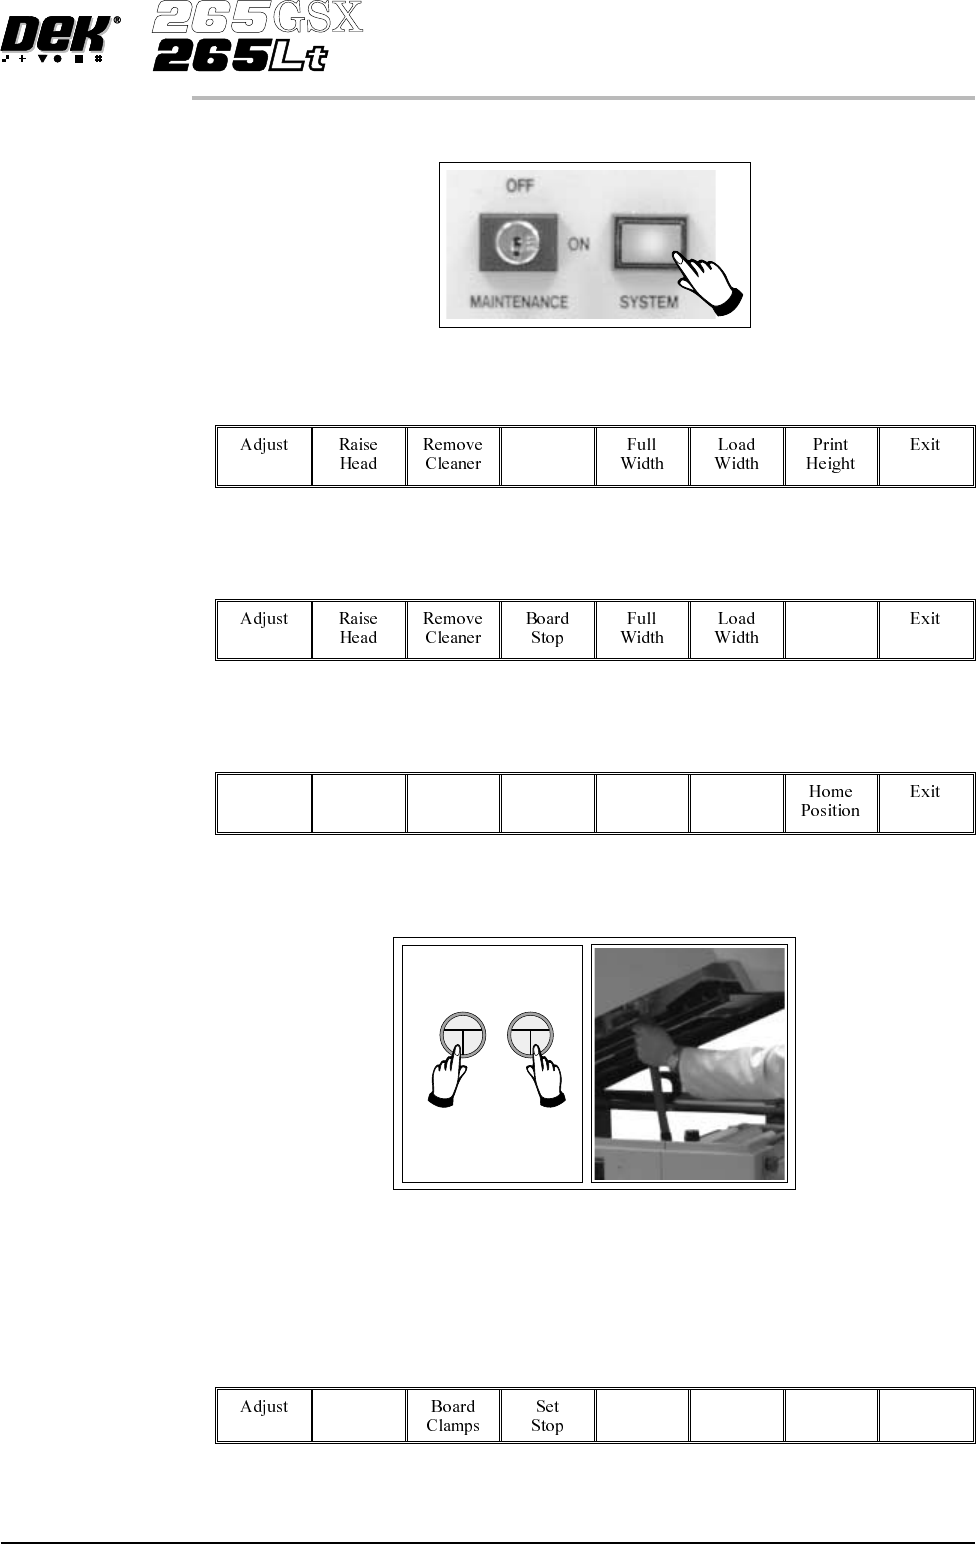
Press the System button.
20.
Select Home Camera (F4).
Home
Camera
21.
Select Print Height (F7).
Print
Height
22.
Select Raise Head (F2).
Raise
Head
23. Raise the printhead using two button control. Fit the head prop.
24. Check that the setup of the tooling is adequate for the board, adjust as
necessary.
25.
Select Head (F2).
Head
Software Version 6 User Manual 1.41
MACHINE PROGRAMMING
STAGE 6C