Dek-265GSX-User-Manual.pdf.pdf - 第209页
Lid Bolt Shut This option displays the operation of the printhead shot bolt located on the front of the machine. Head Prop Stowed This option displays the pit prop stowed status. Left Jog Button This option displays the …
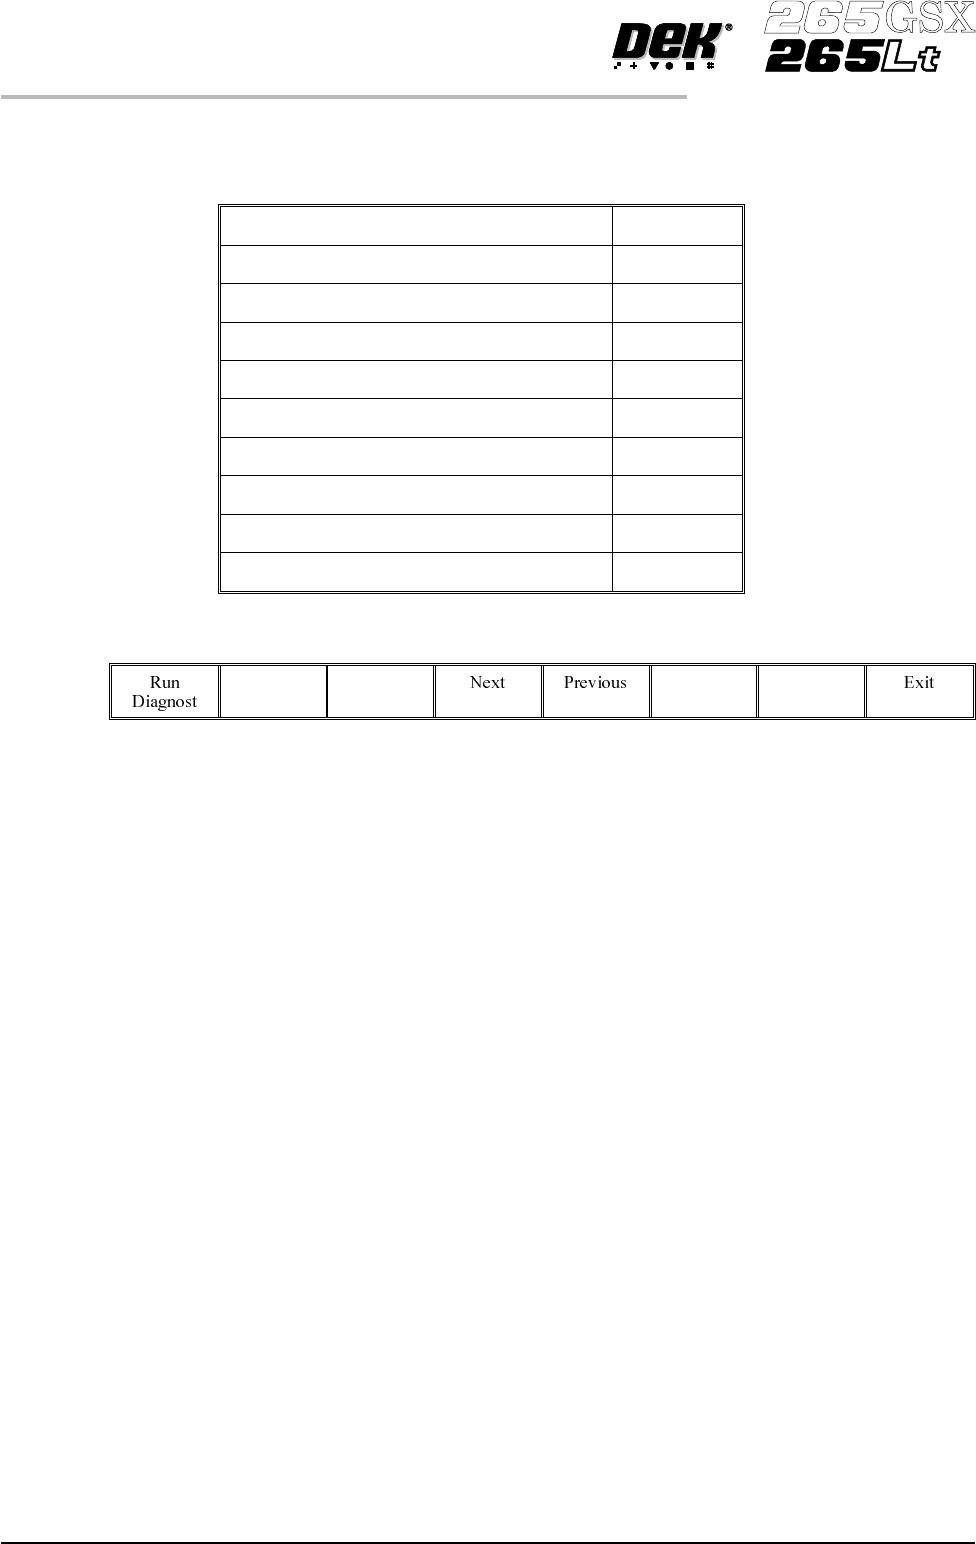
PRINT HEAD The Print Head Diagnostic module contains the following:
Raise Head Under 2 Button Control
Lower Head Under 2 Button Control
Toggle Head Latch on/off
Toggle Lid Bolt on/off
Head Up Sensor on/off
Head Down Sensor on/off
Lid Bolt Shut on/off
Head Prop Stowed on/off
Left Jog Button on/off
Right Jog Button on/off
The menu bar changes to the following:
RunDiagnost activates the diagnostic function, as selected by thehighlightbar.
Next/Previous keys move the highlight bar up and down the list of selectable
diagnostic functions.
Exit returns operation to the module diagnostics page.
Raise Head Under
2 Button Control
Selecting this option allows the print head to be raised using the two button
safety switches located on the front of the machine. These switches must be
operated simultaneously.
Lower Head Under
2 Button Control
Selecting this option allows the print head to be lowered using the two button
safety switches located on the front of the machine. These switches must be
operated simultaneously.
Toggle Head Latch Selecting this option alternately switches the print head magnetic latches on and
off.
Toggle Lid Bolt Selecting this option alternately switches the printhead shot bolt on and off.
Head Up Sensor This option displays the head up sensor status.
Head Down Sensor This option displays the head down sensor status.
5.14 User Manual Software Version 6
DIAGNOSTICS
PRINT HEAD

Lid Bolt Shut This option displays the operation of the printhead shot bolt located on the front
of the machine.
Head Prop Stowed This option displays the pit prop stowed status.
Left Jog Button This option displays the operation of the left button of the two button safety
switches located on the front of the machine.
Right Jog Button This option displays the operation of the right button of the two button safety
switches located on the front of the machine.
Software Version 6 User Manual 5.15
DIAGNOSTICS
PRINT HEAD
PRINT CARRIAGE The Print Carriage diagnostic module contains the following:
The menu bar changes to the following:
RunDiagnost activates the diagnostic function, as selected by thehighlightbar.
Next/Previous keys move the highlight bar up and down the list of selectable
diagnostic functions.
Exit returns operation to the module diagnostics page.
Adjust opens the following window:
The menu bar changes to the following:
Next / Previous keys move the highlight bar up and down the list of diagnostic
parameters.
Incr. / Decr. keys change the value of the selected diagnostic parameter.
Exit returns operation to the print carriage diagnostics page.
NOTE
These parameters are used in diagnostics only and have no affect on the product
board file.
Home Print
Carriage
Selecting this option moves the print carriage back to its home sensor position
and stop. “Homing Print Carriage” is displayed in the prompt box. It is always
advisable to home the print carriage before attempting to position it anywhere.
5.16 User Manual Software Version 6
DIAGNOSTICS
PRINT CARRIAGE
Pr
i
nt Carr
i
age D
i
agnost
i
cs
Cycle Count
Done :-
0, To go :-
50
Home Print Carriage
Drive Carriage To Front Position
Drive Carriage To Paste Position
Drive Carriage To Rear Position
Drive Carriage Using Jog Buttons
Cycle Print Carriage
Print Carriage Diagnostic Parameters
FRONT PRINT SPEED
REAR PRINT SPEED
CYCLE COUNT
25
25
50.0
mm/s
mm/s
Cycles