Dek-265GSX-User-Manual.pdf.pdf - 第40页
4. Select Board Clamps (F3), to open the clamps. Board Clamps 5. Slide a board along the rails to abut the board stop. 6. Select Board Clamps (F3), to close the clamps. Board Clamps 7. Using the board as a reference, pos…
4.
Use the Incr. and Decr. keys (F6 - F7), or the forward slash key (/) on the
keyboard, to change the parameter value.
Incr. Decr.
5.
Select Save (F2). The message ‘Saving fiducial data - Please wait
Board data file saved’ is displayed.
Save
6.
Select Exit (F8).
Exit
Magnetic Pillars 1.
Select Board Stop (F4).
The camera moves to the board stop position. The board stop on the camera
extends.
2.
Select Raise Head (F2).
Raise
Head
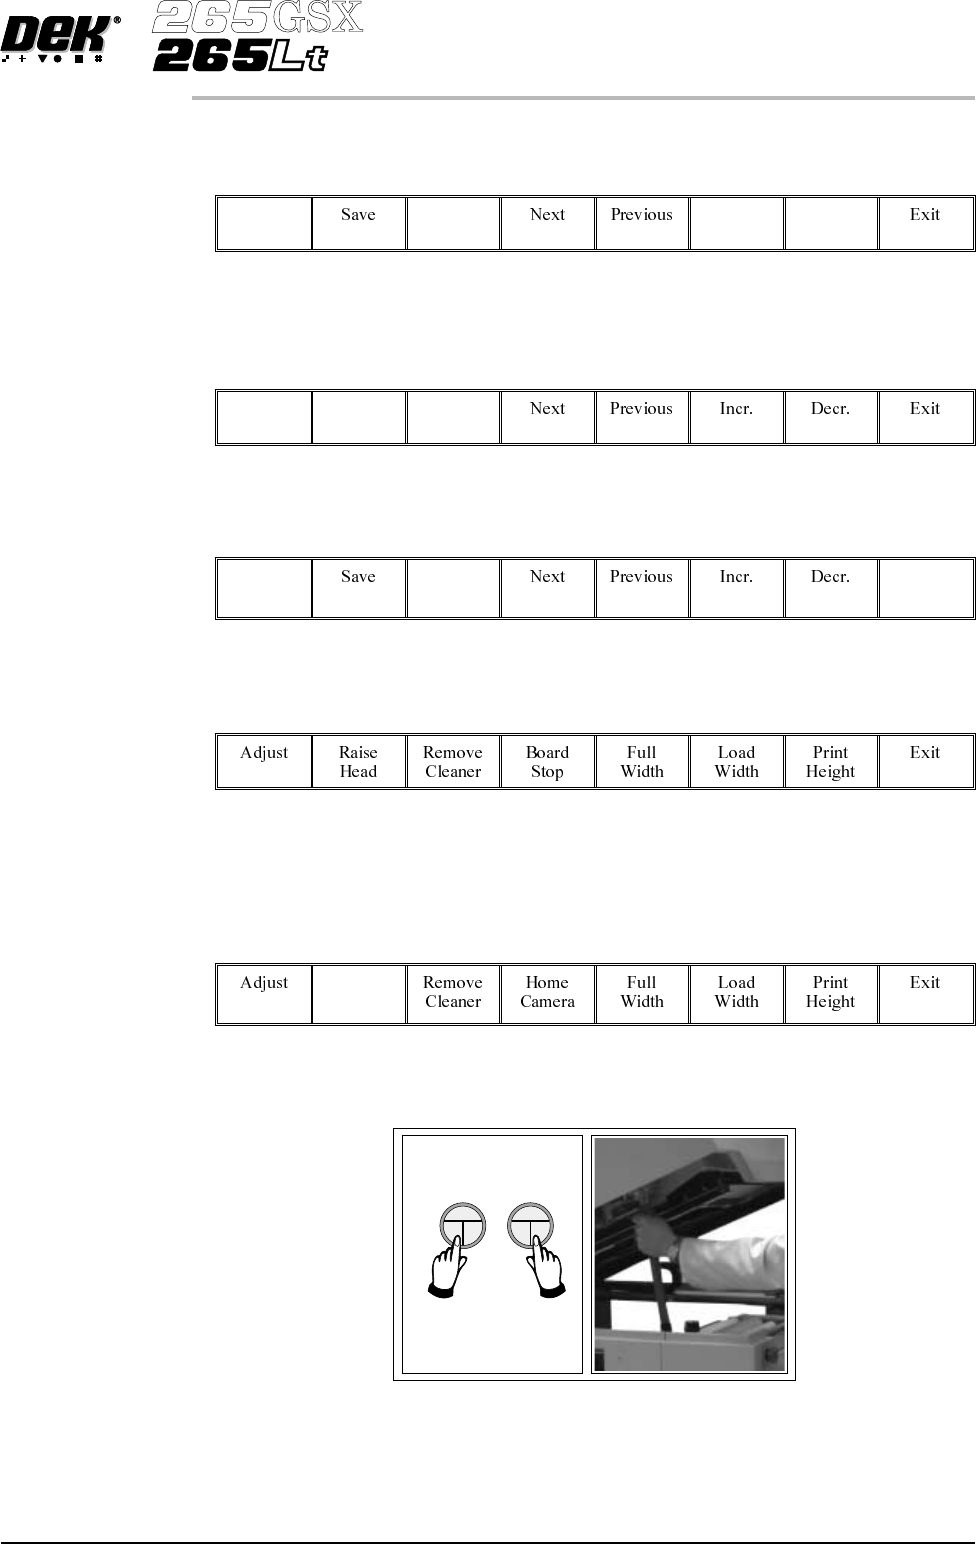
3. Raise the printhead using two button control. Fit the head prop.
Software Version 6 User Manual 1.23
MACHINE PROGRAMMING
STAGE 6A
4.
Select Board Clamps (F3), to open the clamps.
Board
Clamps
5. Slide a board along the rails to abut the board stop.
6.
Select Board Clamps (F3), to close the clamps.
Board
Clamps
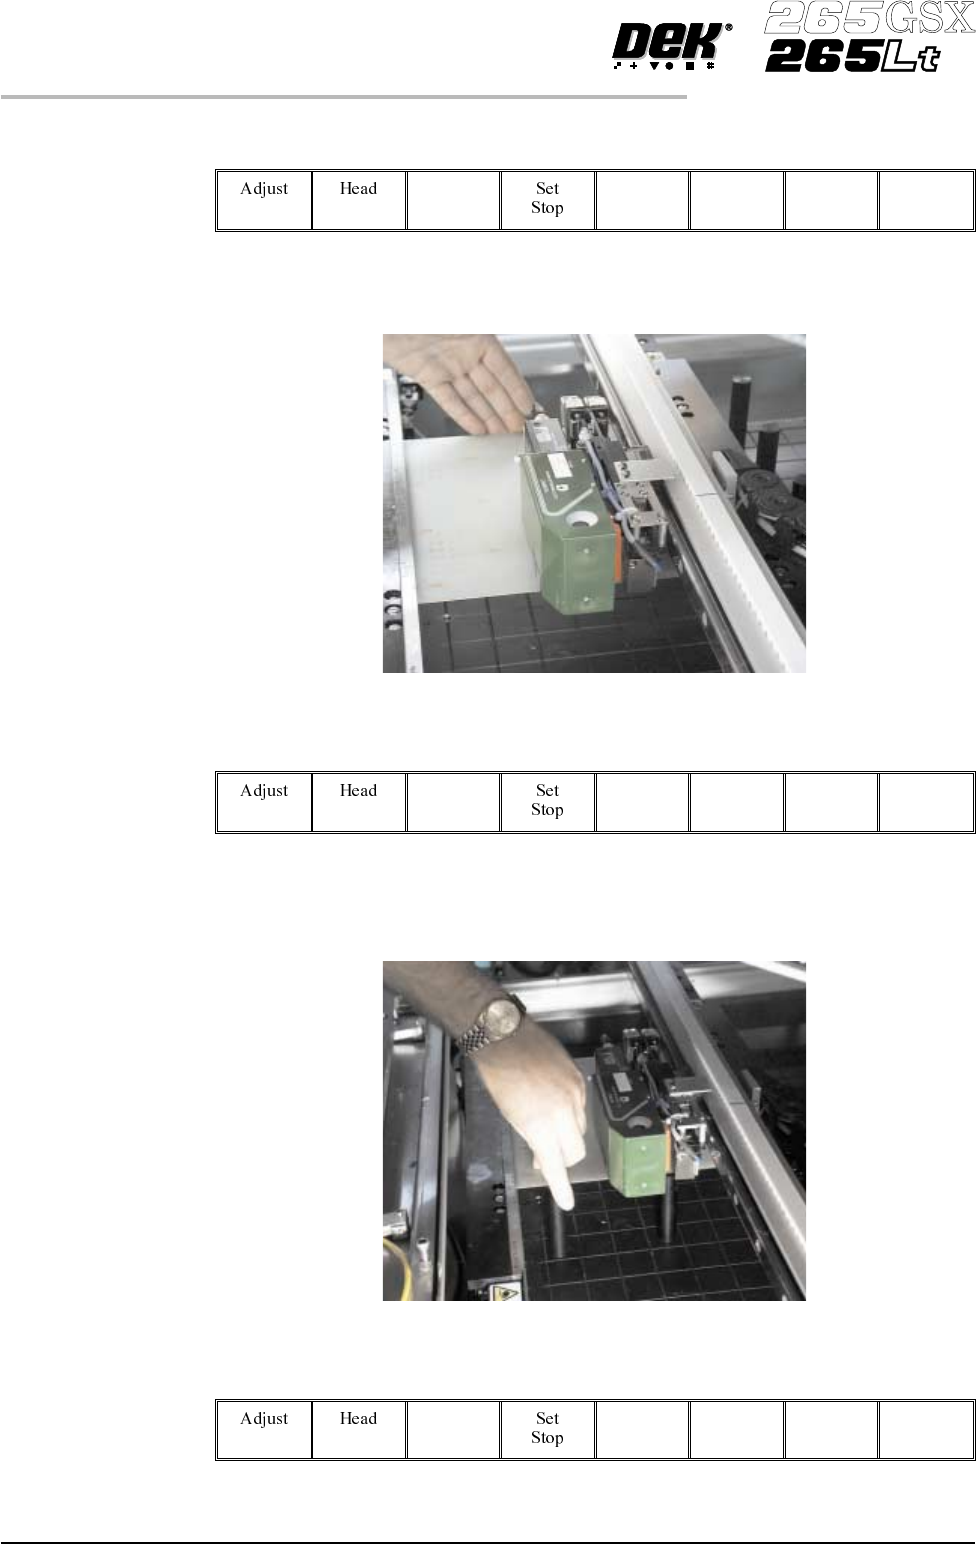
7. Using the board as a reference, position the outermost support pins on the
rising table under the board.
8.
Select Board Clamps (F3), to open the clamps.
Board
Clamps
1.24 User Manual Software Version 6
MACHINE PROGRAMMING
STAGE 6A
9.
Remove the board and select Board Clamps (F3), to close the clamps.
Board
Clamps
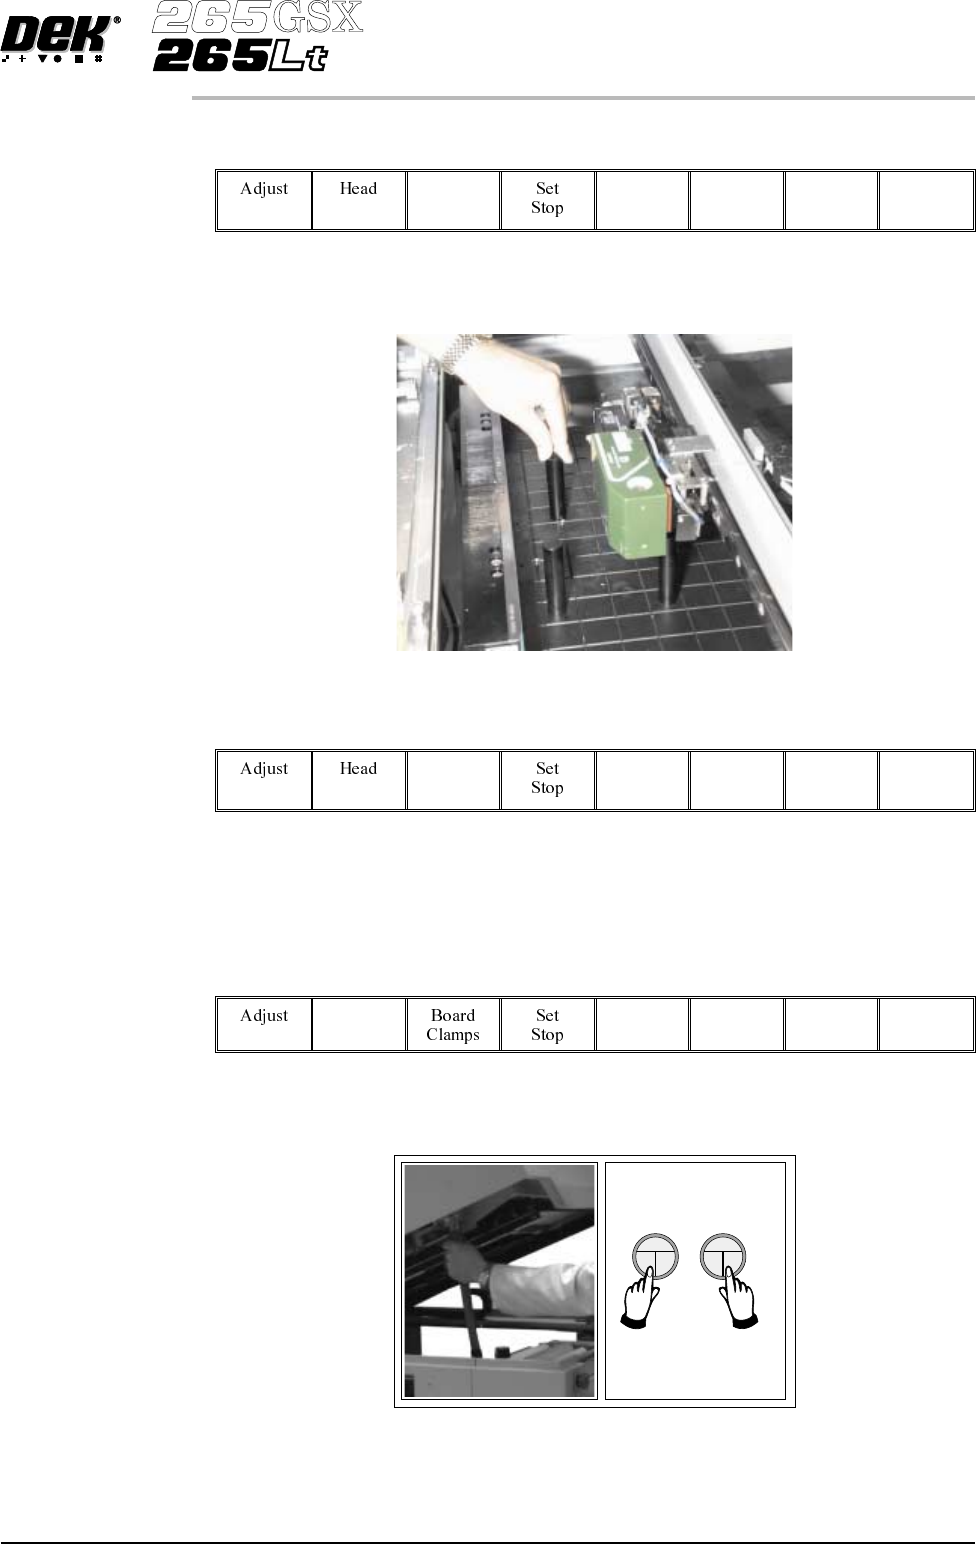
10. Complete the positioning of the support pins.
11.
Select Board Clamps (F3), to open the clamps.
Board
Clamps
12. Slide the board back along the rails to abut the board stop.
13.
Select Head (F2).
Head
14. Remove the head prop. Lower the printhead using two button control.
Software Version 6 User Manual 1.25
MACHINE PROGRAMMING
STAGE 6A