Dek-265GSX-User-Manual.pdf.pdf - 第279页
3. Use the Left, Right, Up and Down keys to highlight a product file. If the product to be setup is a new one, select an existing product file and modify it. Left Right Up Down 4. Select Load . The machine loads the prod…
2Di SETUP
Preparation For 2Di inspection functionality the machine requires 2D Inspection to be set to
enabled.
Set Preferences 1.
Select Maint.
Maint.
2.
Select Set Prefs.
Set
Prefs
3.
Set 2D inspection to enabled using the Next and Incr. keys.
Next Incr.
4.
Ensure under screen cleaner function selected, ie Vacuum or Standard.
5.
Select Exit. The message ‘Printer configuration data file saved’ is
displayed in the message prompt bar above the menu bar.
Exit
6.
Select Exit.
Exit
Load Product File 1.
Select Setup.
Setup
2.
Select Load Data. The message ‘Use keyboard to actionproduct search’
is displayed in the message prompt bar above the menu bar.
Load
Data
8.14 User Manual Software Version 6
2Di INSPECTION
2Di SETUP
3.
Use the Left, Right, Up and Down keys to highlight a product file. If the
productto be setup is a new one, select anexistingproductfileandmodify it.
Left Right Up Down
4.
Select Load. The machine loads the product file and trains the fiducials.
Load
Edit Data 1. If the loaded product file is the correct one, go to Step 8. If the file needs to
be modified continue with Step 2.
2.
Select Edit Data.
Edit
Data
The following window is displayed:
3.
To change the product name; highlight product name using the Next and
Previous keys. Select Incr. type in required product name and press Enter
using the keyboard.
4.
If the product name is changed the message ‘Do you also want to create a
copy of the inspection file ?’ is displayed. Select one of the following:
Yes - All data is copied, including the site coordinates.
Global Only - The global parameters and limits are copied.
No - No inspection file is copied. Use when setting up an inspection file for the
first time.
Software Version 6 User Manual 8.15
2Di INSPECTION
2Di SETUP
Dek04
Dek04
30 mm
24 mm/s
NONE
EDGE
DISABLED
101.5 mm
152.5 mm
1.6 mm
150 mm/s
20 mm/s
0.0 mm
0.0 mm
PRODUCT NAME
PRODUCT ID
DWELL HEIGHT
DWELL SPEED
SCREEN ADAPTOR
SCREEN IMAGE
CUSTOM SCREEN
BOARD WIDTH
BOARD LENGTH
BOARD THICKNESS
PRINT SPEED
FLOOD SPEED
PRINT FRONT LIMIT
PRINT REAR LIMIT
Edit Current Process Parameters
..more
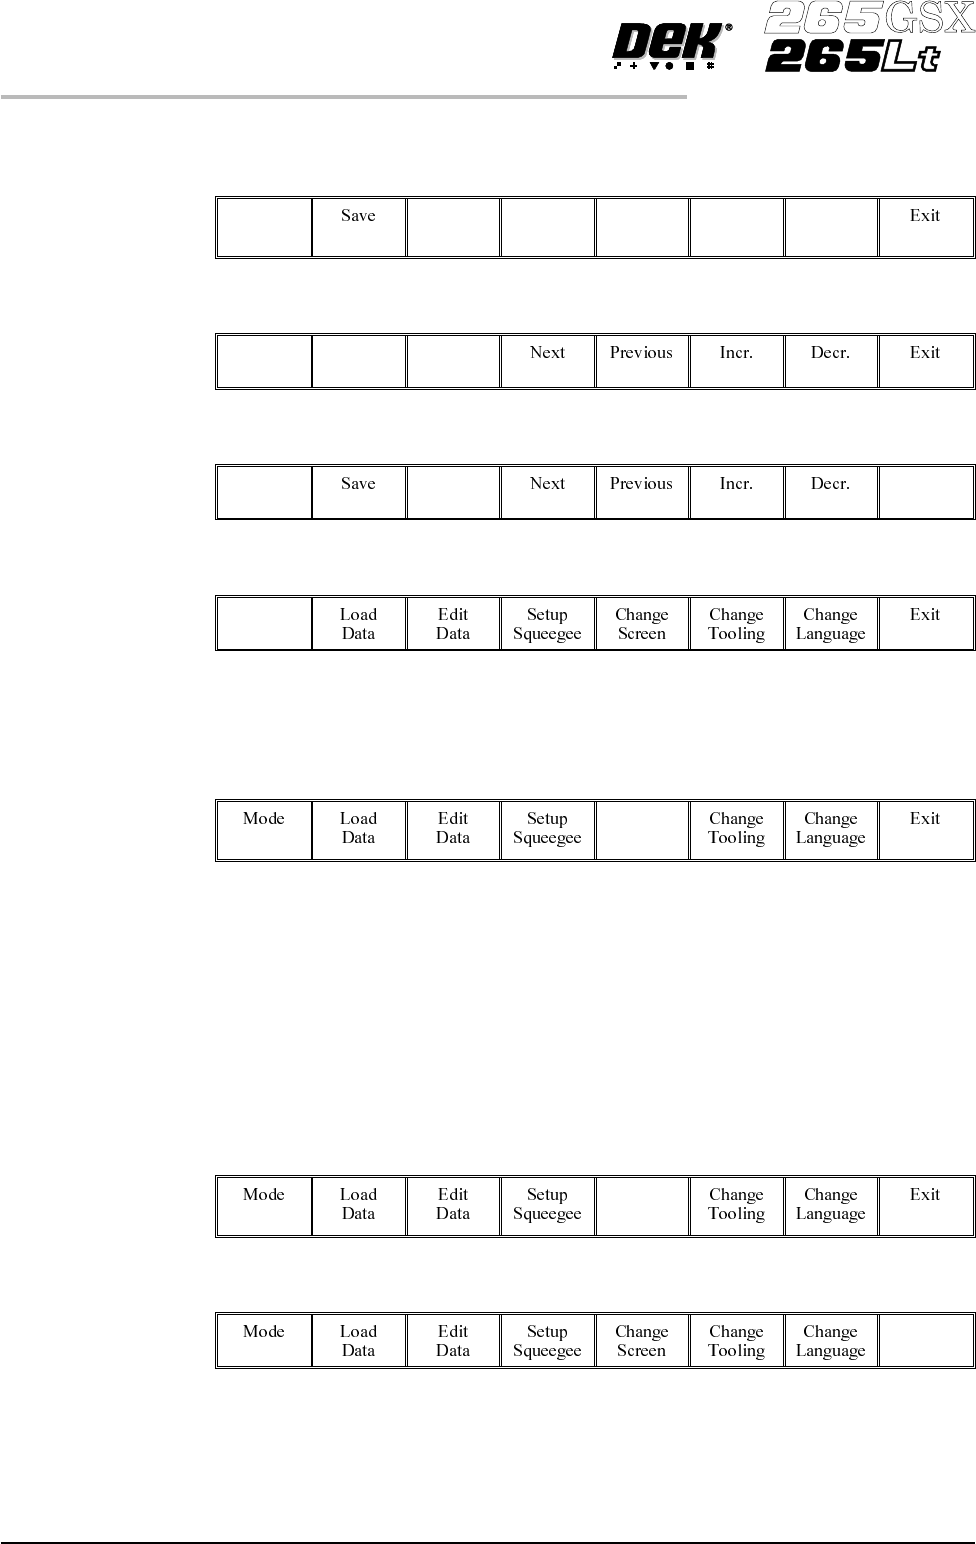
5.
Using the Next, Previous, Incr. and Decr. keys, edit the current process
parameters for the new product.
Next Previous Incr. Decr.
6.
Press Save.
Save
7.
When the message ‘Board Data File Saved’ is displayed, press Exit.
Exit
8.
SelectMode until Stepappears in mode option of theprinterstatusdisplay.
Mode
If the required screen is already in the printer go to Step 16.
If the screen needs to be changed continue with Step 9.
9.
Select Change Screen.
Change
Screen
10.
When the message ‘Open Front Cover and Remove Screen’ is displayed
lift the printhead cover.
11. Remove the screen from the printer.
12. Fit the new screen into the printer ensuring the correct orientation of the
screen.
13. Lower the printhead cover.
14.
Press the System button on the control console.
15.
Select Change Screen.
Change
Screen
16.
Select Exit.
Exit
8.16 User Manual Software Version 6
2Di INSPECTION
2Di SETUP