00197783-01_AI_Gantry-Retrofit_X-Series_S_INTERNAL_de_en.pdf - 第123页
Installation 3.1.4 Removing the Top Cover Fitting the Y Trailing Cable for th e New Gantry 2 /4 Gantry Retrofit Portalnachrüstung 123 ► Remove the six screw s (1) from the bolt for the Y gan - try interfac e. ► Push the …
Installation
Fitting the Y Trailing Cable for the New Gantry 2/4 3.1.4 Removing the Top Cover
122 Gantry Retrofit Portalnachrüstung
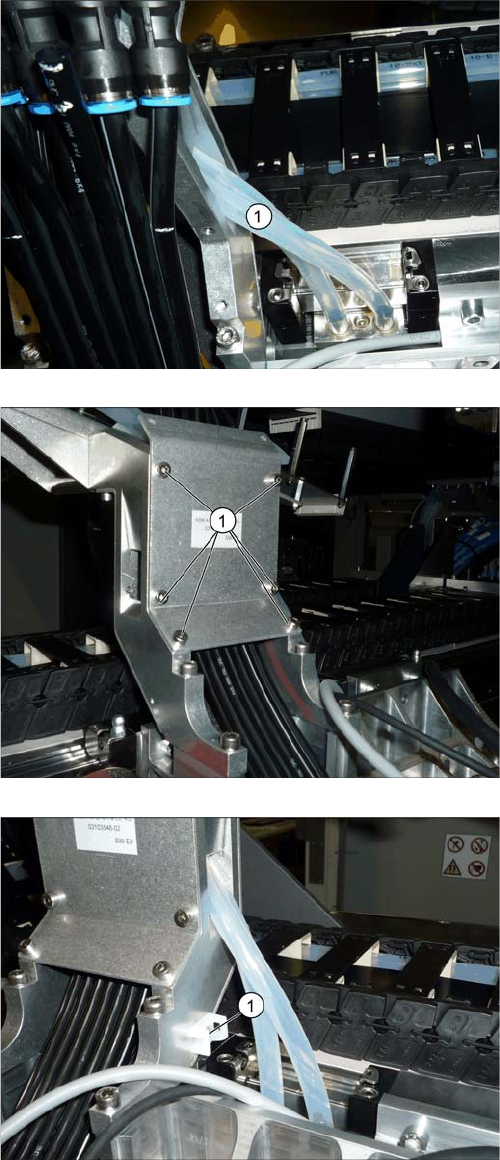
► Run the white hoses (1) from the trailing cable to the
gantry.
► Fasten the cover to the goose neck with the six
screws (1). Secure the screws with Loctite 241.
► Fit the cable holder (1) to the goose neck.
Installation
3.1.4 Removing the Top Cover Fitting the Y Trailing Cable for the New Gantry 2/4
Gantry Retrofit Portalnachrüstung 123
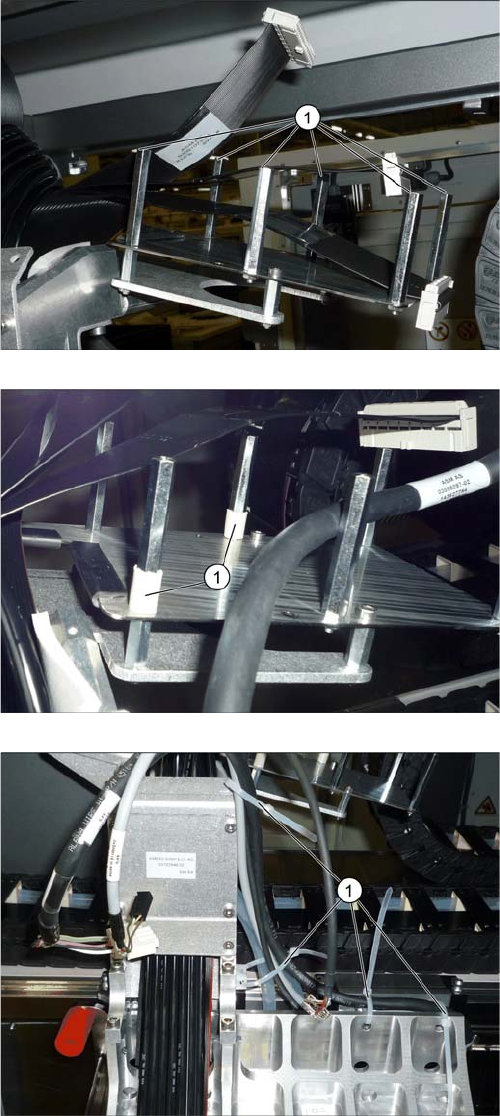
► Remove the six screws (1) from the bolt for the Y gan-
try interface.
► Push the two white sleeves (1) onto the bolts as
shown in the diagram.
► Fasten the cables leading from the gantry loosely, as
shown, using cable ties (1). Do not tighten the cable
ties yet.
Installation
Fitting the Y Trailing Cable for the New Gantry 2/4 3.1.4 Removing the Top Cover
124 Gantry Retrofit Portalnachrüstung
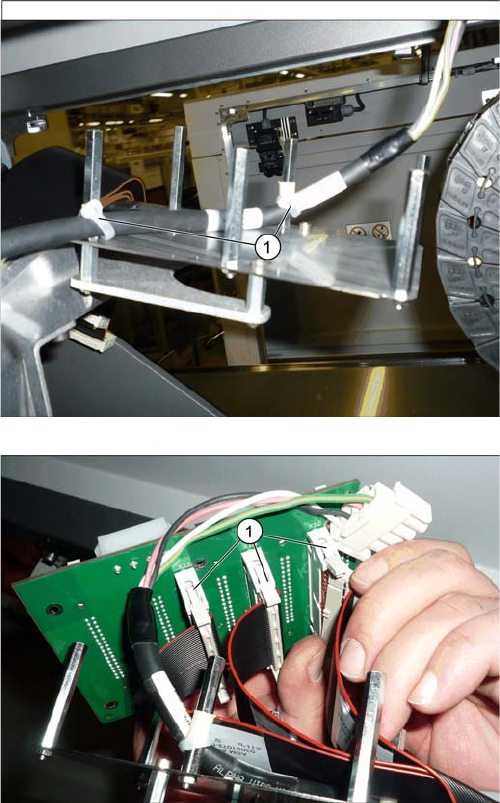
► Fasten the Y motor cable (connector X4*b)
[03095097-xx] with cable ties (1) to the white sleeves.
► Connect the cables (1) to the underside of the Y gan-
try interface.
► Position the Y gantry interface on the six bolts.