编带机说明书-含图纸tm401.pdf - 第106页
5-4 TM-403 User’s Guide Connect Vision D292104.16.fm If the optional laptop was purchased for vision config uration V - TEK, Inc. recommends users create a computer Recovery Disk prior to operation and conduct periodic b…
D292104.16.fm Connect Vision
Chapter 5: Setup 5- 3
Connect Vision
Note: The TM-401 vision system can be run with a computer or a Keyence IV-G
Monitor. These options are not included with the TM-401. They can be purchased
separately from V-TEK, Inc. or the user may provide their own computer.
System requirements for the vision computer follow:
• Operating system: Microsoft® Windows XP
TM
(32 bit), Windows Vista
TM
(32bit),
or Windows 7
TM
(32 or 64 bit)
• 128 MB RAM
• 1024 x 768 (96 DPI) or 1280 x 1024 (120 DPI display
• Ethernet port
If vision is enabled for a job, the vision computer/monitor must be connected to the Key-
ence IV-G Camera and the camera must be trained to inspect the part before the job can
be run.
Setup HMI
Follow the steps below to enable Vision Inspection on the TM-401.
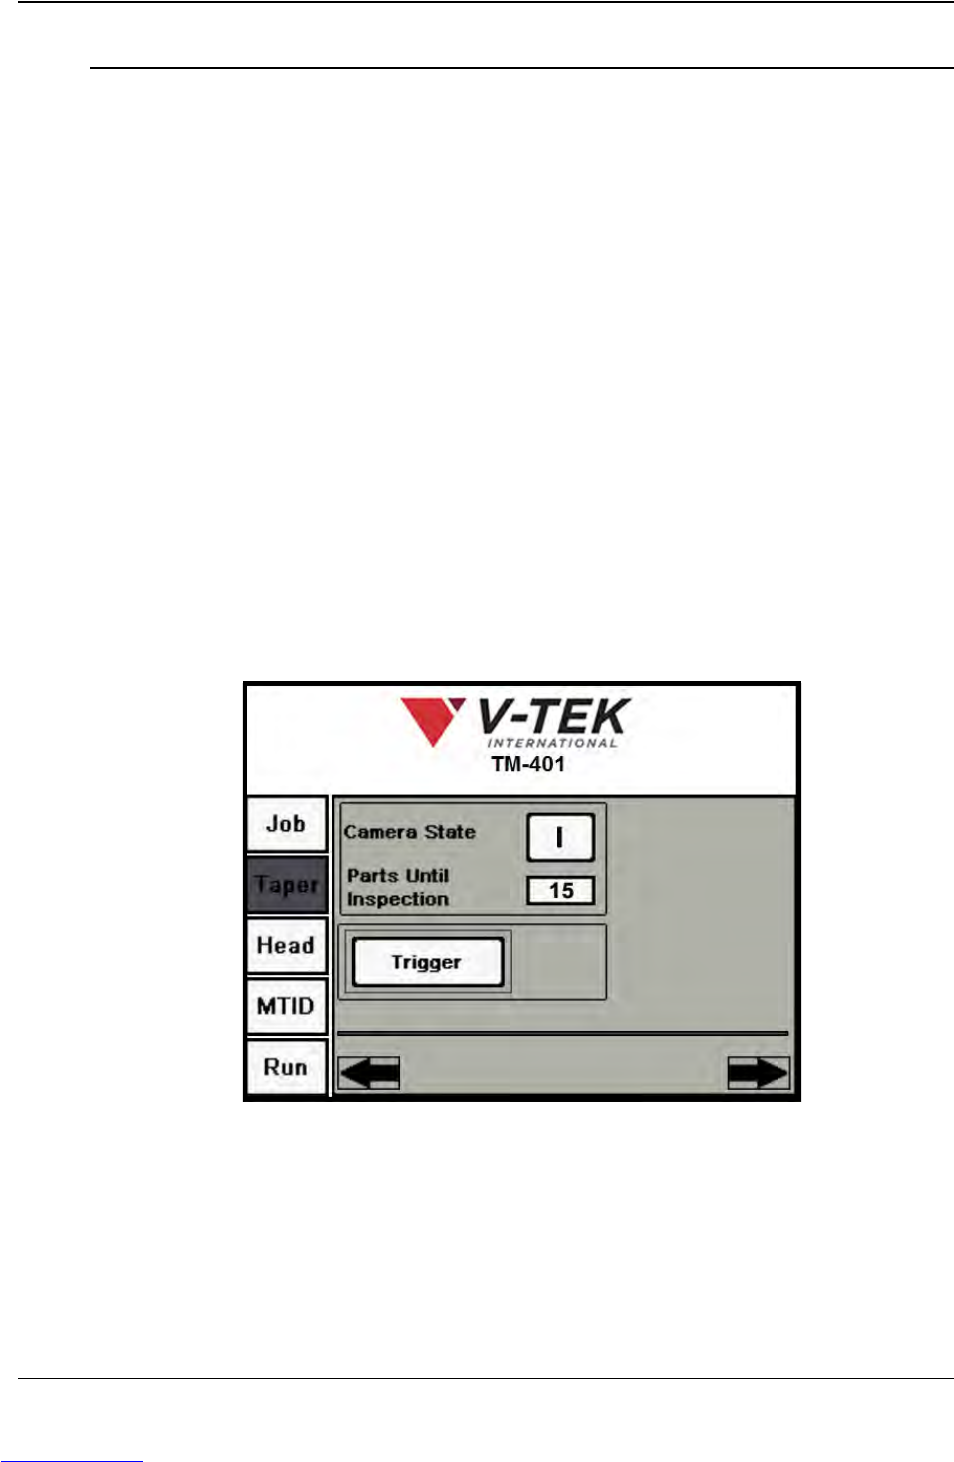
1. On the TM-401 HMI, open the Taper Tab. Press the right Arrow button to advance
to the second Taper screen. .Ensure the Camera State is set to ON ( I )
2. Using the M12 ethernet cable which was provided with the TM-401 system,
connect the vision computer to the Keyence camera.
Step 1:
Vision
Setup
CONNECT
Downloaded from www.Manualslib.com manuals search engine
5-4 TM-403 User’s Guide
Connect Vision D292104.16.fm
If the optional laptop was purchased for vision configuration V-
TEK, Inc. recommends users create a computer Recovery
Disk prior to operation and conduct periodic back-ups as
needed. Visit the computer manufacturer’s website for instruc-
tions on creating a recovery disk.
V-TEK, Inc. does not create or maintain recovery information for
this laptop. Creating a recovery disk is solely the users’
responsibility.
3. Turn the computer on, then insert the Keyence IV-G software CD. When the
software installation screen appears, follow the prompts to install the Keyence
software.
Note: Keyence IV-G Software is automatically installed if using the optional V-TEK
laptop or Keyence IV-G Monitor. If using one of these options, skip this step and
proceed to Configure Inspection.
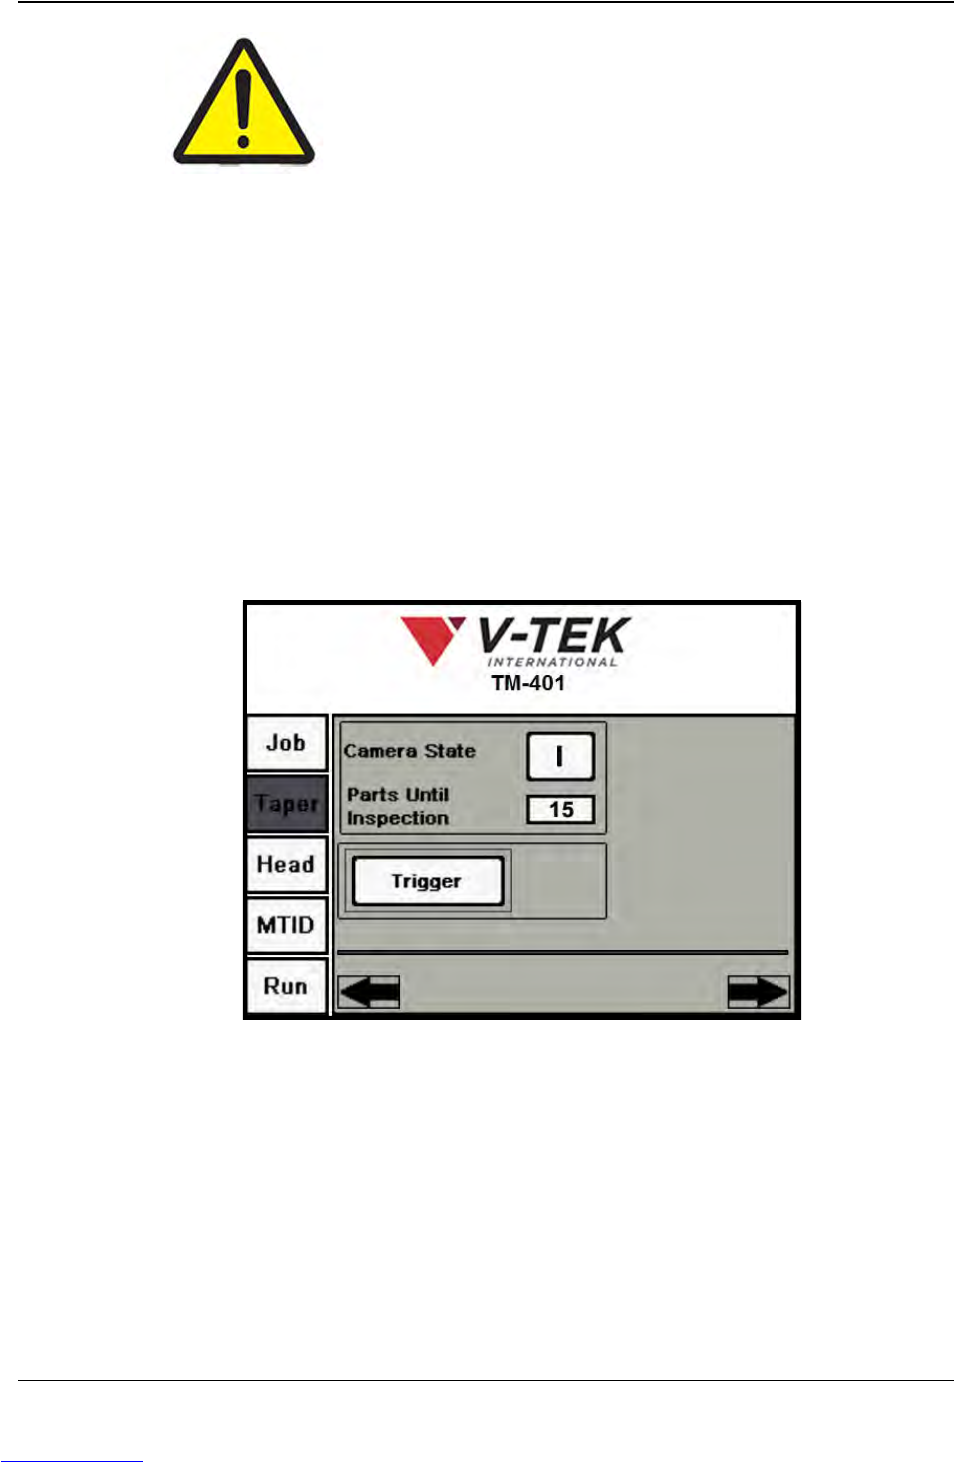
4. On the TM-401 HMI, select the Taper Tab, then press the Right Arrow key to
advance to the second Taper screen.
5. Ensure the Camera State is ON ( I ). Ensure the Parts Until Inspection field is
correct.
Note: The Parts Until Inspection value is the number of pockets between the
Place point and the Inspection point. Begin the count at the Place position at zero,
so the Place position is not included.
Step 1:
Vision
Setup
CONNECT
Taper Screen 2
Downloaded from www.Manualslib.com manuals search engine
D292104.16.fm Connect Vision
Chapter 5: Setup 5- 5
Connect Computer
Follow the steps below to connect the Keyence IV-G Camera to the vision computer.
(Proceed to the next section if using the Keyence Monitor instead of a computer.)
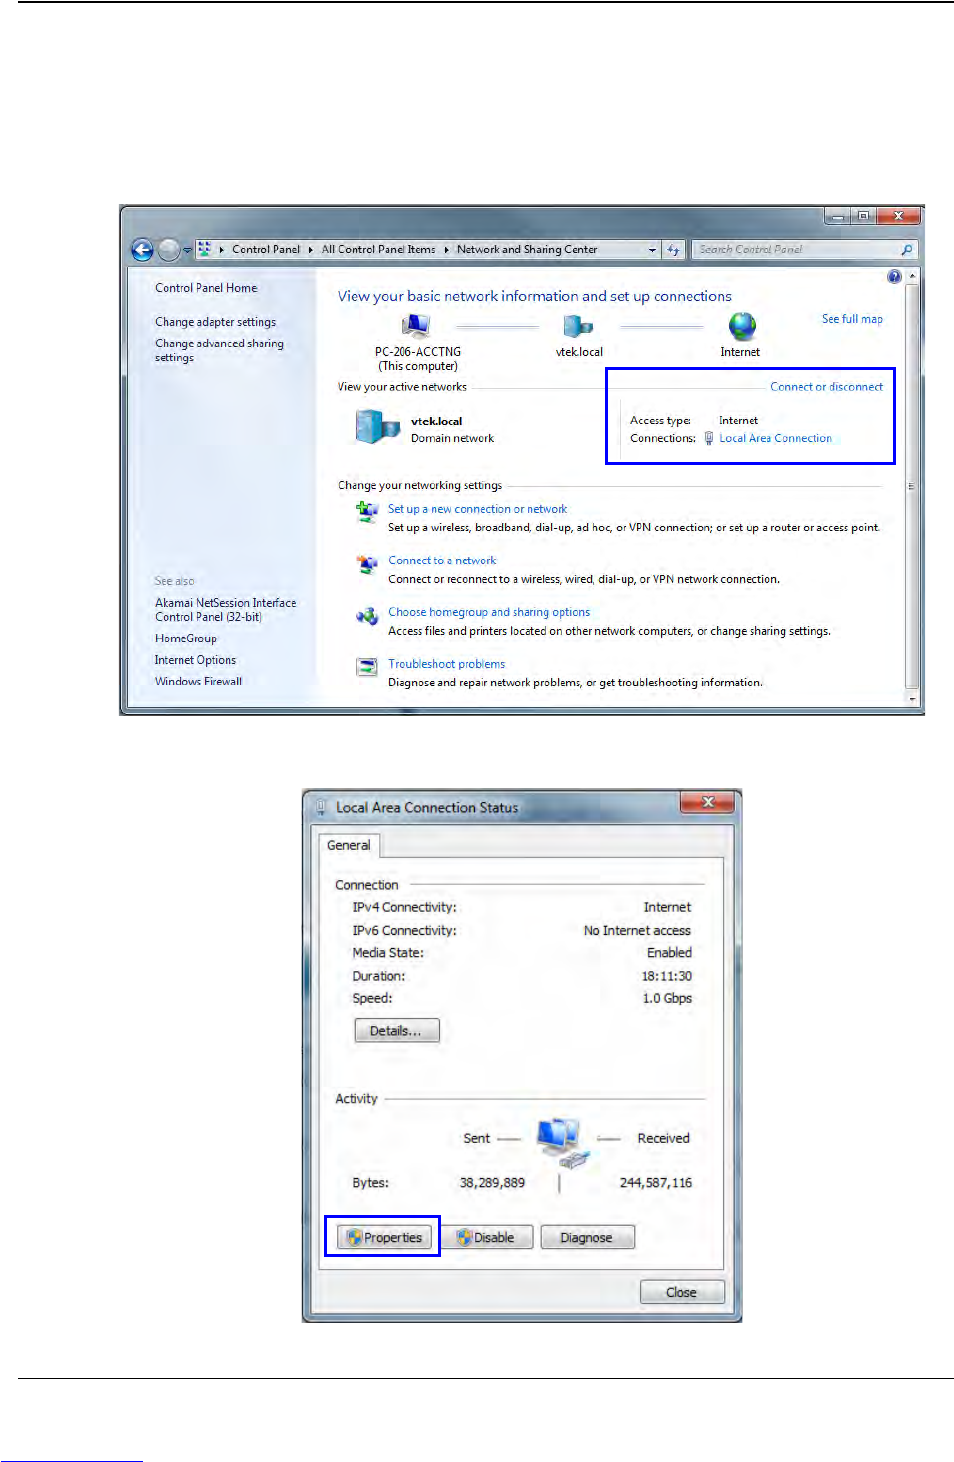
1. Open the Control Panel, then select Network and Sharing Center. In the Connect
or Disconnect section, click Local Area Connection.
2. The Local Area Connection Status window will open. Click Properties.
Step 1:
Vision
Setup
CONNECT
LAPTOP
Downloaded from www.Manualslib.com manuals search engine