编带机说明书-含图纸tm401.pdf - 第99页
D292104.7a.fm Configure HMI Settings Chapter 4: Setup 4- 25 13. V erify Job Settings T est the job settings, using the Pick Part and Place Part buttons to pick and place part s. If adjustment s are required, use the left…
4-24 TM-401 User’s Guide
Configure HMI Settings D292104.7a.fm
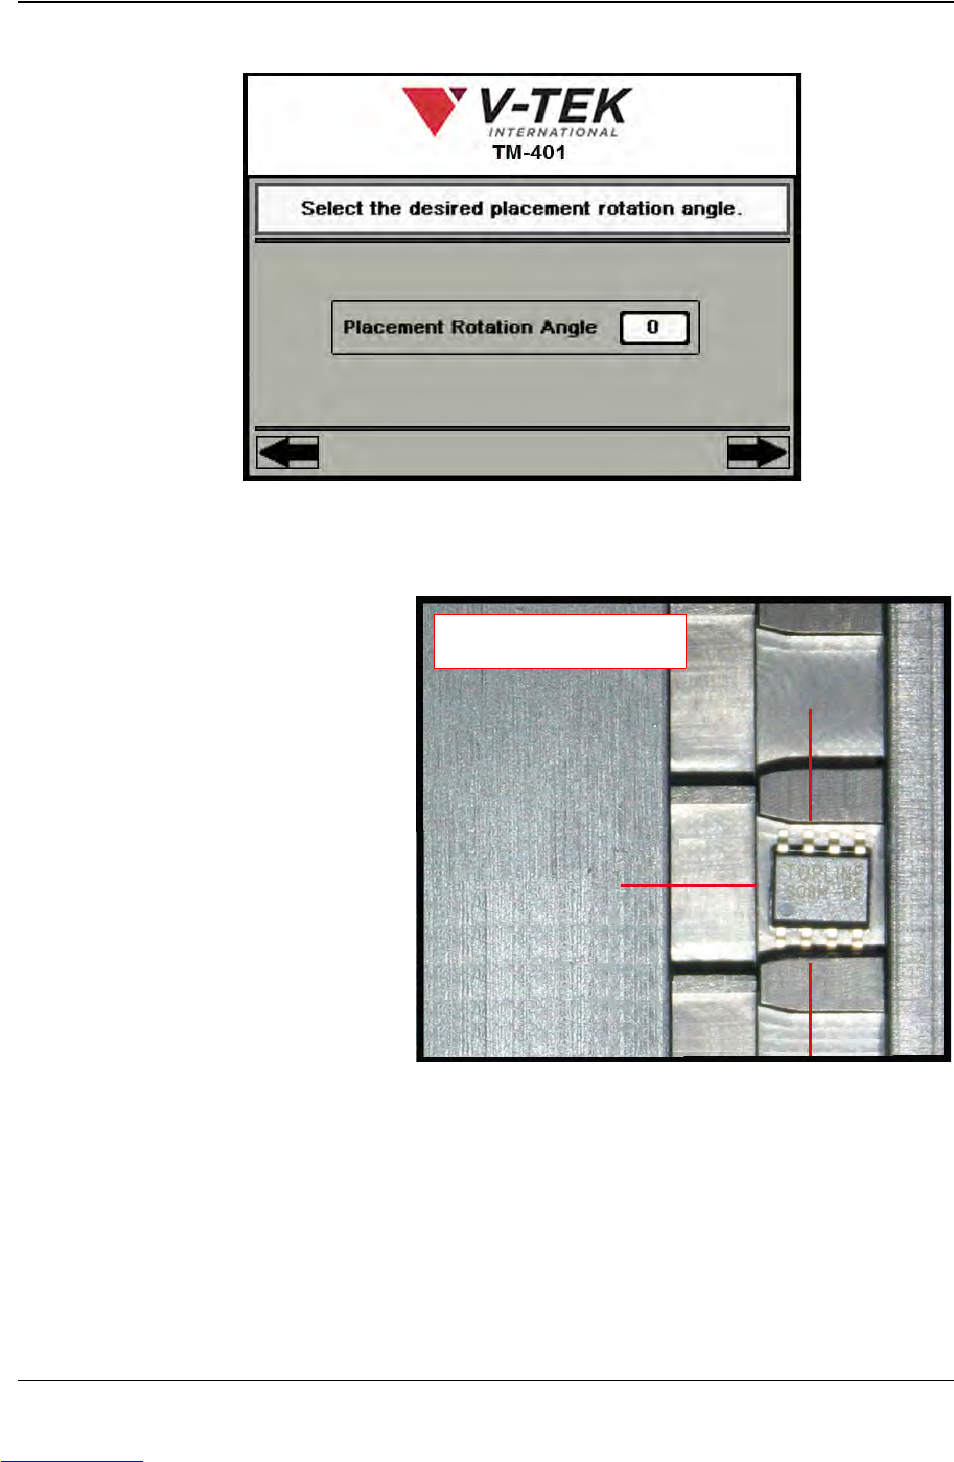
12. Set Rotation Angle
a. Enter the placement angle which was manually set in Step 7. The options are
0, -90 and +90.
• If rotation is set at 0,
the part will be placed
in the same orientation
as it was picked.
• If rotation is set at -90,
the part will be rotated
90 degrees clockwise
prior to placement.
• If rotation is set at +90,
the part will be rotated
90 degrees counter-
clockwise prior to
placement.
b. Press the right Arrow Key to move to the next Job Wizard screen.
Step 6:
Setup HMI
NOZZLE
-90
0
+90
Rotation Options
Downloaded from www.Manualslib.com manuals search engine
D292104.7a.fm Configure HMI Settings
Chapter 4: Setup 4- 25
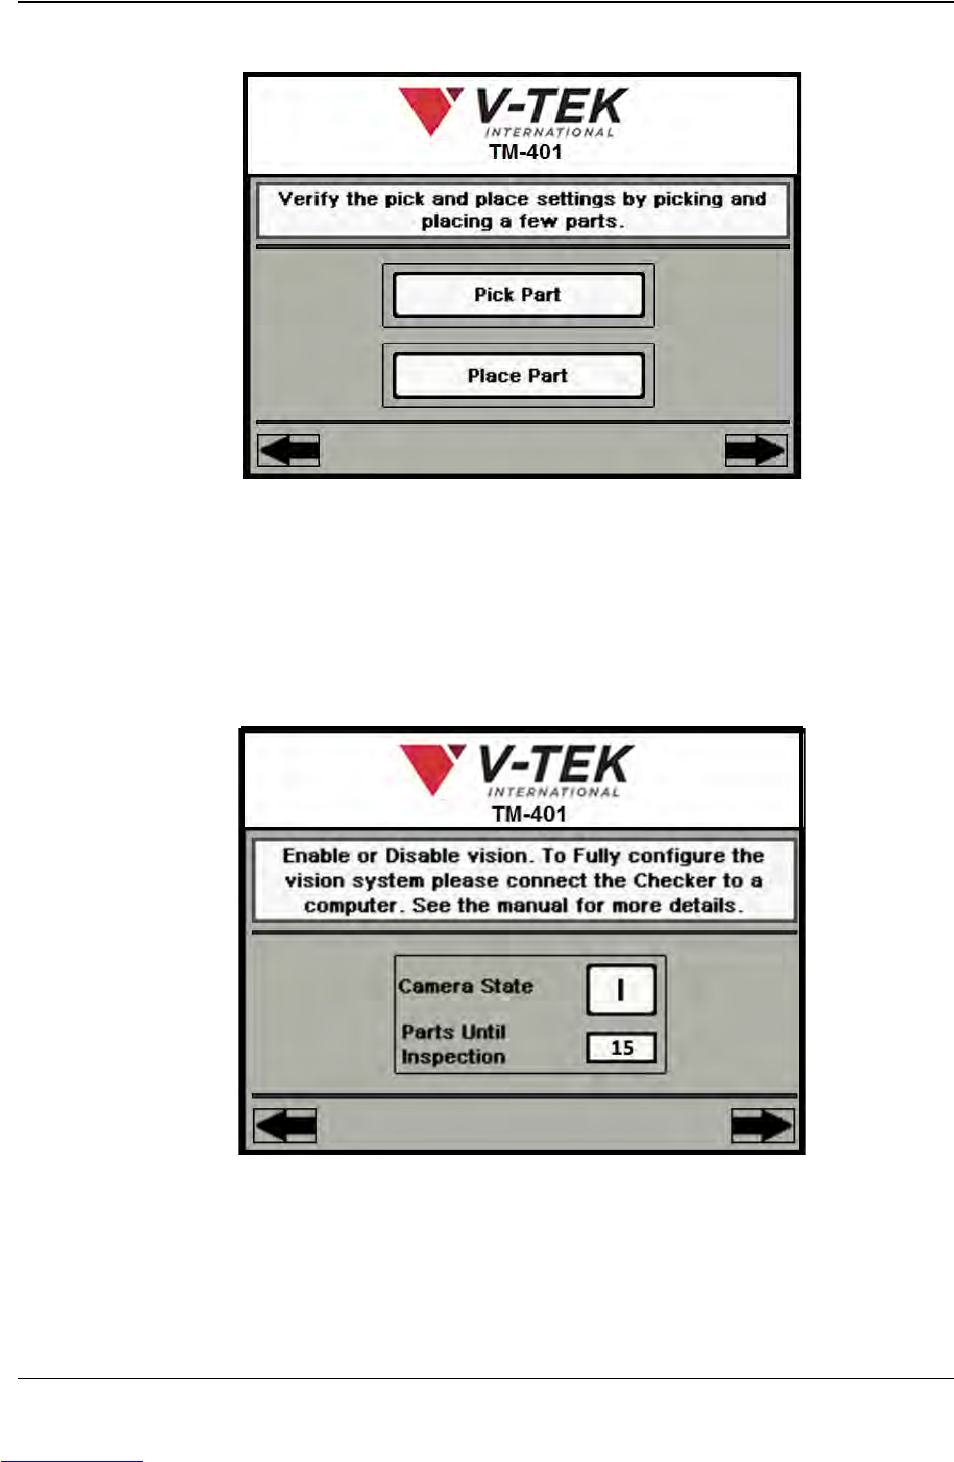
13. Verify Job Settings
Test the job settings, using the Pick Part and Place Part buttons to pick and
place parts. If adjustments are required, use the left Arrow key to return to the
desired step and adjust settings. Press the right Arrow Key to move to the next
Job Wizard screen.
Note: Manually placed parts will be counted in the current job.
14. Vision Settings
a. Set Camera State to ON ( I ) or OFF (O).
b. If camera is enabled, enter number of Parts Until Inspection (do not include
part at Pick point.). Press the right Arrow Key to move to the final Job Wizard
screen
Downloaded from www.Manualslib.com manuals search engine
4-26 TM-401 User’s Guide
Configure HMI Settings D292104.7a.fm
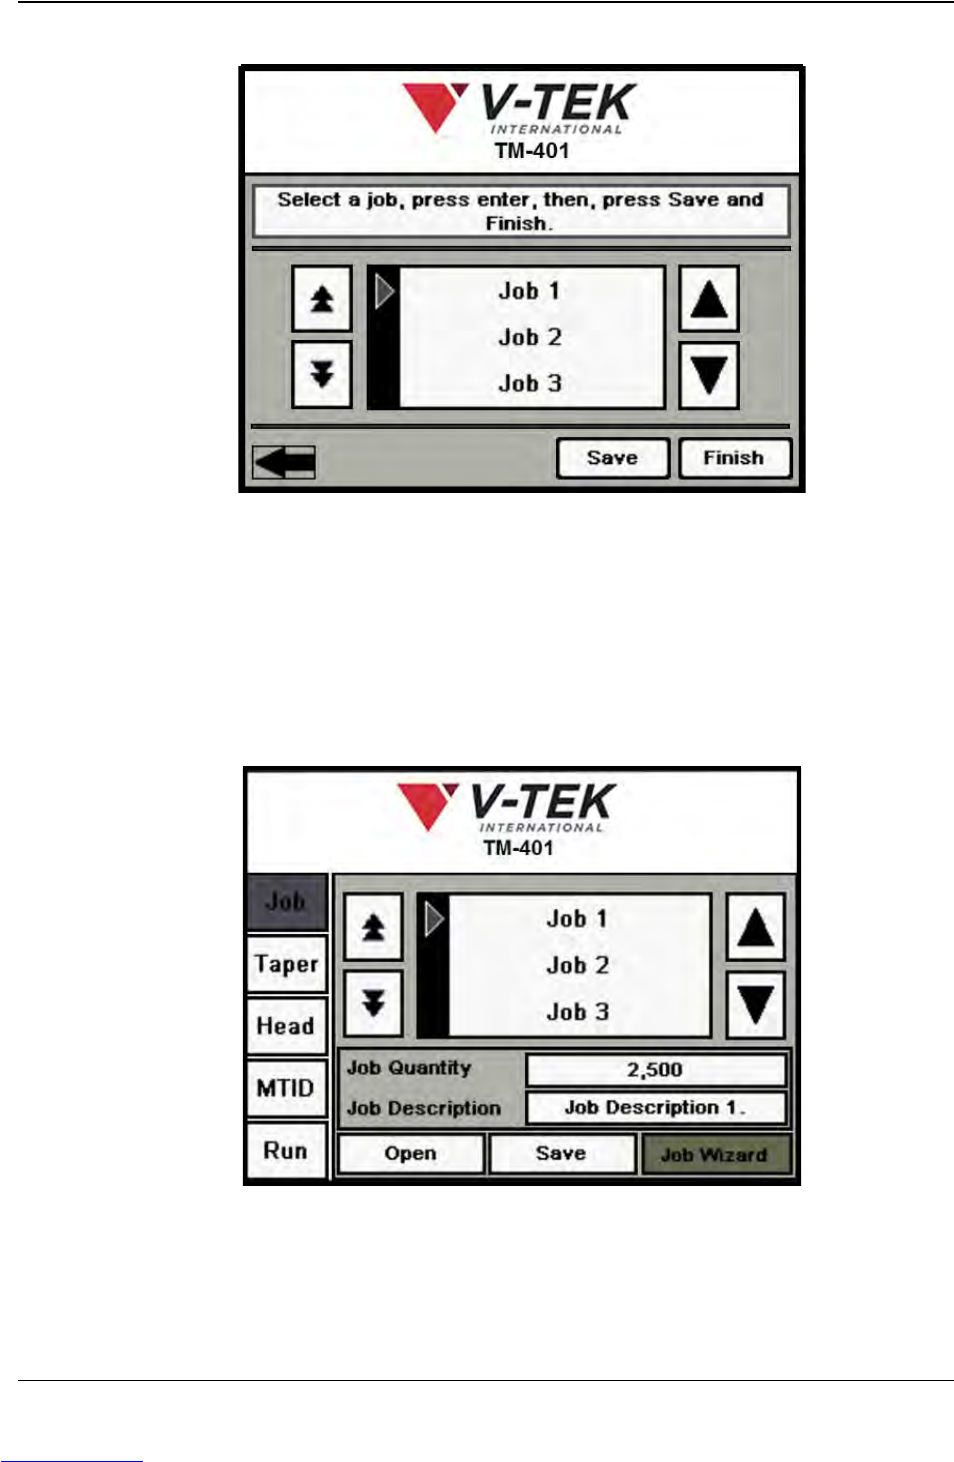
15. Save Job Settings
a. Browse through the Job Library using the Up/Down Arrow keys to move up or
down through the list. To select a Job Name from the list, press the Enter key.
Note: The Save function will overwrite the information stored for the currently
selected job. Therefore, it is important to select the desired job prior to pressing
the Save button.
b. Press the Save button to save job settings to the selected job name, then
press Finish to close the Job Wizard and return to the main Job Tab..
Step 6:
Setup HMI
SAVE
SETTINGS
Downloaded from www.Manualslib.com manuals search engine