1OM-1626-001_w.pdf - 第126页
1OM-1610 3-7 1. Automatic Operation : Chap.3 091 1-001 1.3 Start of Automatic Operation 1.3.1 Starting the System Program Conrm that the machine is powered. After the con rmation, hold down the [POWER ON] button for mo…
1OM-1610
3-6
1. Automatic Operation : Chap.3
0911-001
1.2.2 Preparation for Components
Procedure
(1) Detach the bank feeder change cart.
Reference
Refer to "2.4.8 Feeder Bases and Bank Feeder Change Cart" and
"Replacement of Bank Feeder Change Cart" in Chapter 1 for details.
(2) Install the feeders in the feeder base.
Before installing the feeders, check which types of feeders should be
installed in which feeder slot Nos. (Fdr No.).
Reference
Refer to the instruction manual of the tape feeder for the detailed
information on how to attach or detach the feeder
WARNING
Those who wear implanted pacemakers are not
allowed to handle the tape feeders.
The pacemaker may be affected by the magnetism
and a serious accident will result..
NOTICE
Install the feeders correctly such that they are seated
properly.
Otherwise, they may collide with the head sections or a
pickup error will occur.
Be sure to install a feeder to the correct feeder slot
(Fdr No.).
Otherwise, some components may be trapped between the
heads.
(3 )
Attach the bank feeder change cart to the machine.
Reference
Refer to "2.4.8 Feeder Bases and Bank Feeder Change Cart" and
"Replacement of Bank Feeder Change Cart" in Chapter 1 for details.
1.2.3 Preparation for PCBs
In the case of normal automatic operation, conrm that PCBs are prepared in the
input machine.
When this machine is operated singly (for an actual mounting test, etc.,),
follow the steps below.
Procedure
(1) Open the trasparent covers located over the beams.
(2) Put a PCB on the PCB input section.
Set the PCB such that the PCB detection sensor is turned ON in red.
1OM-1610
3-7
1. Automatic Operation : Chap.3
0911-001
1.3 Start of Automatic Operation
1.3.1 Starting the System Program
Conrm that the machine is powered. After the con rmation, hold down the
[POWER ON] button for more than 1 second.
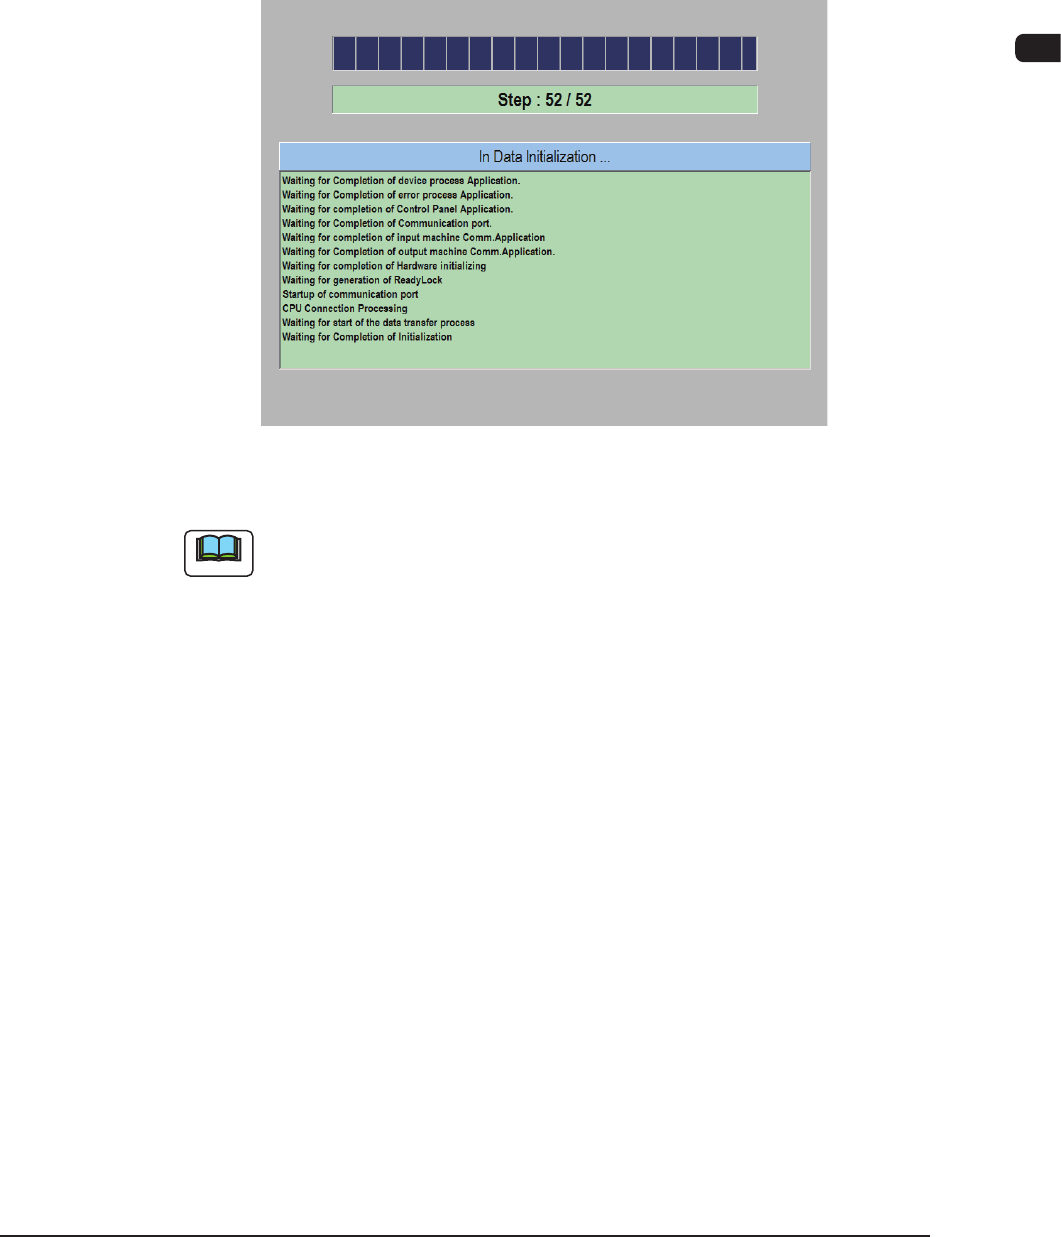
The [POWER ON] button illuminates in red, the system program starts, and the
machine executes the self-diagnostics program.
"Self-Diagnostics (In Data Initializing ...)" Window
F1C6
Note
It takes about 2 to 3 minutes for the machine to make a self-diagnostics.
Please wait until another window appears.
1OM-1610
3-8
1. Automatic Operation : Chap.3
0911-001
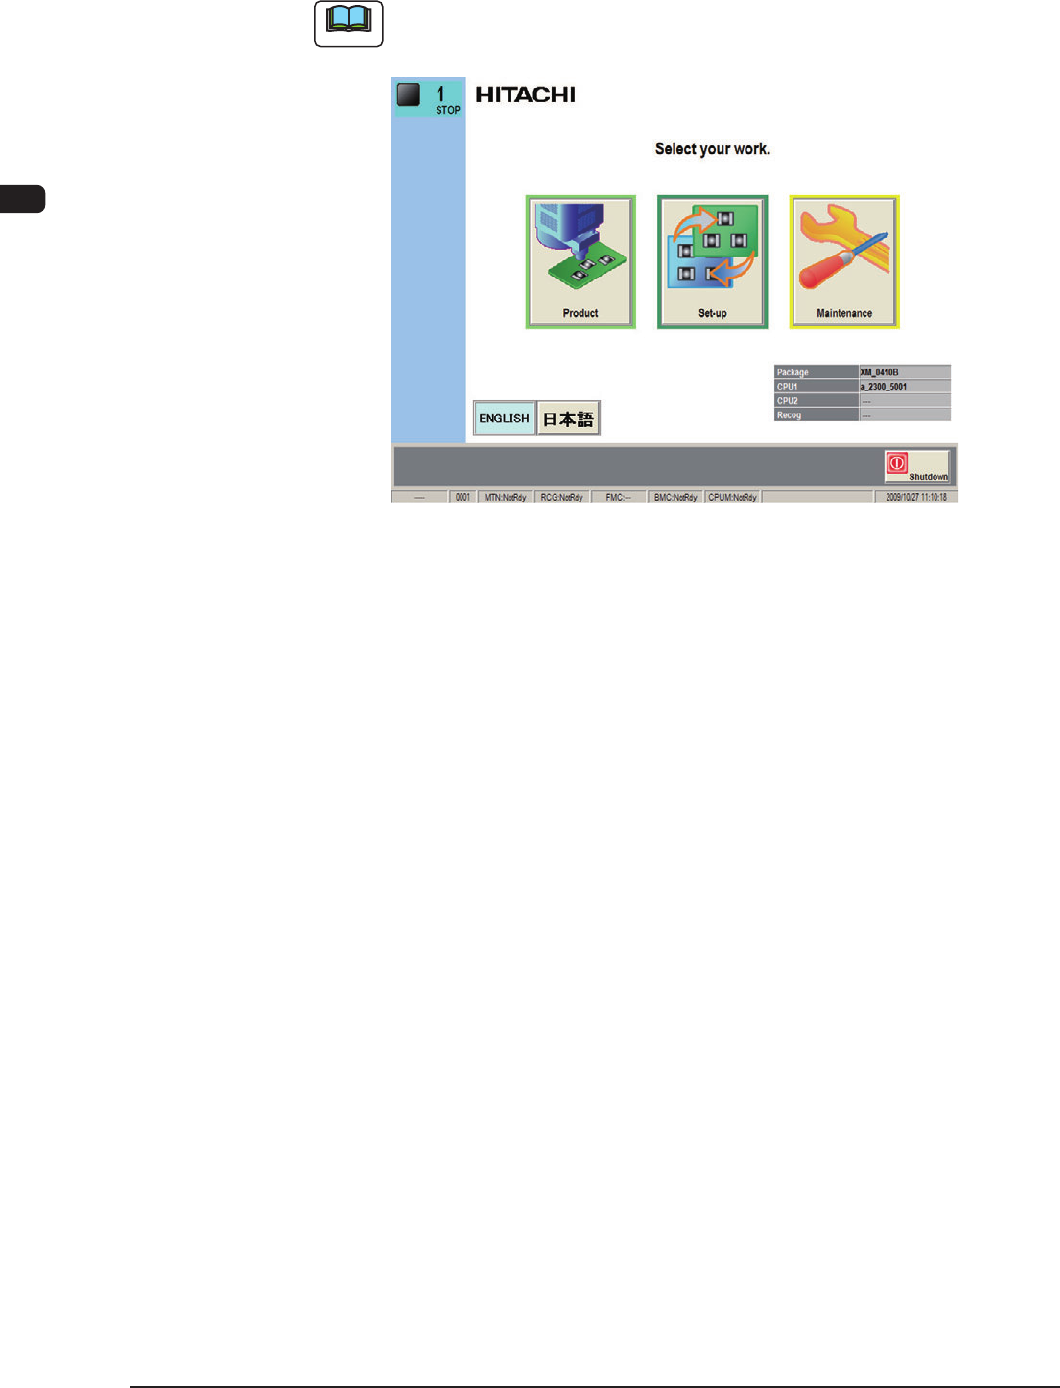
1.3.2 Login Operation
After the self-diagnostics program is completed, the [POWER ON] button
turns
yellowish green and the "TOP" window appears on the touch screen.
Note
Refer to "1.1 "TOP" window" in "Chapter 2" for detailed information on the
"TOP" window.
F1C7