1OM-1626-001_w.pdf - 第140页
1OM-1610 3-21 3. PCB Replenishment : Chap.3 3. PCB Replenishment When the machine gets short of PCBs during automatic operation, the input machine produces an error alarm or the machine stops automatically. (1) When the …
1OM-1610
3-20
2. Component Replenishment : Chap.3
F1C18
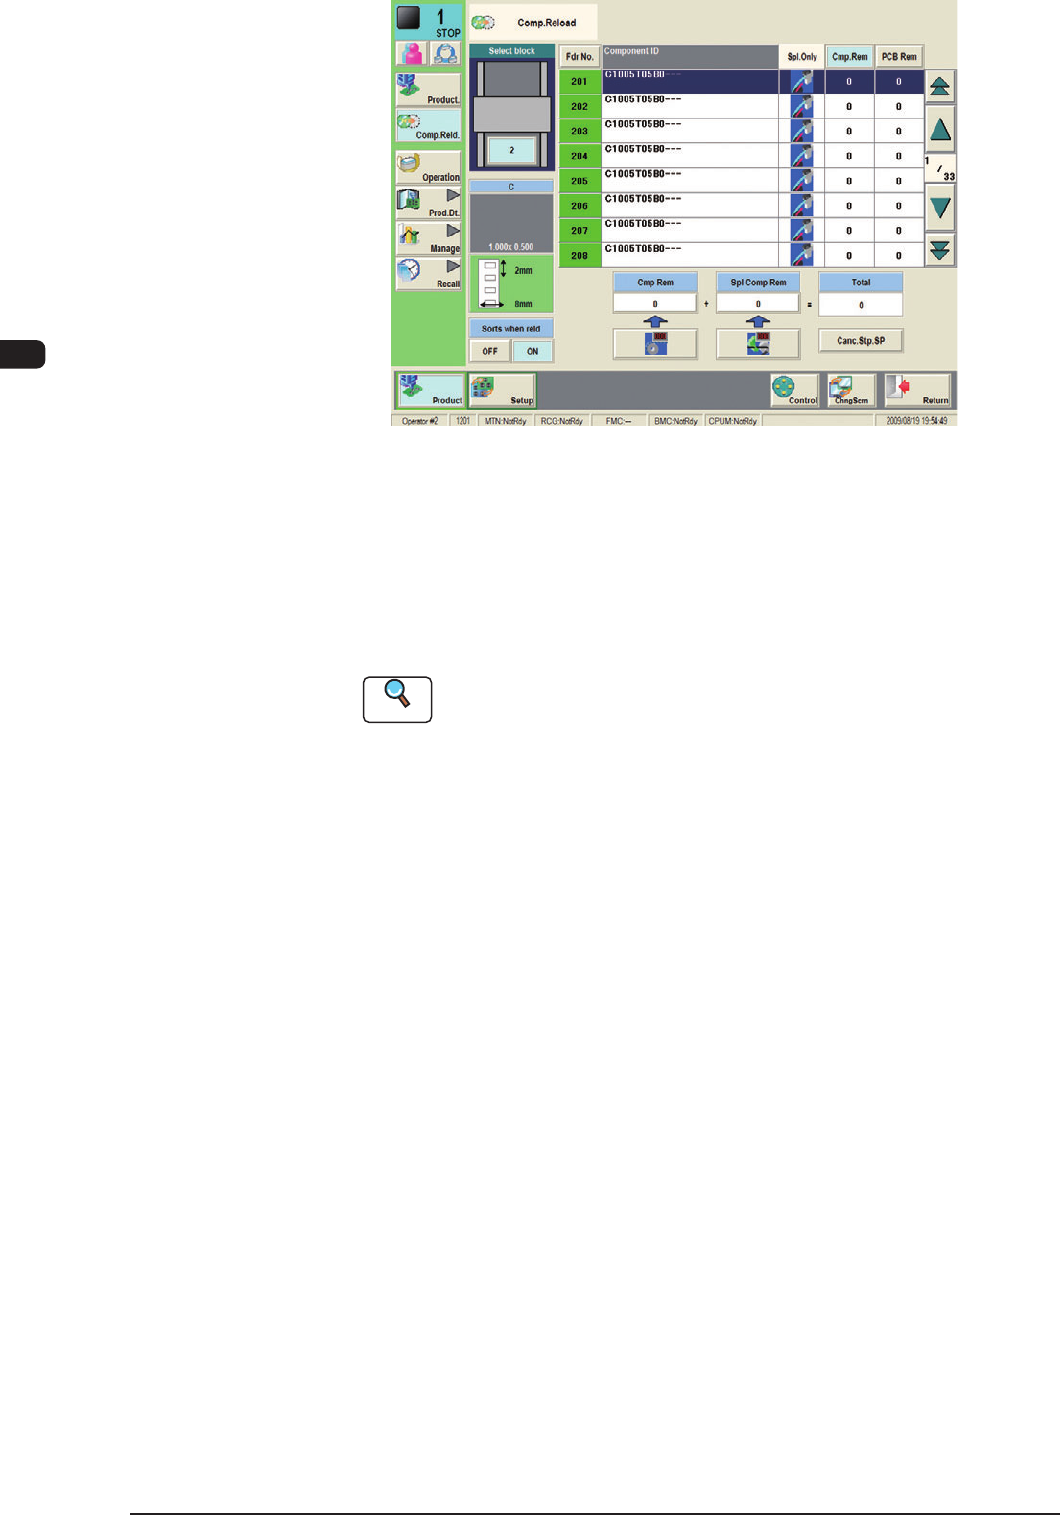
(3) Press the "Fdr. No." button which corresponds to the feeder No. (FDR-No. to
be set ready for splicing) displayed in the "Machine Information (Alarm for
Splicing)" window and check the scope of the component data.
(4) Perform the splicing operation and replenish the feeder with components.
Reference
Refer to the instruction manuals of the tape cutting jig and the splicing
tape for detailed information on the splicing work.
(5) Follow the step below to set the replenished components.
•
When a new tape is spliced, press the [Spl Comp Rem] button.
Check the remaining number of components in the feeder list and conrm
that the feeder is replenished with components
.
•
Splicing of Used Tape
(when the number of taped components differs from the number of
componentsspeciedinthecomponentlibrary
data)
Press the [Spl Comp Rem] button. The "Spl Comp Rem" window opens.
Enter the number of reloaded components.
Check the remaining number of components in the feeder list and conrm
that the feeder is replenished with components.
0911-001
1OM-1610
3-21
3. PCB Replenishment : Chap.3
3. PCB Replenishment
When the machine gets short of PCBs during automatic operation, the input
machine produces an error alarm or the machine stops automatically.
(1) When the input machine has issued an error alarm, follow the step
below.
Replenish the input machine with PCBs and re-start the automatic operation.
(2) When the machine has stopped automatically, follow the step below
The input machine has stopped automatically in a normal condition.
In normal cases, it means that the production is completed.
3.1 PCB Manual Insertion and Removal Procedures
Before the PCB manual insertion or removal operation is performed, pay attention
to the following items.
CAUTION
Before starting the automatic operation, check
carefully that there is no person around the machine
(SIGMA-G4)(especially on the other side of the
machine operation).
Make sure that no objects (tools, parts, etc.) are left
behind.
3.1.1 PCB Manual Insertion Procedures
Procedure
(1) Stop the machine.
(2) Put the PCB on the conveyor belt in the buffer section.
•
When the PCB is to be put on, put the PCB on the belt gently.
Otherwise, the PCB might not be transferred correctly due to conveyer
belt sag or cut out.
Notice
Do not bump the PCB against the transfer PCB detection sensor. Doing
so might damage the sensor, which might disable the normal PCB
transfer.
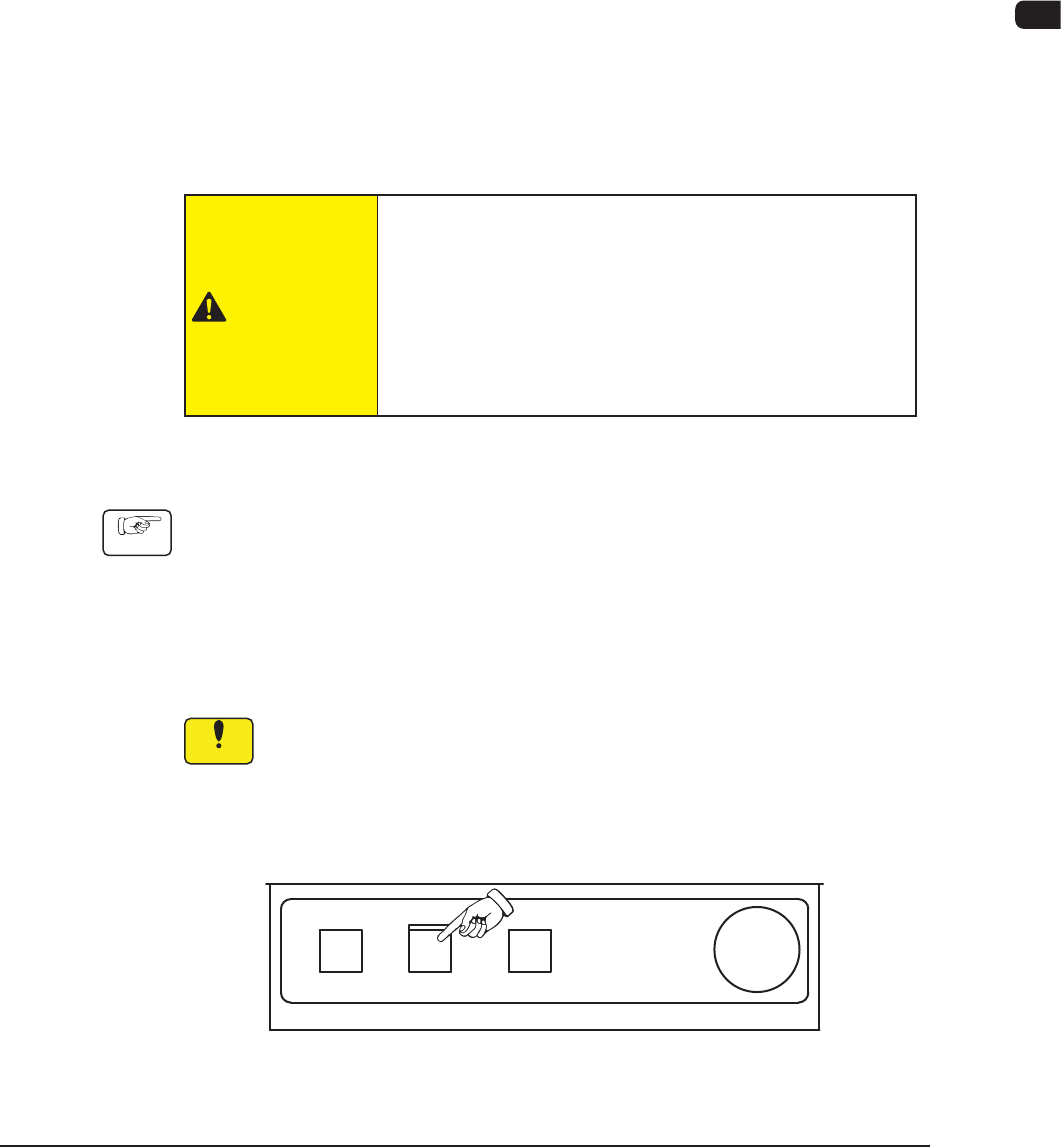
(3) Press the [START] button on the operation panel to start the PCB transfer.
F1C19
0911-001

1OM-1610
3-22
3. PCB Replenishment : Chap.3
3.1.2 PCB Manual Removal Procedures
Procedure
(1) Stop the machine.
(2) Remove the PCB from the buffer section.
Notice
Do not bump the PCB against the transfer PCB detection sensor. Doing
so might damage the sensor, which might disable the normal PCB
transfer.
0911-001