1OM-1626-001_w.pdf - 第128页
1OM-1610 3-9 1. Automatic Operation : Chap.3 091 1-001 1.3.3 "AUTO OPN" window Procedure (1) Press the [Product] button on the "TOP" window . The "Product" window appears on the touch screen…
1OM-1610
3-8
1. Automatic Operation : Chap.3
0911-001
1.3.2 Login Operation
After the self-diagnostics program is completed, the [POWER ON] button
turns
yellowish green and the "TOP" window appears on the touch screen.
Note
Refer to "1.1 "TOP" window" in "Chapter 2" for detailed information on the
"TOP" window.
F1C7
1OM-1610
3-9
1. Automatic Operation : Chap.3
0911-001
1.3.3 "AUTO OPN" window
Procedure
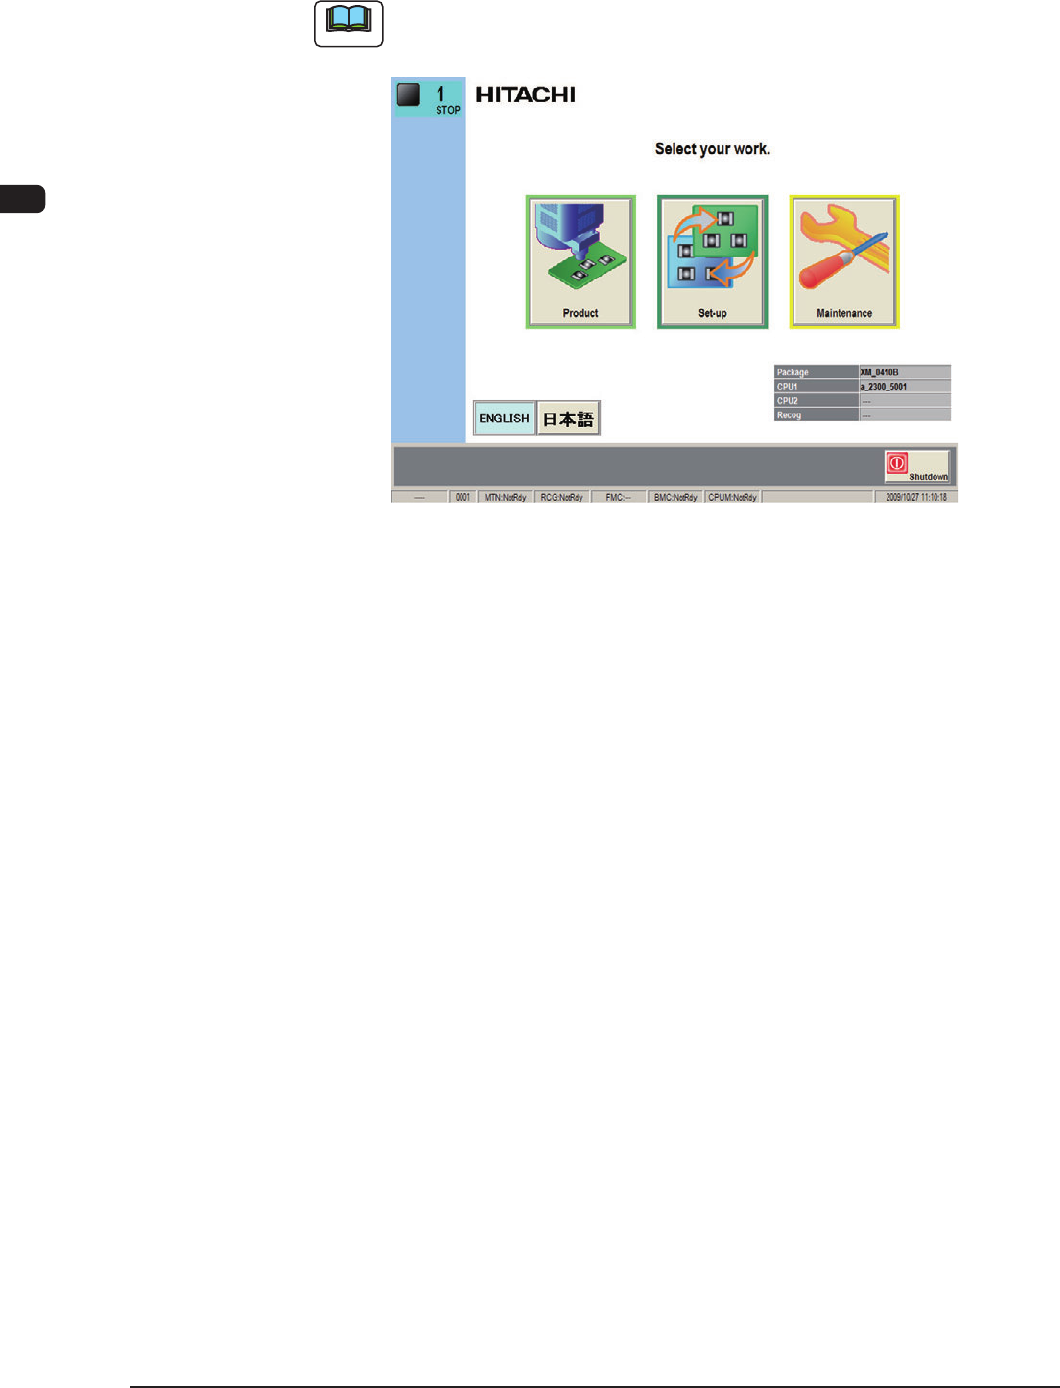
(1) Press the [Product] button on the "TOP" window.
The "Product" window appears on the touch screen.
F1C8
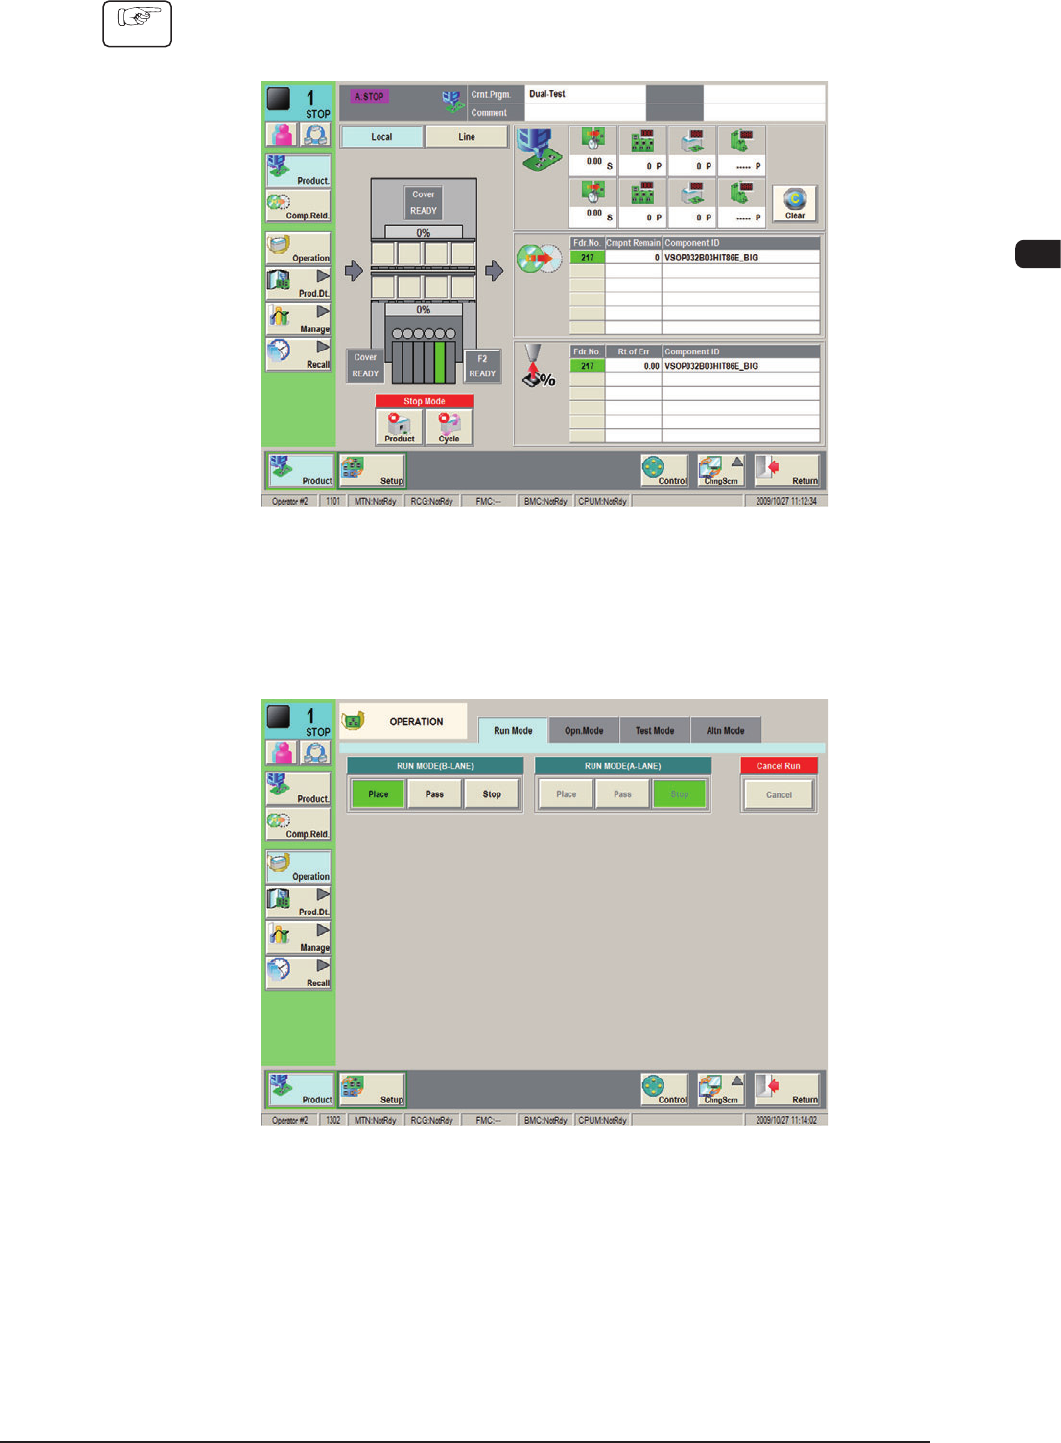
(2) Press the [Operation] button on the submenu bar.
The "Run Mode" window appears as an initial one of the "OPERATION"
window.
F1C9
1OM-1610
3-10
1. Automatic Operation : Chap.3
0911-001
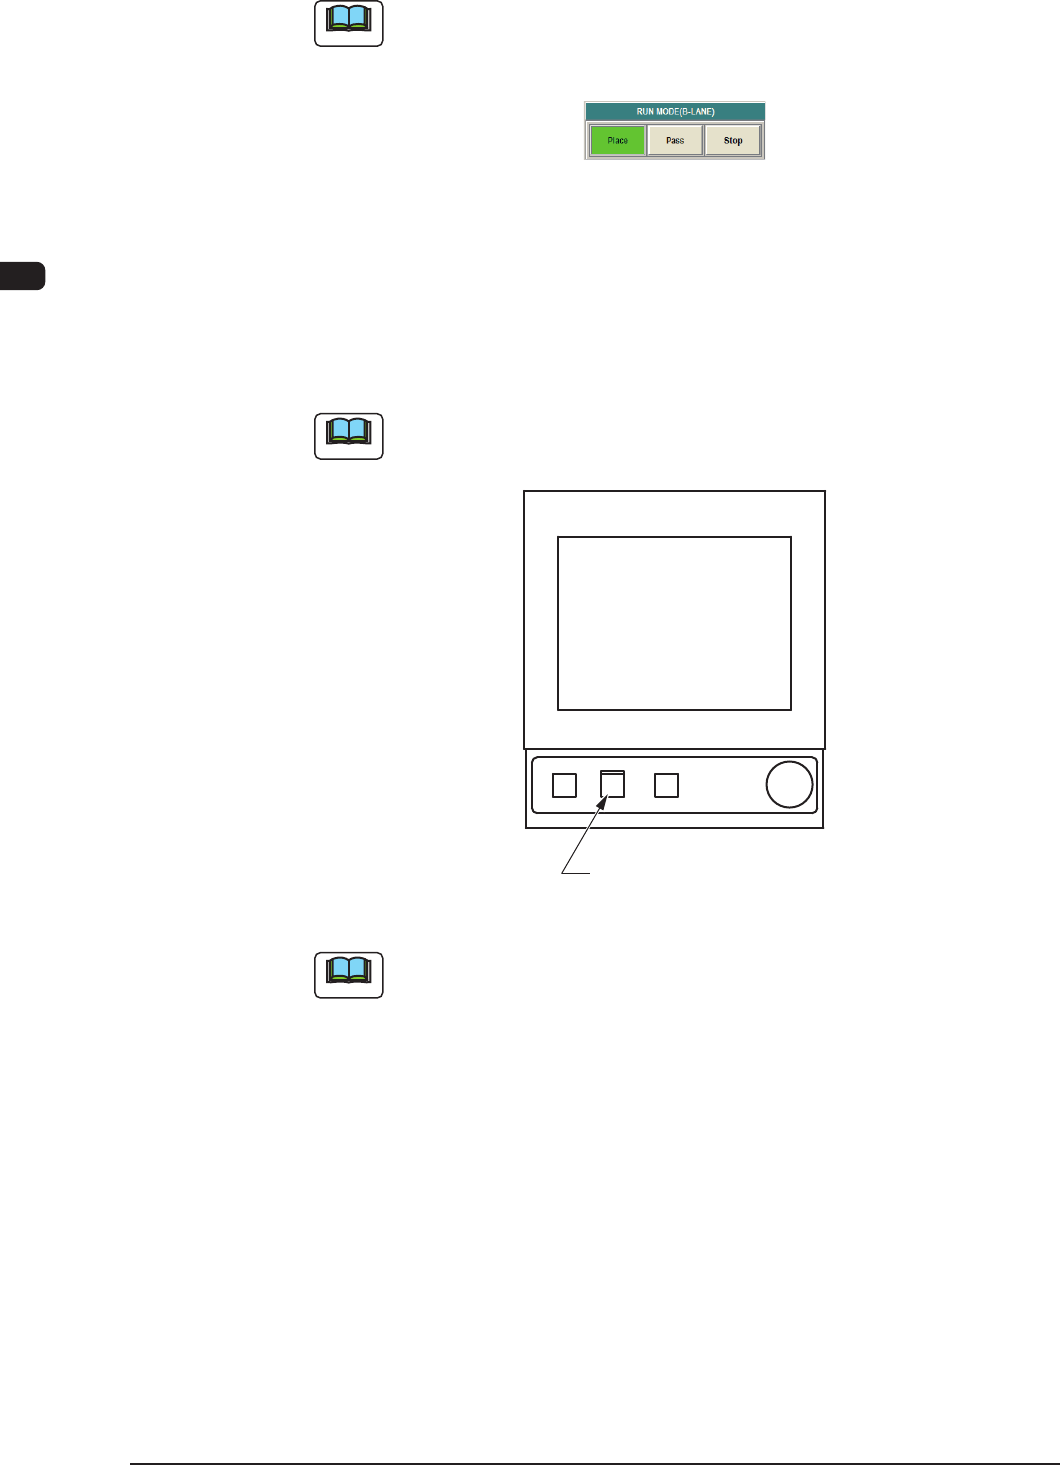
(3) Press the [Place] button (entitled "Run Mode").
Note
Press the [Pass] button (entitled "RUN MD") to set the "Pass" mode.
When the machine is set in the "Pass" mode, it just carries the PCB to the output
machine without placing any components on the PCB.
F1C10
(4) Press the [START] button while it is ashing.
The automatic operation (component placement) will be started up.
When the automatic operation (component placement) is started up, the
[START] button on the operation panel is turned ON (in green) and the green
lamp on the tower light is turned ON.
Note
In the case that the machine operation is not available when the [START] button
is pressed the rst time, a management information message is displayed.
[
START
]
Button
F1C11
Note
(a) The [START] button does not icker when a window other than the
"Product" window is active. Therefore, the automatic operation cannot be
started.
(b) When the PCB positioning section is already loaded with a PCB, the
machine discharges the PCB without placing any components on it.